Diagnose and Troubleshoot Homing Failures in 3D Printers
Homing is an essential routine where the 3D printer determines the zero position of its axes. If this process fails, the machine cannot establish its reference point and locks up, displaying an error that prevents starting any job. These failures generally originate from issues in the mechanical components or the electrical system. 🔧
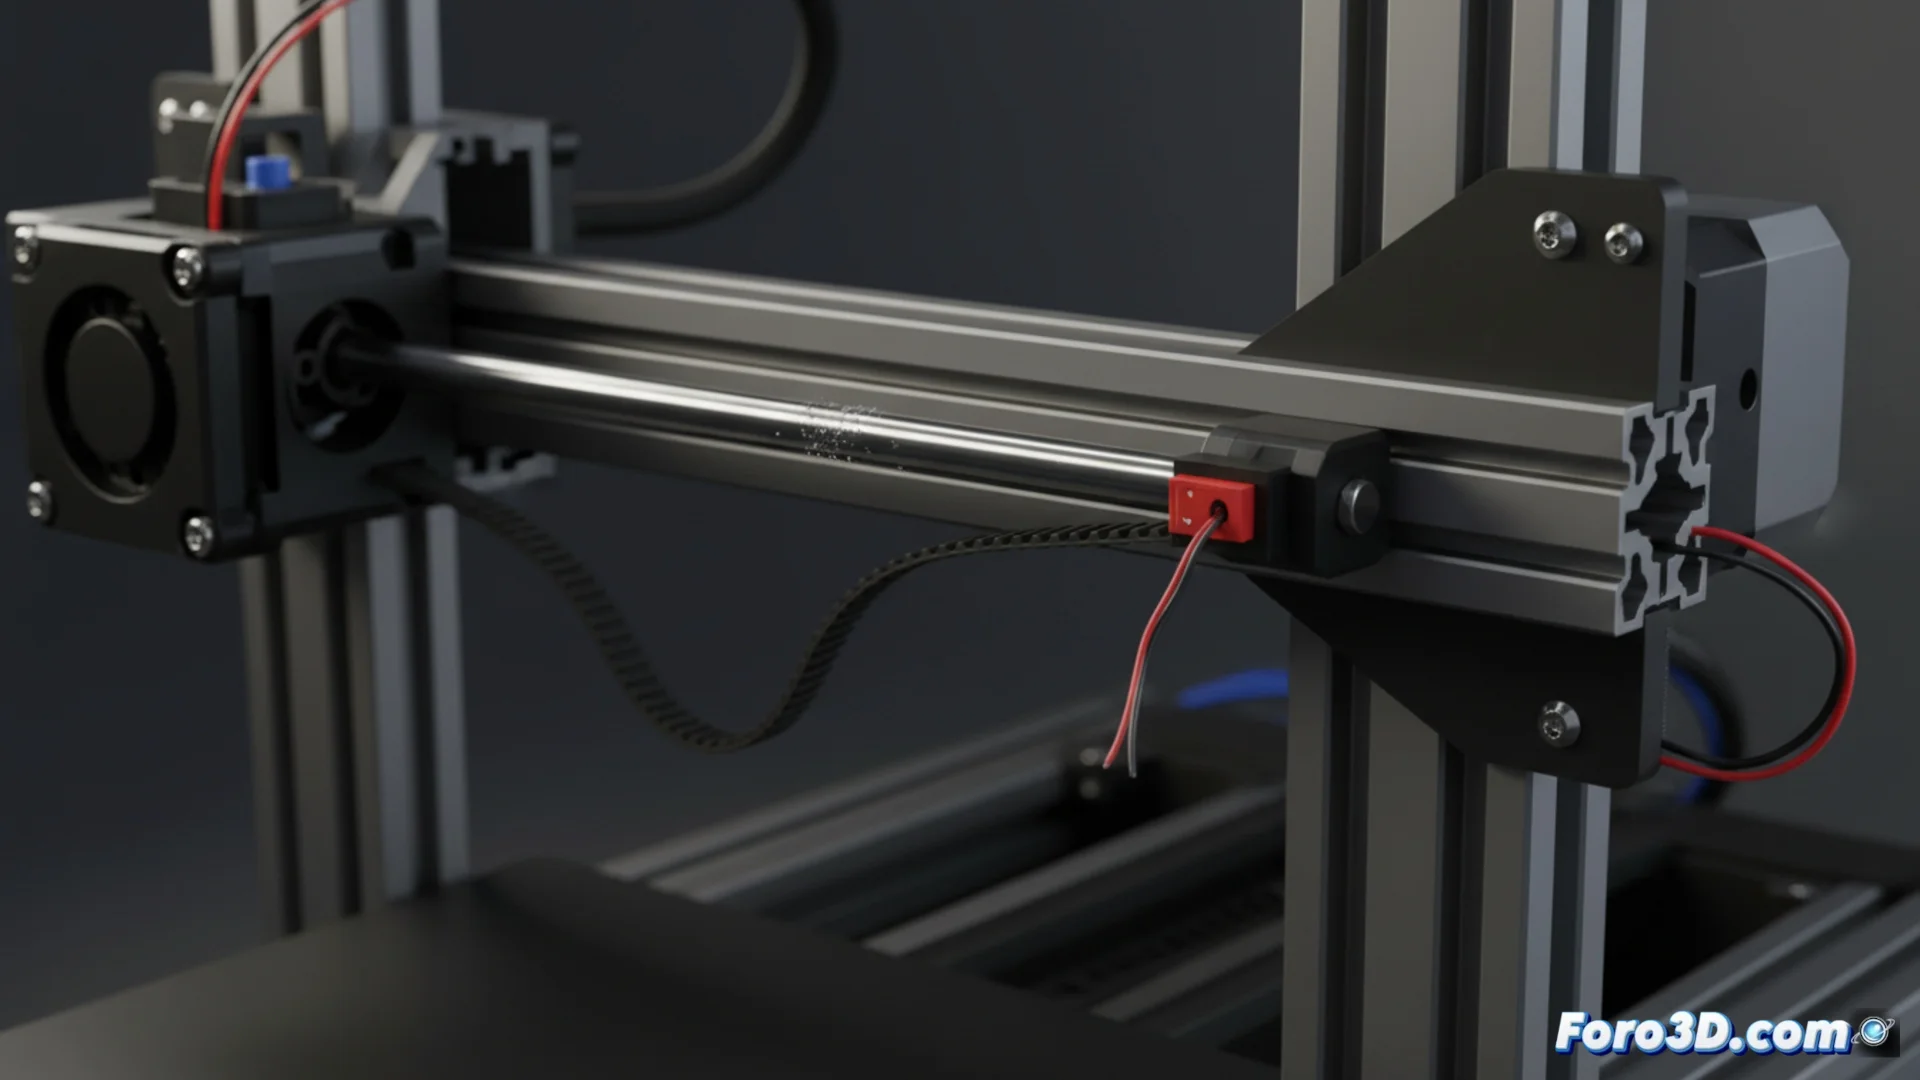
Check the Mechanical System of the Axes
The first step to troubleshoot a homing problem is to thoroughly inspect the mechanical part. You must confirm that all axes move smoothly, without anything obstructing them. Accumulation of dust or dirt on linear guides and bearings is a common cause of blockage.
Key points to check in the mechanics:- Belt tension: Ensure the belts are properly adjusted. A belt that is too loose can cause the pulleys to slip and not transmit movement.
- Motor condition: A stepper motor that does not rotate or emits a loud buzzing without moving the axis suggests a faulty electrical connection or that the motor itself has failed.
- Anomalous noises: Pay attention to sounds like squeaks, creaks, or metallic bangs when manually moving the axes. These are clear indicators of friction or an obstacle.
An axis that does not move smoothly is the prime suspect when homing does not complete.
Examine the Limit Sensors
If the mechanics seem to be in order, the next focus is the endstop sensors. These devices, whether mechanical, optical, or magnetic, indicate to the controller that the head or bed has reached its extreme position. A defective, poorly connected, or dirty sensor will cause the homing routine to fail systematically.
Procedure to check the sensors:- Connection and wiring: Visually check that the connector is properly inserted into the controller board. A loose, bent, or broken wire is one of the most common failures.
- Multimeter test: Use a multimeter in continuity mode to test the sensor. You should see a change in state (open/closed) when you manually activate the sensor.
- Firmware configuration: Access your firmware settings (Marlin, Klipper, etc.) and verify that the sensor type (Normally Open -NO- or Normally Closed -NC-) is defined according to the installed hardware.
The inverse problem: false activation
Sometimes, the failure is not that the printer does not find the endstop, but that it acts as if it is always pressed. This causes the machine to refuse to move because it believes it is already at the origin. The cause is usually something physical that keeps the sensor permanently activated, such as a small piece of plastic, a mispositioned wire pressing the lever, or even a drop of adhesive. Cleaning the area around the sensor and checking its positioning usually resolves this issue. 🛠️