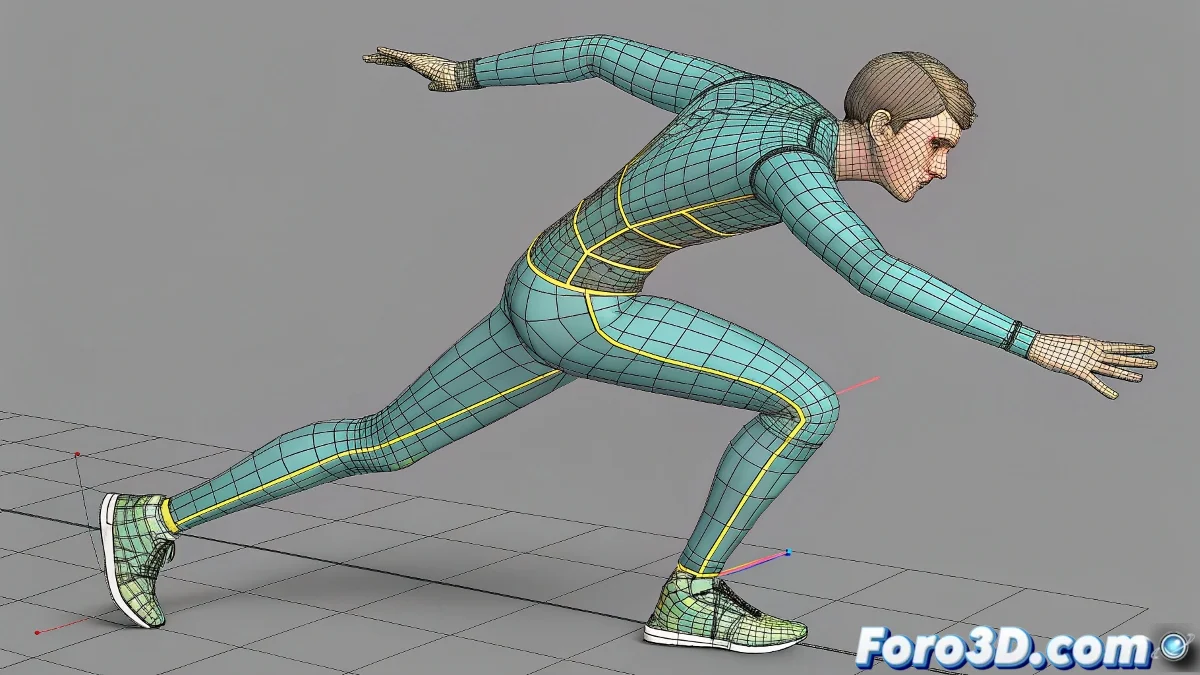
When Your Joints Look Like Plastic Straws
That moment when your character bends the elbow and instead of a natural fold, a geometric horror appears... all riggers have been there. 🎭 Here's your survival kit against the dreaded straw effect in Maya.
Professional Studio Techniques
1. Corrective BlendShapes with Intelligent Control
- Create a controller locator near the joint
- Connect it to the joint with an orient constraint (keep offset)
- Use this locator as driver for your corrective blendshapes
- Adjust the driven key curves for smooth transition
2. The Power of Pose Reader
- Implement an angleBetween node to measure the angle
- Connect to a condition node to activate corrections
- Combine with setRange for precise control
A good corrective system is like a digital physiotherapist: it intervenes just when and where needed, without hindering natural movement.
Foolproof Workflow
- Manually model the corrected pose in the problematic position
- Create the corrective blendshape with inverse deformation
- Implement any of the previous control systems
- Test across the full range of motion
3 Mistakes That Ruin Your Corrections
- Using only skinning without additional corrections
- Omitting tests in extreme poses
- Not cleaning duplicate influences in the skinCluster
Pro tip: In production rigs, multiple layers of correction are used: base skinning + blendshapes + additional deformers. Like building a good custom suit. ✨
Now you can say goodbye forever to those horrible straw-like deformations. And when that animator asks "how did you make it look so natural?", you can respond with a mysterious "rigging magic"... while hiding your 15 correction nodes. 😉
Bonus tip: For stylized characters, exaggerate your corrective poses by 20% more. The final deformation will be perfect after skinning compensation.