Creating X-Ray Material in Blender: Complete Guide
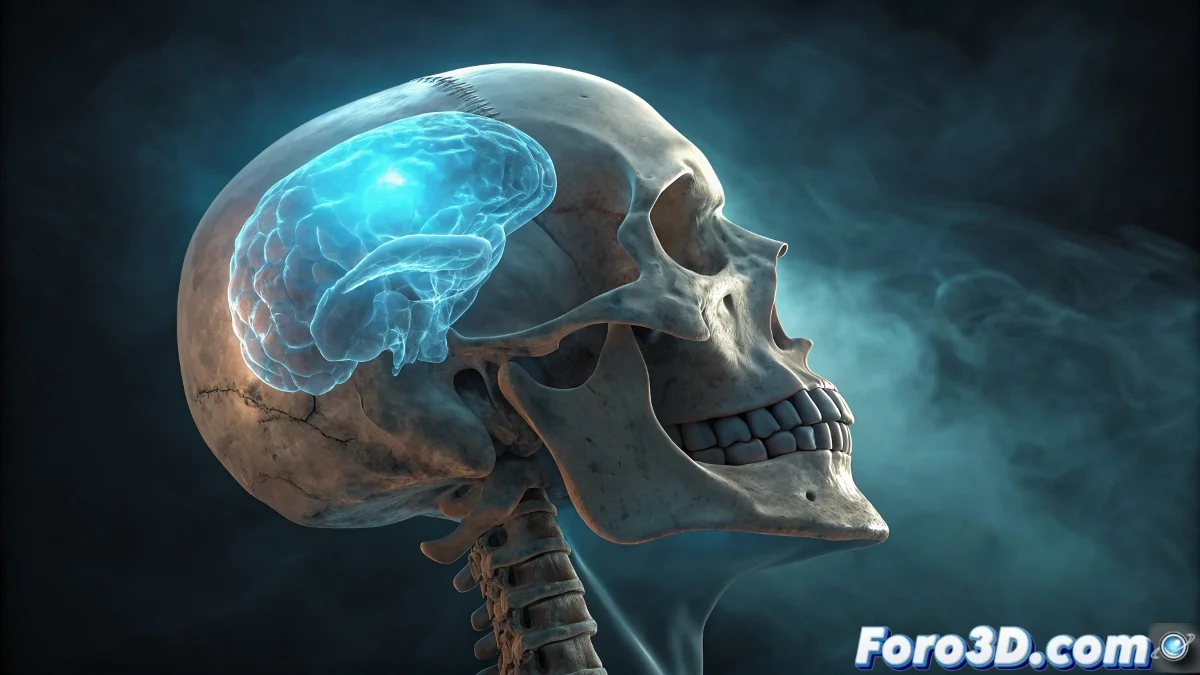
The X-ray effect is one of the most requested visuals for medical, scientific, and fantasy projects. In Blender, we can recreate this characteristic look using the power of the Shader Editor and a strategic combination of nodes that simulate the transparency and emission typical of X-rays. 🦴
Base Material Setup
The secret of the X-ray material lies in the proper combination of an Emission Shader with transparency control. We start by removing any default shader and creating a Mix Shader node that will allow us to blend between emission and transparency based on the object's geometry.
Essential Nodes for the Effect:- Emission Shader for the characteristic blue light of X-rays
- Transparent BSDF to control the transparent areas
- Geometry Node to use the model's thickness information
- ColorRamp to adjust the transition between opaque and transparent
"The perfect X-ray effect depends on correctly mapping the geometry's thickness to emission and transparency values"
Effect Control Through Geometry
The magic of the material happens when we connect the Geometry node to our system. Using the "Backfacing" or "Pointiness" output, we can create a map that identifies the thinnest areas of the model and makes them brighter, simulating how X-rays penetrate differentially based on the material's density.
Refinement Techniques:- Adjusting the ColorRamp to control the transparency threshold
- Incorporating Noise Texture nodes to add organic variation
- Modifying the emission intensity based on the camera angle
Applications and Creative Variations
Once you master the basic technique, the possibilities are practically endless. You can adapt the material for different medical contexts, create stylized versions for video games, or even develop unique cinematic effects. The key is to experiment with the emission values and transparency controls until you achieve the desired look for your specific project. 💙