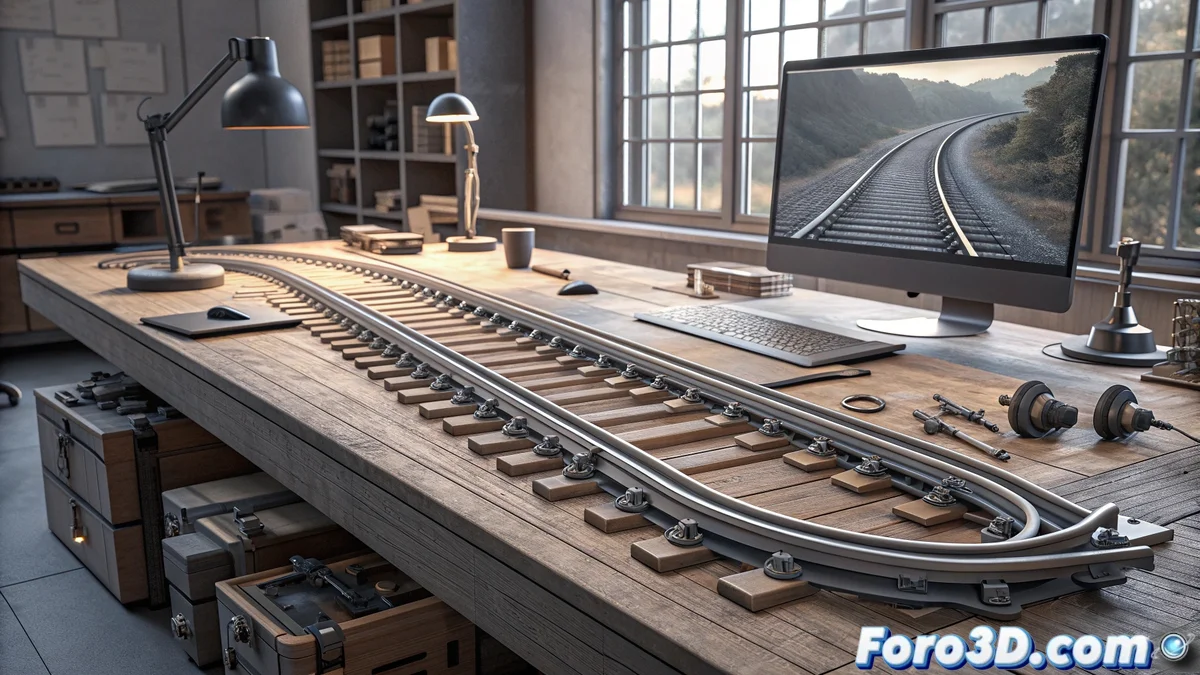
Step-by-Step Creation of Curved Rails in Blender
Designing curved rails in Blender is a fascinating process that combines the use of Bezier curves and procedural modeling techniques. We will start by defining the main path and then apply a cross-sectional profile to generate the complete three-dimensional geometry 🛤️.
Preparing the Path Curve
The first crucial step is creating the base curve that will define the rail's path. From the Add > Curve > Bezier menu, we insert a new curve and position it according to our design needs. The Bezier handles allow us to shape the trajectory with precision, creating everything from smooth curves to complex paths.
Initial Setup Process:- Add a Bezier curve from the main menu
- Position and adjust handles to define the shape
- Keep the curve open or closed as required by the design
The path curve is the skeleton of our curved rail - it completely defines its shape and fluidity
Setting Up the Cross-Sectional Profile
To give volume to the rail, we need to create a closed profile curve. This second Bezier curve must have its ends joined using the F key or the Close Curve option. It is essential to correctly position the origin at the base of the profile using Shift+S to move the cursor and then set the origin in Object mode.
Critical Aspects of the Profile:- Create a closed curve with joined ends
- Position the origin at the base using the 3D Cursor
- Orient the profile towards the positive X axis for correct extrusion
Combining and Generating the 3D Rail
With both curves prepared, we select the main path and in Object Data Properties > Geometry > Bevel > Object we choose our profile curve. Blender will automatically generate the three-dimensional geometry along the defined path, creating a continuous and smooth rail.
Final Adjustments and Conversion to Mesh
We perform the dimensional adjustments by scaling the profile curve if necessary, verifying that the orientation is correct with the positive X axis pointing in the direction of the path. For advanced editing, we convert the object to a mesh using Alt+C > Convert to Mesh, thus obtaining a fully editable polygonal geometry.
Important Final Considerations:- Scale the profile to adjust the rail's dimensions
- Verify correct orientation before converting
- Use conversion to mesh for advanced polygonal editing
Professional Tips
If your rail has irregularities or unexpected shapes, remember that the Bezier handles are key to smoothing the trajectory. Patience when adjusting these controls will determine the final quality of your design. A well-executed rail should flow naturally and continuously, like a perfectly traced path 🎯.