Building the Swamp Base in Maya
The first step is to block out the scene starting with the swamp's surface. Use a subdivided plane and apply deformations to create ripples and areas of different depth 🏞️. In Maya, the sculpting tools allow you to add irregularities to the terrain, simulating puddles and muddy areas characteristic of a swamp. Add objects like fallen logs, exposed roots, and partially submerged rocks to increase realism. This is the crucial moment to establish the correct scale, as it will directly affect the lighting and particle behavior.
Simulating Murky Water with nParticle
To create the swamp's characteristic water, Maya's nParticle system offers excellent results:
- Surface Emitter: Create an emitter on the terrain's surface
- Adjusted Density: Configure density to simulate murky, thick water
- Blinn/Arnold Material: Apply transparency and subtle reflections
- Animated Turbulence: Simulate natural movement with turbulence fields
- Mud Particles: Add additional particles with opaque shaders
- Interaction with Objects: Particles should collide with logs and obstacles
The key is to achieve that dense, slightly opaque look of swamp water 💧.
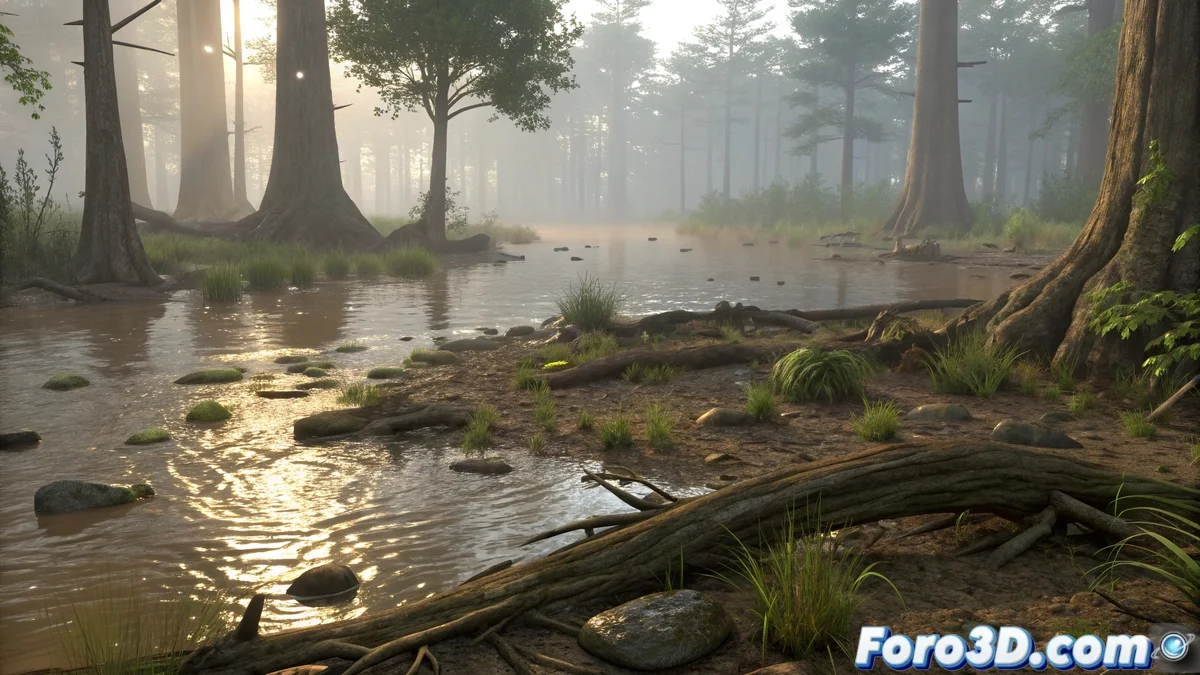
Lighting for a Humid and Mysterious Atmosphere
Lighting is crucial to convey the unique atmosphere of a swamp:
- Directional Light: Simulates sunlight filtering through vegetation
- Skydome Light with HDRI: Use HDRI with green and brown tones
- Strategic Area Lights: Highlight specific areas with fill light
- Ray Traced Shadows: For precise shadows from logs and vegetation
- Warm Tones: Amber lights to simulate a humid atmosphere
- Light Volumetrics: Add mist for atmospheric depth
Subtle reflections on the water are essential for achieving realism ☀️.
Rendering with Arnold and Final Details
Arnold Renderer offers the perfect tools for the finishing touch:
- Subsurface Scattering: Apply to submerged vegetation and water areas
- Adjusted Refraction: Configure density and coefficient for murky water
- Nucleus Fields: Generate gentle currents that affect particles
- AOVs for Post-Processing: Export separate passes for greater control
- Denoiser: Use Arnold's denoiser for clean renders
- Post-Processing: Add mist, reflections, and final color adjustments
It's funny how you can spend hours adjusting particles and in the end your swamp is still cleaner than the real one
In the end, creating a realistic swamp in Maya demonstrates the power of combining multiple techniques: organic modeling, particle simulation, atmospheric lighting, and advanced rendering. The result can be visually stunning... though fortunately, unlike real swamps, this one won't come with mosquitoes or unpleasant smells 😅.