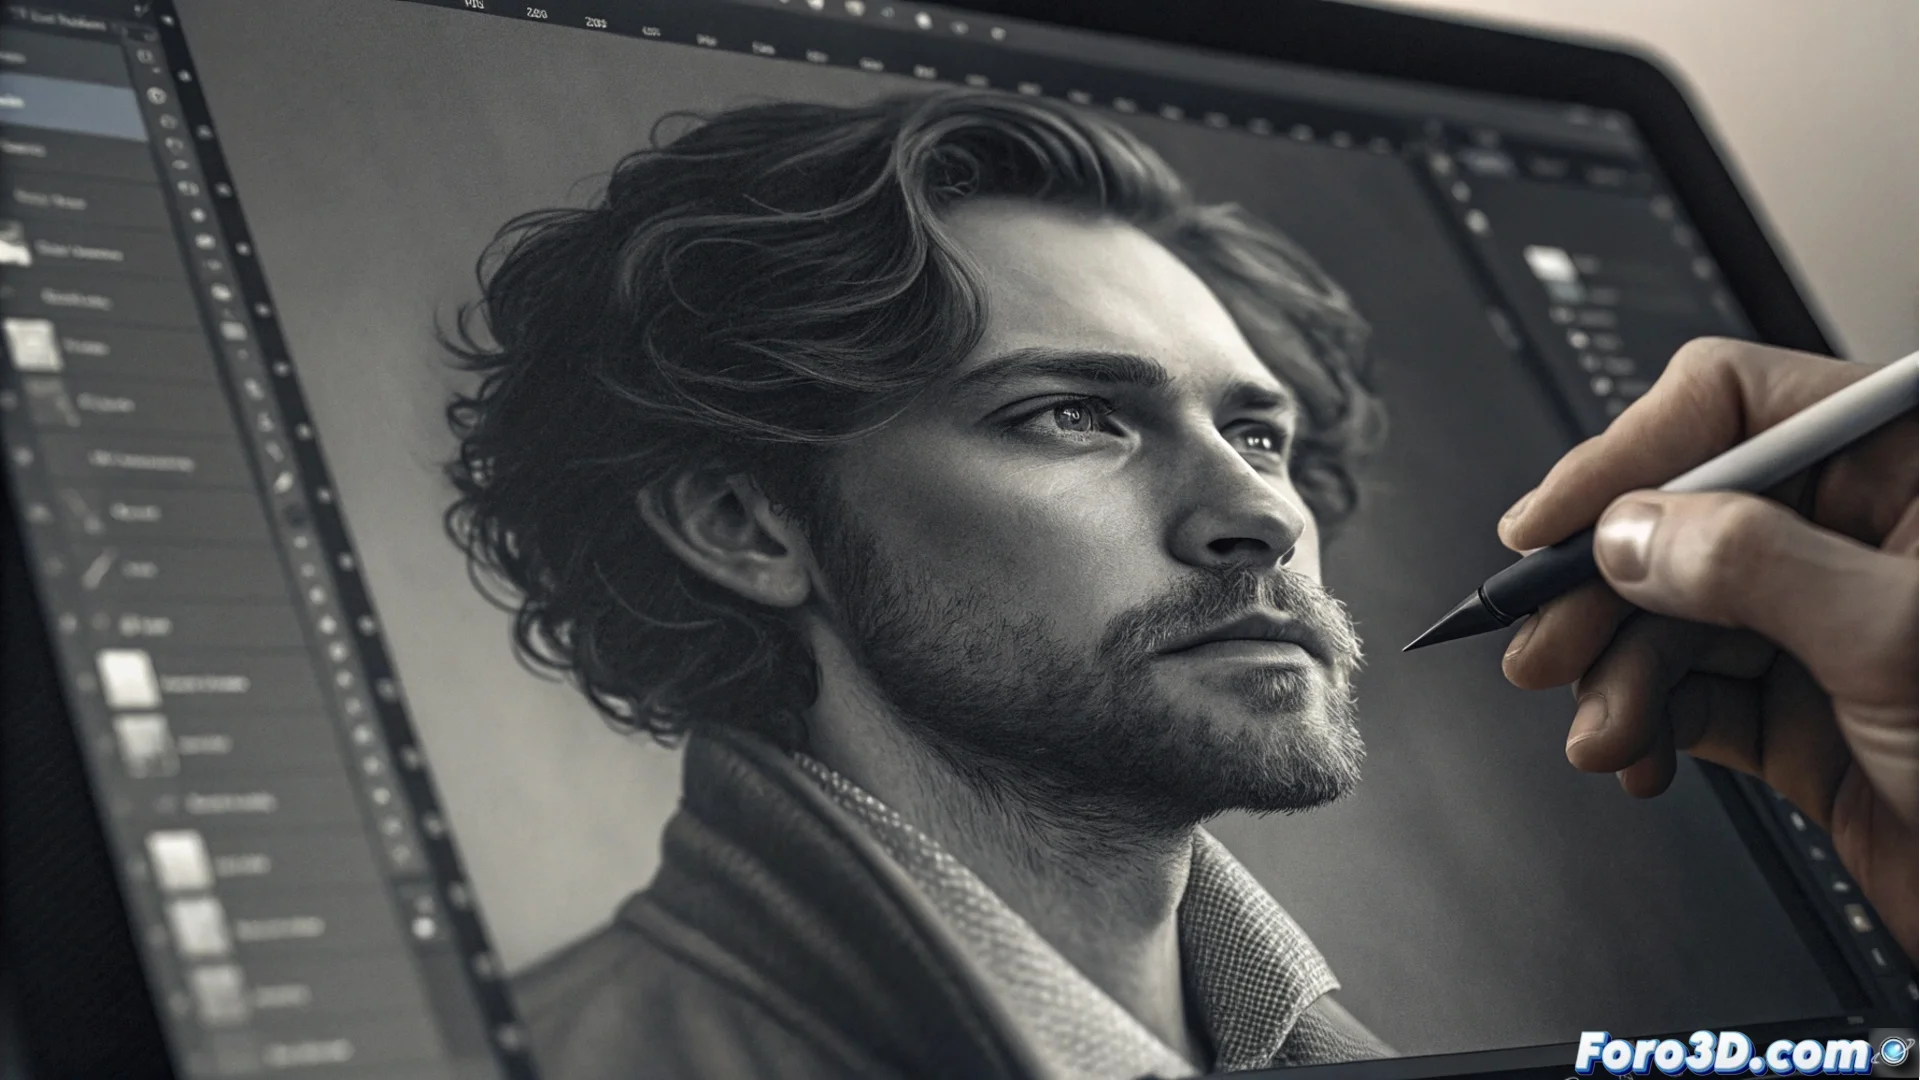
Create a Bump Map from an Image in Photoshop
Adobe Photoshop is a key tool for texturing in the 3D workflow. One of its most useful functions is generating a bump map or relief starting from a simple grayscale image. This process translates variations in brightness and darkness into height data, allowing render engines to simulate roughness and details without altering the real geometric mesh. 🎨
Prepare the Source Image
The first step is fundamental. You need a bitmap file where the lights and shadows faithfully represent the details you want to highlight. Open your image in Photoshop and go to the menu Image > Mode > Grayscale to convert it. It is vital that there is a clear contrast: white areas will be read as the highest parts and black as the deepest valleys.
Key Adjustments Before Applying the Filter:- Optimize Contrast: Use Levels (Ctrl+L / Cmd+L) or Curves (Ctrl+M / Cmd+M) to accentuate the difference between lights and darks, but without losing information in the shadows or highlights.
- Evaluate Detail: Make sure the source image has the information you need. Sometimes, the biggest challenge is obtaining or painting a bitmap where the shadows are in the correct position and not where a casual light source projects them.
- Check Resolution: An image with good resolution will generate a bump map with more definition and fine detail.
A bump map only simulates relief through shading, it does not create real geometry or modify the object's silhouette, unlike a normal map or displacement map.
Apply the Filter to Generate Relief
With your grayscale image ready, it's time to use the specific filter. Go to the menu Filter > Render > Difference Clouds. This filter is designed for this purpose and is the most direct path. In the dialog box that appears, you can control two main parameters.
'Difference Clouds' Filter Parameters:- Scale: Controls the size and smoothness of the generated shapes. A low value accentuates fine details and small ones, while a high value produces broader and smoother reliefs.
- Height: Determines the intensity or apparent depth of the relief. Adjust this value so that the effect is perceptible but natural, without exaggerating.
- Preview: Use the preview checkbox to see in real time how changes affect your image. Apply the filter only when the result satisfies you.
Export and Use Your Bump Map
The final result is a new image, also in grayscale, ready to save. It is recommended to export it in a lossless compression format, such as PNG or TGA. This file will later be assigned to the bump or normal channel of a material within your 3D modeling software or render engine (such as Blender, 3ds Max, V-Ray, etc.). Remember that this technique is a very efficient optical simulation for adding visual complexity to your renders without the computational cost of additional geometry. 🚀