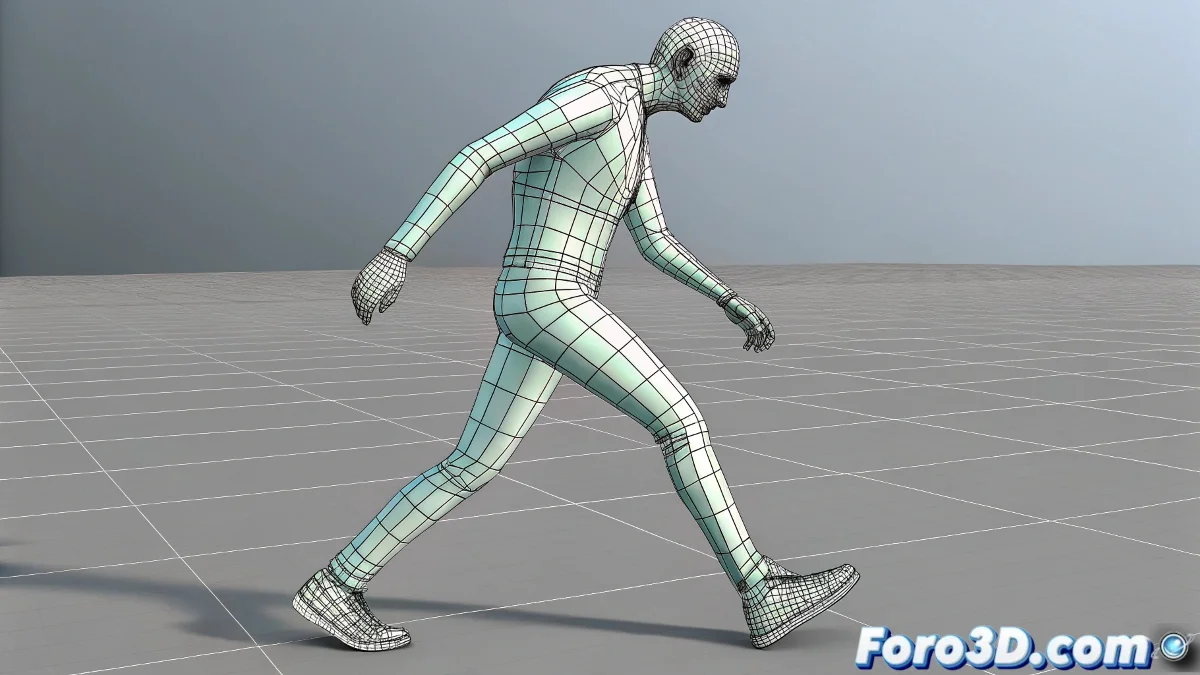
The Eternal Problem of Floating Feet in Animation
Importing motion capture animations in .bip format into 3ds Max should be a straightforward process, but it often turns into a ghost hunt—specifically, for ghost feet that refuse to touch the ground 👻. This phenomenon, known as foot slip, occurs when mocap data doesn't perfectly align with your scene's orientation or your biped rig's properties, resulting in feet that float, tilt strangely, or slide as if on ice. Fortunately, the Motion Flow tools offer robust solutions to this common problem.
Aligning the Animation with Ground Reality
The first step to taming these rebellious feet is proper global alignment. Select your biped and open the Motion Flow Editor. Here, the Footstep Constraint option (or Foot Roll/Lock in newer versions) will be your best friend. By activating it, you force the feet to respect the ground height defined in your scene, eliminating those unsightly oblique tilts. If the animation was captured on a system with a different orientation, first reorient the biped's root or main node to match your scene before applying any constraints.
A floating foot is like an actor who forgot their mark; it ruins the illusion of the entire scene.
Manual Adjustments for Perfect Contact
When automatic solutions aren't enough, it's time for a manual approach. Motion Layers allow you to create a non-destructive correction layer over your original animation. Using tools like the Footstep Controller or Track Offset, you can adjust the contact position of each foot frame by frame, ensuring they plant firmly on the terrain, especially on uneven ground or around obstacles. This technique is ideal for correcting minor capture errors or adapting a generic animation to a specific environment.
Smooth Transitions Between Animation Clips
Foot slip often worsens during transitions between different animation clips. Motion Flow addresses this with blend zones or Transition Zones. By defining an area where two clips overlap and interpolate, a gradual transition is created that avoids abrupt jumps and maintains the continuity of foot support. Adjust the Interpolation Curve of this blend to control smoothness and timing, ensuring the character's weight transfers naturally from one foot to the other without unnatural sliding.
Final Review and Workflow Optimization
No correction is complete without a thorough review. Play the animation from multiple angles, especially side and front views, to detect any residual foot slip that may have gone unnoticed. In persistent cases, fine-tuning the leg's IK/FK chains can provide the final necessary stability. Once satisfied, save these corrections as a new clip within Motion Flow so you can reuse it in future projects, thus creating a library of clean, ready-to-use animations.
Recommendations for an Efficient Workflow
Prevention is better than cure. Always check the orientation and scale of your .bip file before importing it. Combine the use of Footstep Constraint for base correction with manual adjustment in Motion Layers for details. For complex animations combining multiple clips, dedicate time to correctly setting up the transition zones. Patience in this phase will save you hours of subsequent debugging.
With these techniques, your characters will stop skating on the ground and walk with the confidence of someone who knows their feet are firmly planted on the earth. And if a foot resists, you can always say the character is practicing for a fantasy movie 😉.