Copying Trajectories Between Objects in Cinema 4D Without Original Splines
Have you ever wanted to copy a trajectory animation in Cinema 4D but discovered that the original spline vanished as if by magic? 🎩 Don't worry, there's still hope. With a bit of digital magic (and some technical tricks), you can clone that perfect movement without needing to start from scratch. ✨
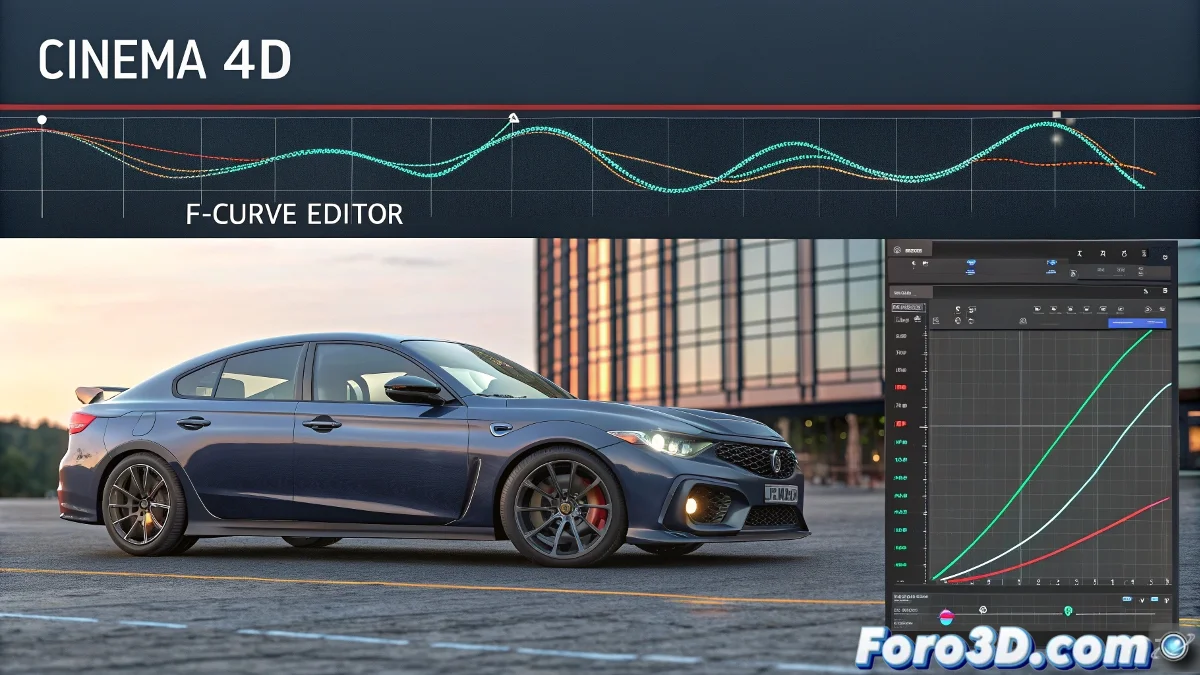
The Foolproof Method: F-Curves to the Rescue
When the original spline has disappeared, your best ally is the Curve Editor:
- Select the object with the desired animation
- Open the F-Curves editor (Shift+F3)
- Copy all position/rotation tracks
- Paste them onto the target object
Voilà! Your second object now dances just like the first. 💃 Although if they were in different starting positions, you might need some manual adjustments.
In Cinema 4D, an animator without their splines is like a magician without their wand: they can perform tricks, but with more effort.
Advanced Techniques for Stubborn Cases
For more complex situations:
- XPresso: Link positions in real time
- Node System (R23+): Create visual animation connections
- Align to Spline: If you manage to reconstruct the approximate path
Common Mistakes (and How to Avoid Them)
Don't let it happen to you like it does to 90% of 3D artists:
- Not checking the scale and hierarchy of objects
- Forgetting to copy all dimensions (X,Y,Z)
- Ignoring rotation keyframes if the object was spinning
With these tricks, you'll be able to replicate any trajectory, even those you made months ago and swore you'd never need to modify. And if all else fails, there's always the option to say it was an "experimental artistic style". 🎨
Ironic Bonus: The funniest thing is when you spend hours perfectly copying trajectories... only to realize the client wanted the movement exactly in reverse. The 3D universe has a peculiar sense of humor! 😂