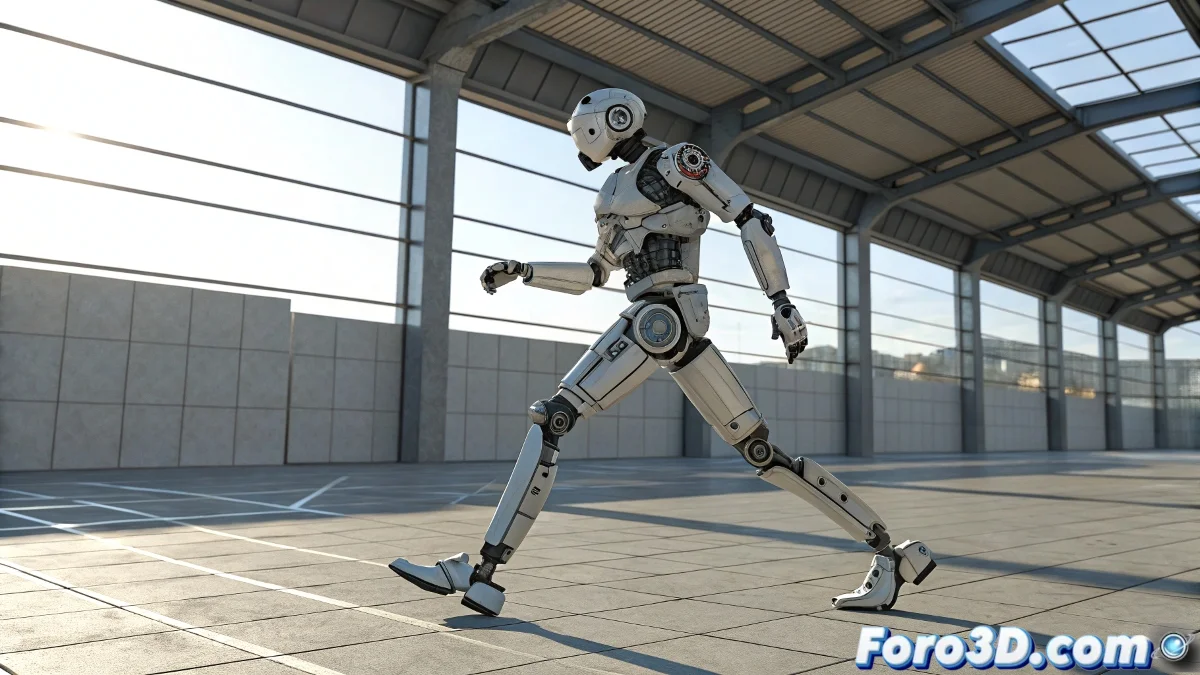
Copying and Shifting Animation Cycles on Bone-Based Characters in 3ds Max
If you already have an animation made, like a two-legged robot taking a couple of steps, and you want it to keep walking without having to animate bone by bone again, you're in luck. In 3ds Max you can repeat that animation by shifting it in time and space without having to start from scratch. You just need to work well with the keys and the copy tools in the Track View or the Dope Sheet. And no, you don't need to be an animation expert to do it! 🤖
How to Do It Without Complicating Your Life
First, select all the bones involved in the movement. Go to the Track View – Curve Editor or the Dope Sheet, select the keys from the first cycle (for example, the two steps), copy them, and paste them later on the timeline. The important thing is that after pasting the animation, you shift it in space.
For that, you can use a main Dummy as the parent of the entire robot hierarchy. This way, when you copy the animations, you move the Dummy forward and the new keys play later and in a new position without the robot returning to the starting point.
You can also use Set Key Mode to make sure all position changes are properly recorded. Or even save the cycle as an animation clip in the Motion Mixer if you want to reuse it more easily.
And if you see your robot still repeating steps in the same spot, don't worry... maybe it's a display model for a shop window: it moves, but it's not going anywhere. So, let's get to work and animate! 🎬
With these tips, you'll be able to copy and shift animation cycles on bone-based characters in 3ds Max effectively. And remember, if the animation doesn't turn out as expected, you can always review your keys! 🔑