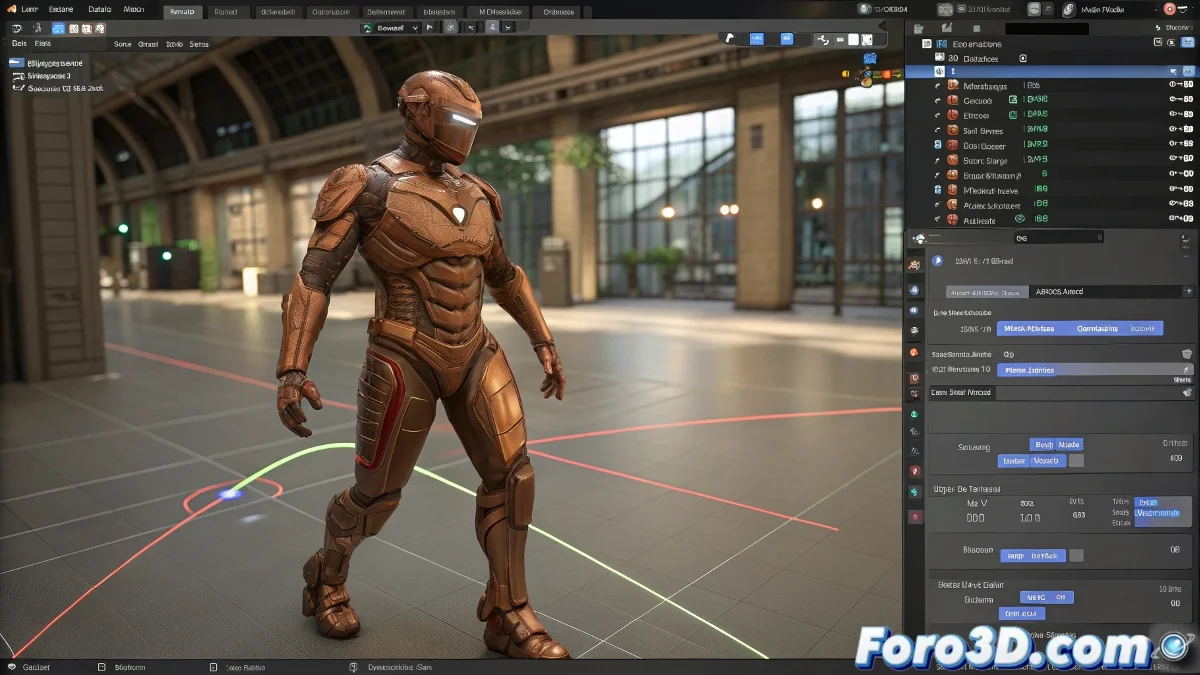
Avoiding Rigging and Deformation Errors When Animating Characters in Blender
In the most recent versions of Blender, such as 3.x and higher, rigging and animation have been greatly optimized to avoid common errors that occurred in older versions. If you're having issues where the mesh doesn't follow the skeleton correctly during animation, it's very likely that the Armature modifier setup or weight assignment is incorrect, or that the keyframes are applied in a way that causes conflicts.
The first thing you should check is that the mesh has the Armature modifier active and is correctly linked to the skeleton. Blender 3.x includes a deformation system based on the modifier stack that allows you to enable or disable the skeleton's effect without losing data, making debugging easier. Additionally, Weight Paint in this version is more precise and visually intuitive, facilitating fine-tuning of weights so that the deformation is natural and free of artifacts.
Also check that the keyframes are inserted correctly, preferably in LocRotScale to avoid jumps or inconsistencies in the animation. Use the Graph Editor to smooth curves and avoid abrupt changes that could make the mesh "jump" or deform strangely.
If you want to prevent the mesh from retracting or deforming unexpectedly, make sure there are no conflicts with constraints or automatic controllers that modify the pose in specific frames. You can use Pose Library mode to save clean poses and apply them when needed.
Finally, the recommendation is to always work with the latest stable version of Blender, as it includes improvements in rigging, skinning, and animation that greatly facilitate the workflow and reduce frustrating errors.
When the mesh decides to dance on its own, it's not a ghost in the software, it's just that your rig is asking for a coffee ☕.