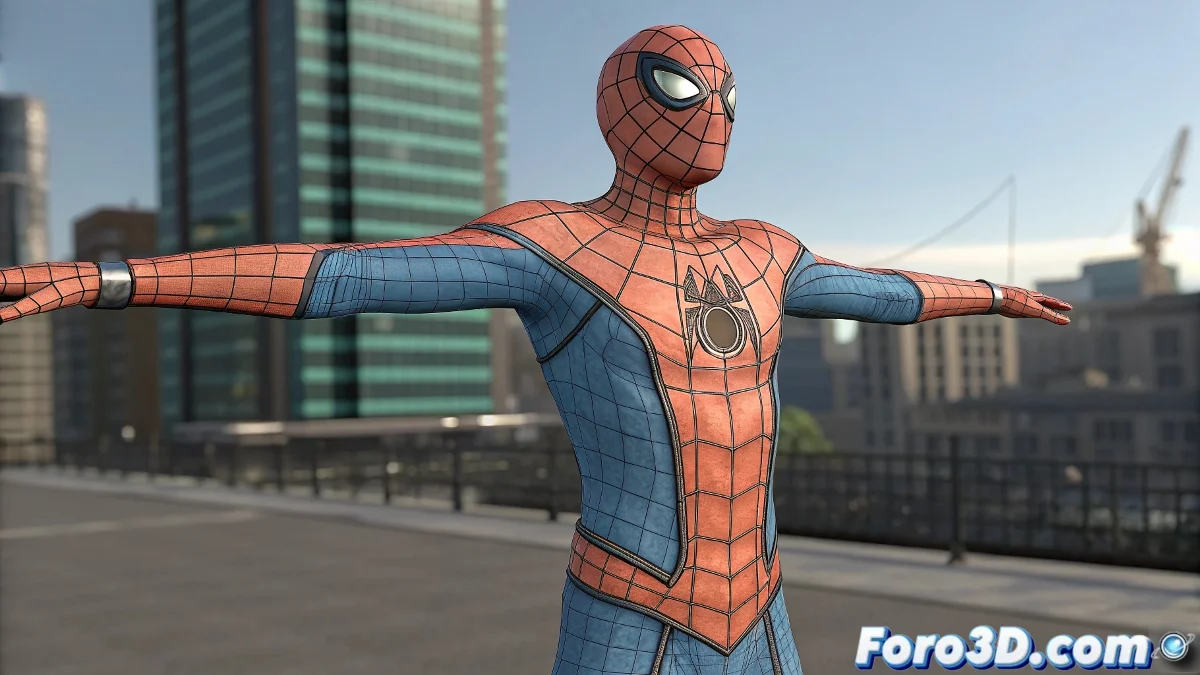
How to associate a Biped with a mesh in 3ds Max
When you link a Biped to your character in 3ds Max, what you're actually doing is applying a Skin Modifier or Physique so the mesh deforms with the skeleton. If the mesh deforms poorly, the vertex weights are probably not well distributed ⚠️.
How to do it step by step
- Model your character in a T-pose or A-pose.
- Adjust the Biped to match the character's proportions (height, arms, legs) before applying the skin.
- Select the mesh and apply the Skin modifier.
- In the Skin panel, add the main bones of the Biped (including the Pelvis).
- Adjust the envelopes (red and blue envelopes) that control the influence of each bone.
- Manually edit the vertex weights to correct deformations in shoulders, elbows, or knees 🎨.
A detail to keep in mind
The secret lies in Weight Painting. Simply applying the Skin is not enough: each character has unique proportions and needs adjustments. Think of it as tailoring a custom suit 👕. Only with patience and precision will you achieve natural deformations and a robust rig.