Adjusting Rig Weights While Posing a Character
When animating a character in Blender, it's common for the mesh to deform unexpectedly when moving the bones. These issues arise because the initial skeleton influence assignment doesn't always respond well in complex poses. To fix it, you must enter Weight Paint mode and manually edit the weight of the affected vertices. This iterative process is key to making movements look natural. 🎨
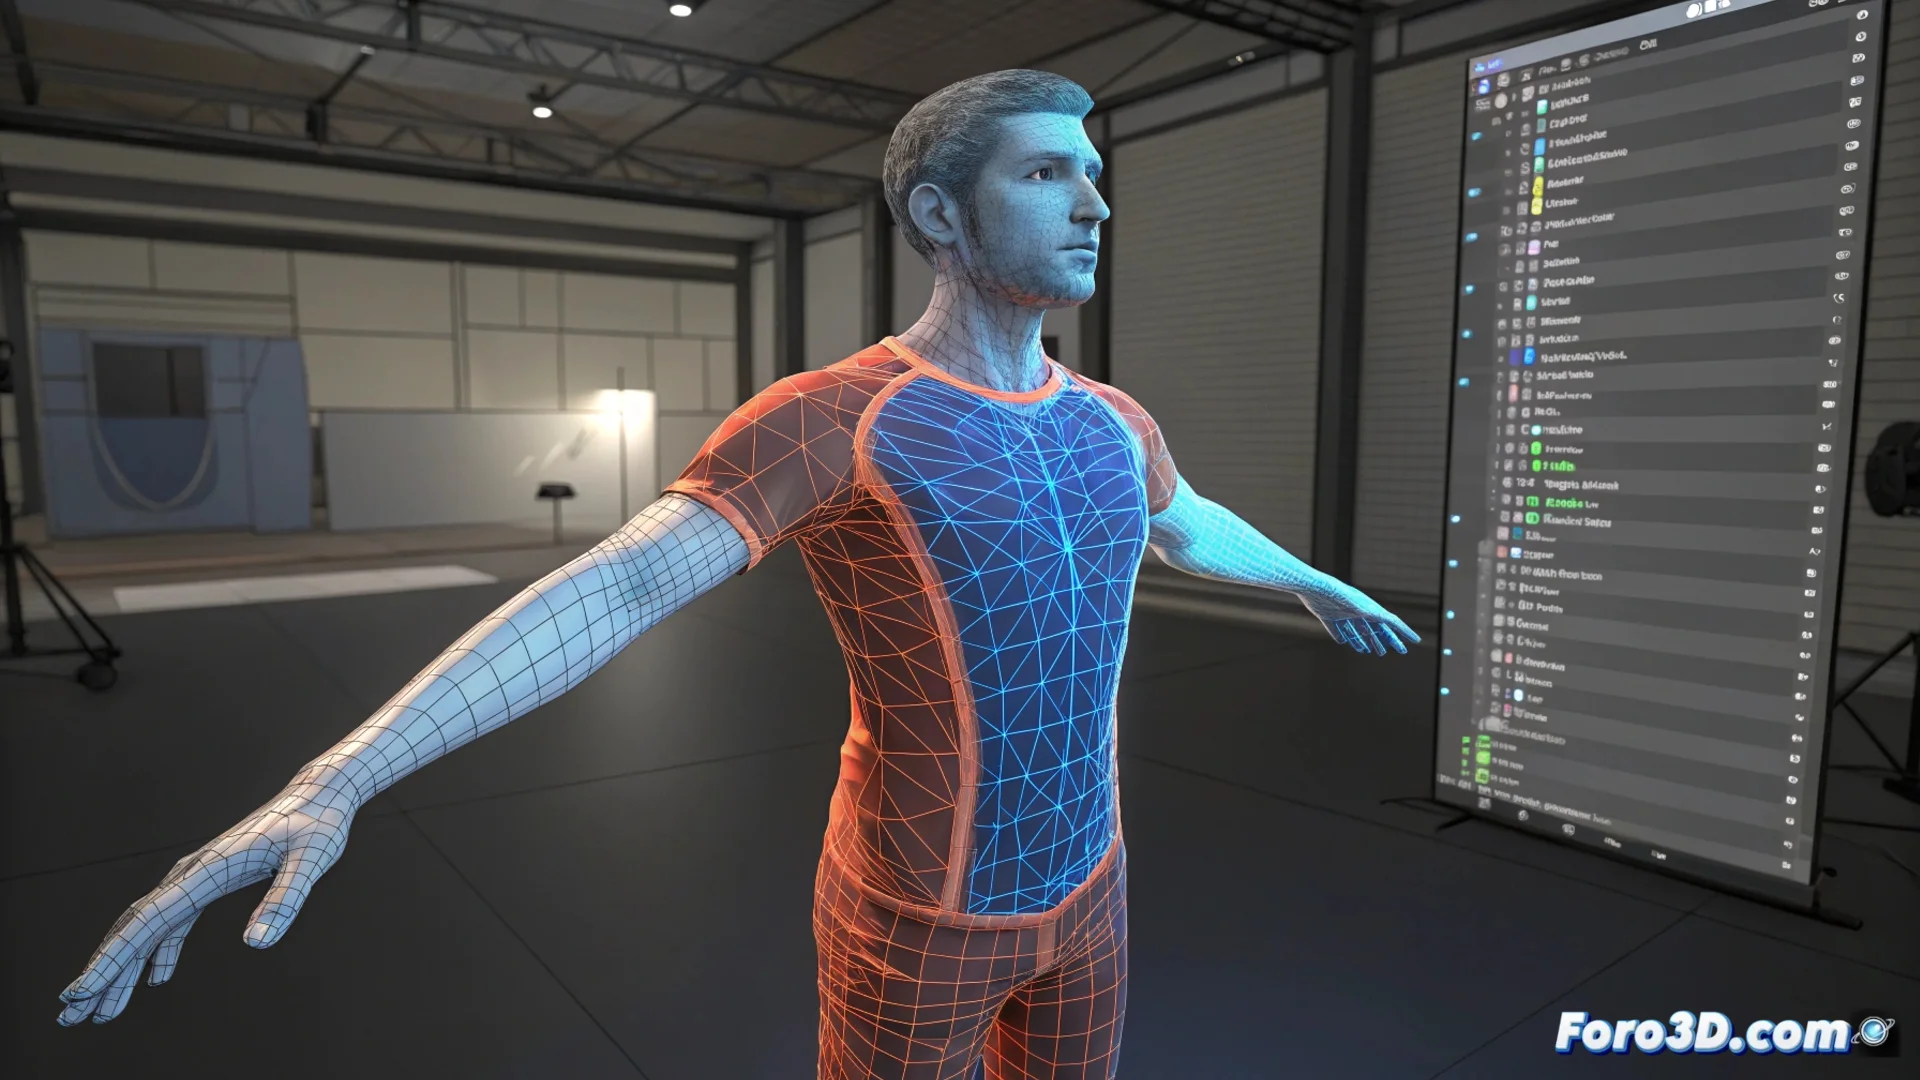
Workflow for Polishing Deformations
The effective method is based on alternating between Pose mode and Weight Paint mode. First, place the character in the pose that reveals the problem. Then, without exiting that pose, switch to painting weights to modify the bones' influence over the mesh. You can use tools like Blur to smooth or paint with extreme values. This cycle of testing, reviewing, and correcting is repeated until the deformation works throughout the necessary range of motion.
Key Steps in the Process:- Pose the character to expose the mesh deformation failure.
- Switch to Weight Paint mode while keeping the pose active.
- Adjust the weights of the problematic vertices, adding or removing influence from specific bones.
No automatic rigging system is perfect for extreme poses. Weights are only fully tested when the model moves.
Why This Step is Indispensable
Correcting weights on the fly is a standard practice in character creation. No initial automatic assignment can foresee all complex anatomical positions. Weights define how the digital skin stretches and compresses, and refining them during the posing process avoids having to redo the entire skeleton. This gives you progressive and precise control over your character.
Advantages of Real-Time Adjustment:- Allows responding to specific problems that only appear in concrete poses.
- Avoids going back to the beginning and redoing the rig from scratch.
- Helps refine control for smoother and more believable animation.
Mastering Negotiation with the Mesh
Sometimes, the mesh seems to have a mind of its own, bending an elbow or knee in an impossible direction. The solution is to "negotiate" with it using the weight brush. This iterative adjustment, though meticulous, is what separates a rigid animation from one full of life. It ensures that every joint and every fold of the digital clothing behaves as expected in every keyframe. ✨