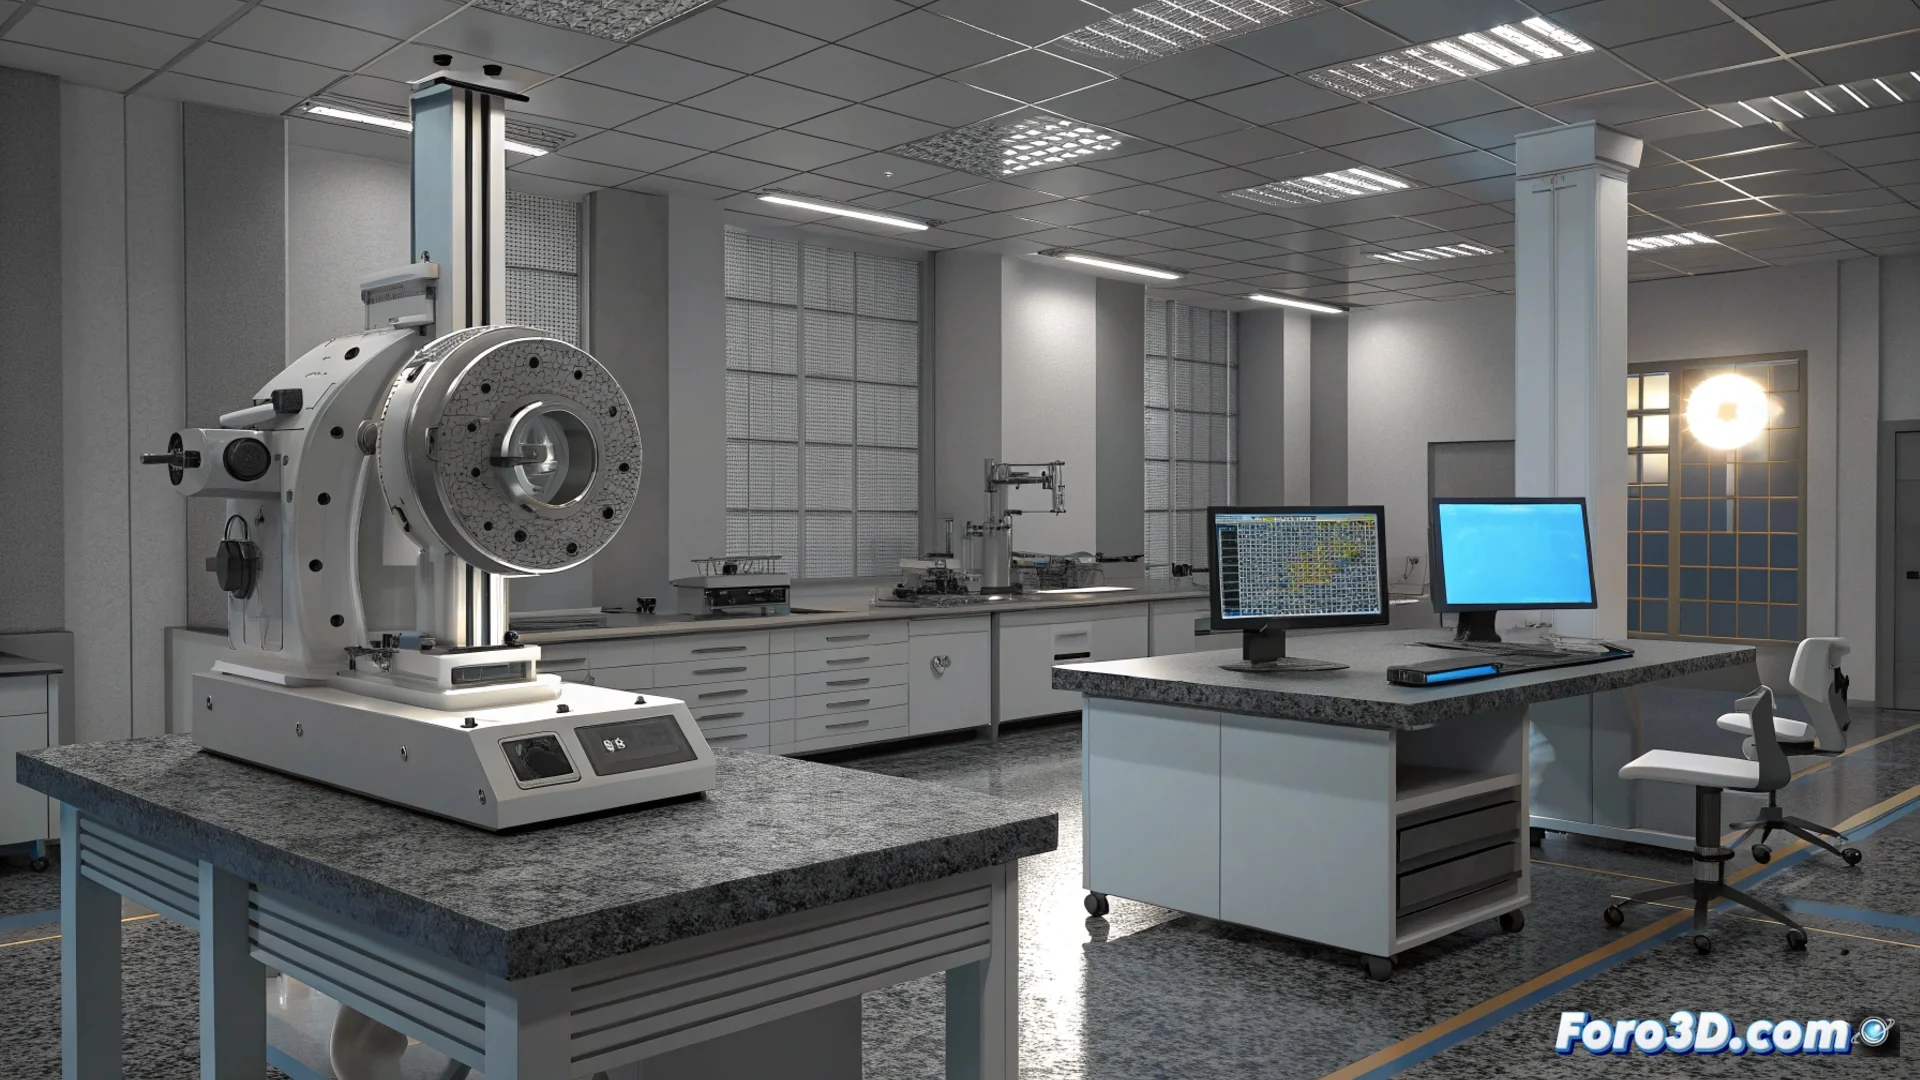
CAD-Based 3D Metrology Software for Inspecting Parts
In the field of quality control, this type of program represents a key evolution. Its operational core is a nominal CAD model, which acts as the digital reference truth against which the physical manufactured part is compared. This approach closes the gap between design and manufactured reality 🔍.
Central Workflow: From Digital to Physical
The process begins by importing the CAD file of the ideal design. Subsequently, the real part is digitized, typically using a 3D scanner, to obtain its exact geometry. The most critical step is to align this scanned point cloud or mesh precisely with the reference CAD model. This alignment establishes the basis for all subsequent inspection.
Key advantages of this method:- Eliminates dependence on 2D drawings and physical templates.
- Allows direct comparison of the manufactured geometry with the original design intent.
- Provides a common coordinate framework for analyzing deviations.
Precise alignment is the foundation that enables accurate measurement of how much the produced part deviates from the projected one.
Perform Guided and Automatic Measurements
Once alignment is complete, the software assists the operator in defining and executing the controls. These can range from basic dimensional measurements, such as verifying a diameter or a distance between holes, to evaluating more complex geometric tolerances like the flatness of a surface or the circularity of a cylinder. Automation of these steps streamlines the workflow and minimizes user error.
Types of analysis that can be performed:- Verify dimensions and distances at specific points.
- Evaluate the form and location of geometric features.
- Perform a complete scan of freeform surfaces.
Document and Visualize Results
The final value of the software materializes in its reports. These documents clearly and visually detail the discrepancies between the real part and the CAD. Using color maps over the 3D geometry, it indicates at a glance where the part has excess material (positive deviations) or lacks material (negative deviations). This capability not only identifies a problem but locates and graphically quantifies it, facilitating communication with the manufacturing or design team to implement effective corrections. Thus, complex data is transformed into actionable information 🛠️.