Simulate Orbital Motion in Cinema 4D with Hierarchies and Splines
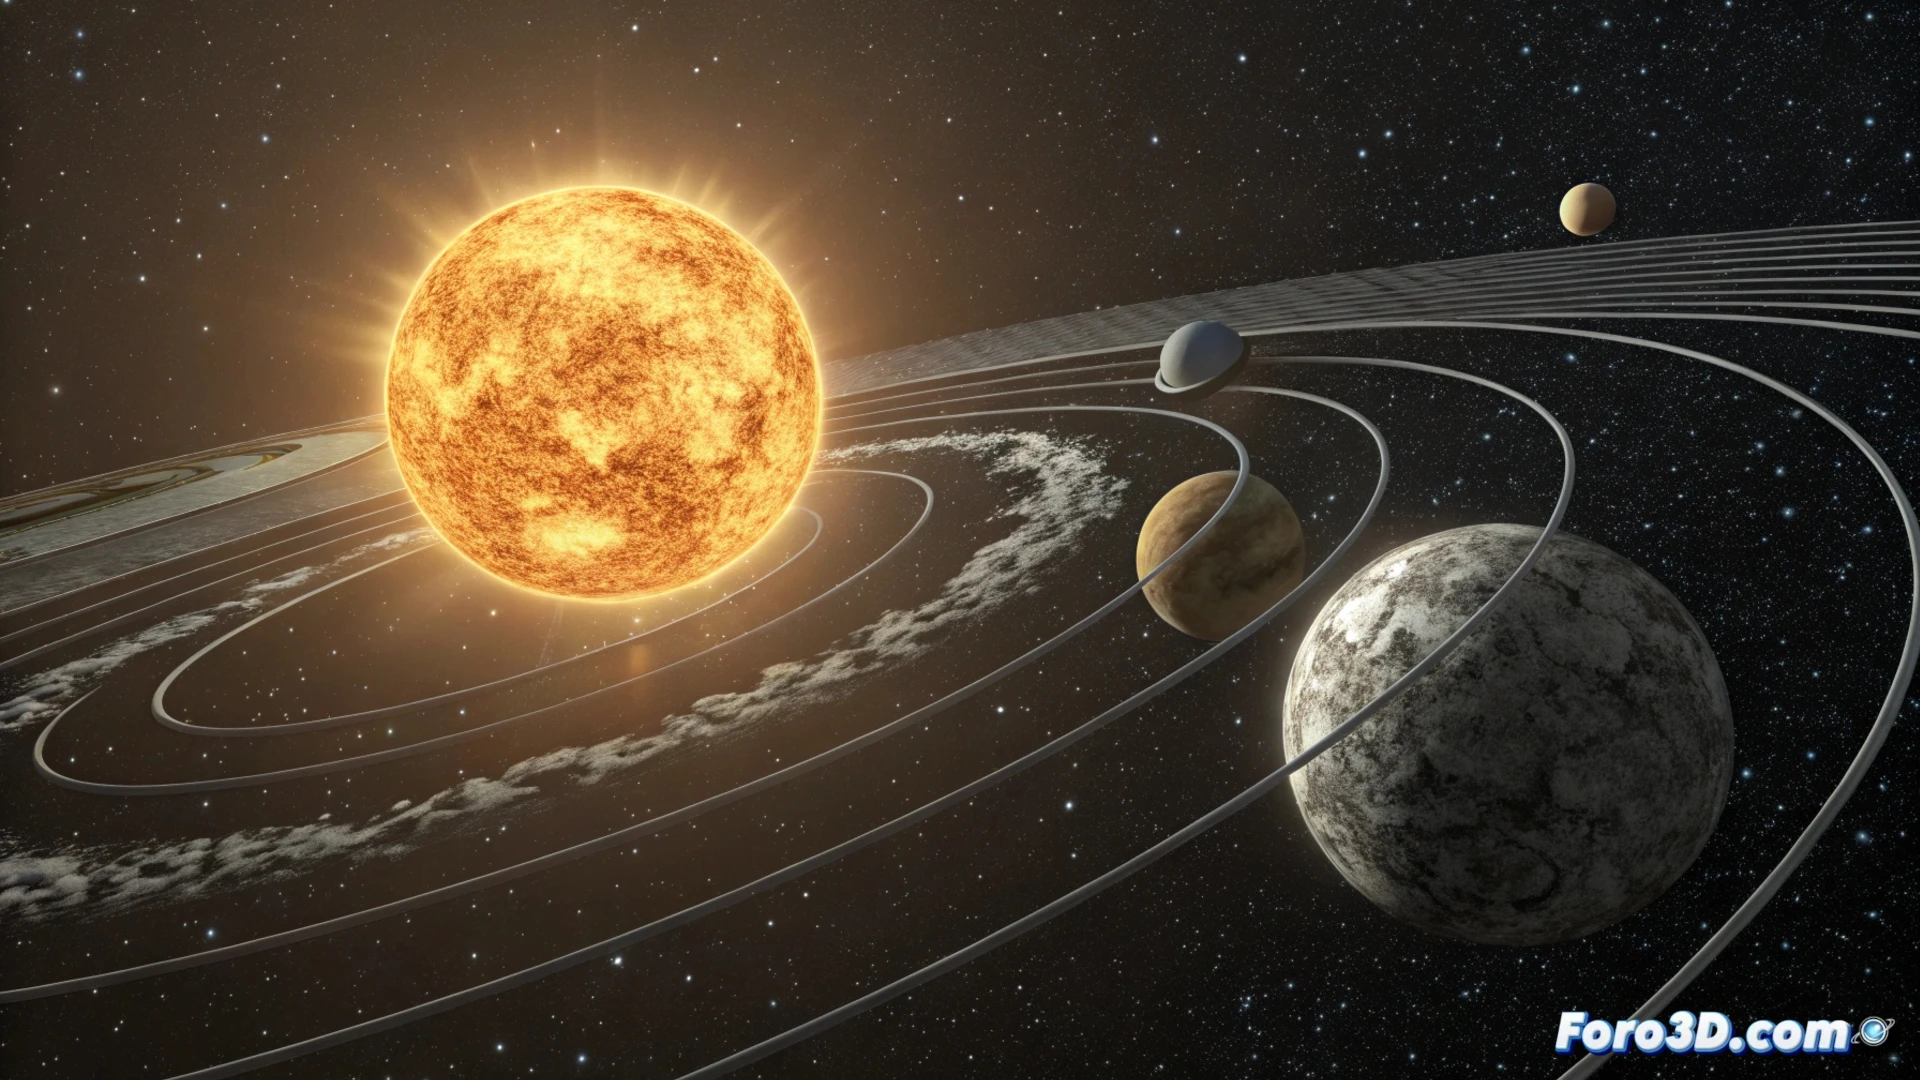
Creating an animated representation of the solar system within Cinema 4D is an excellent exercise for mastering hierarchy and path animation concepts. This tutorial will guide you step by step to produce a simulation of the motion between the Sun, Earth, and Moon in an efficient and visually clear way. 🪐
Organize the Scene with a Logical Hierarchy
The first step after modeling or importing the three celestial bodies is to structure their parent-child relationship. Place the Moon object as a direct child of the Earth object. In turn, make the Earth object a child of the Sun object. This setup ensures that any transformation applied to a parent object is automatically transmitted to its children, greatly simplifying animation control.
Key advantages of this structure:- Inherited motion: The Earth drags the Moon along on its journey around the Sun.
- Natural rotation centers: The Moon will orbit natively around its planet.
- Organized scene: The Object Manager remains clean and easy to understand.
A well-planned hierarchy is the foundation for animating complex systems intuitively.
Define Trajectories with Align to Spline
To make the planets follow an elliptical orbit, you need to define a path. Create a circular spline and modify its radius to represent the Earth's orbit. Select the Earth object and add the Align to Spline tag. In its parameters, assign the circular spline to the Spline Path field. Animate the Position percentage from 0% to 100% along the timeline to generate the translational motion. Repeat this process for the Moon, using a smaller spline whose center is the Earth. 🌍
Steps to set up the tag:- Create the spline that will act as the orbital path.
- Apply the Align to Spline tag to the object that must orbit.
- Link the spline in the Spline Path parameter of the tag.
- Animate the Position attribute to generate the displacement.
Adjust Time Scale and Size
Real orbital speeds are very different. You can simulate this in Cinema 4D. If you decide that 360 frames equal one Earth year, the Earth's Position on its spline must complete 100% in that span. For the Moon, which completes a full orbit in about 28 days, you must animate its position parameter much faster to complete multiple cycles in the same 360 frames. Use the Timeline window to synchronize and review both motions. Additionally, adjust the object scales to be proportional, although they are often exaggerated for better scene visualization. ⏱️
With this method, the Sun will remain static at the center of the composition, acting as the gravitational focal point around which the entire system revolves. This approach is not only technically solid but also makes it easy to control and modify the animation globally.