Simulate an Object Disassembling and Reassembling in Cinema 4D
Creating the illusion of a model breaking into pieces and then reassembling is a very powerful visual effect. 🌀 This tutorial shows you a method based on using fields and dynamics to control this process organically from start to finish.
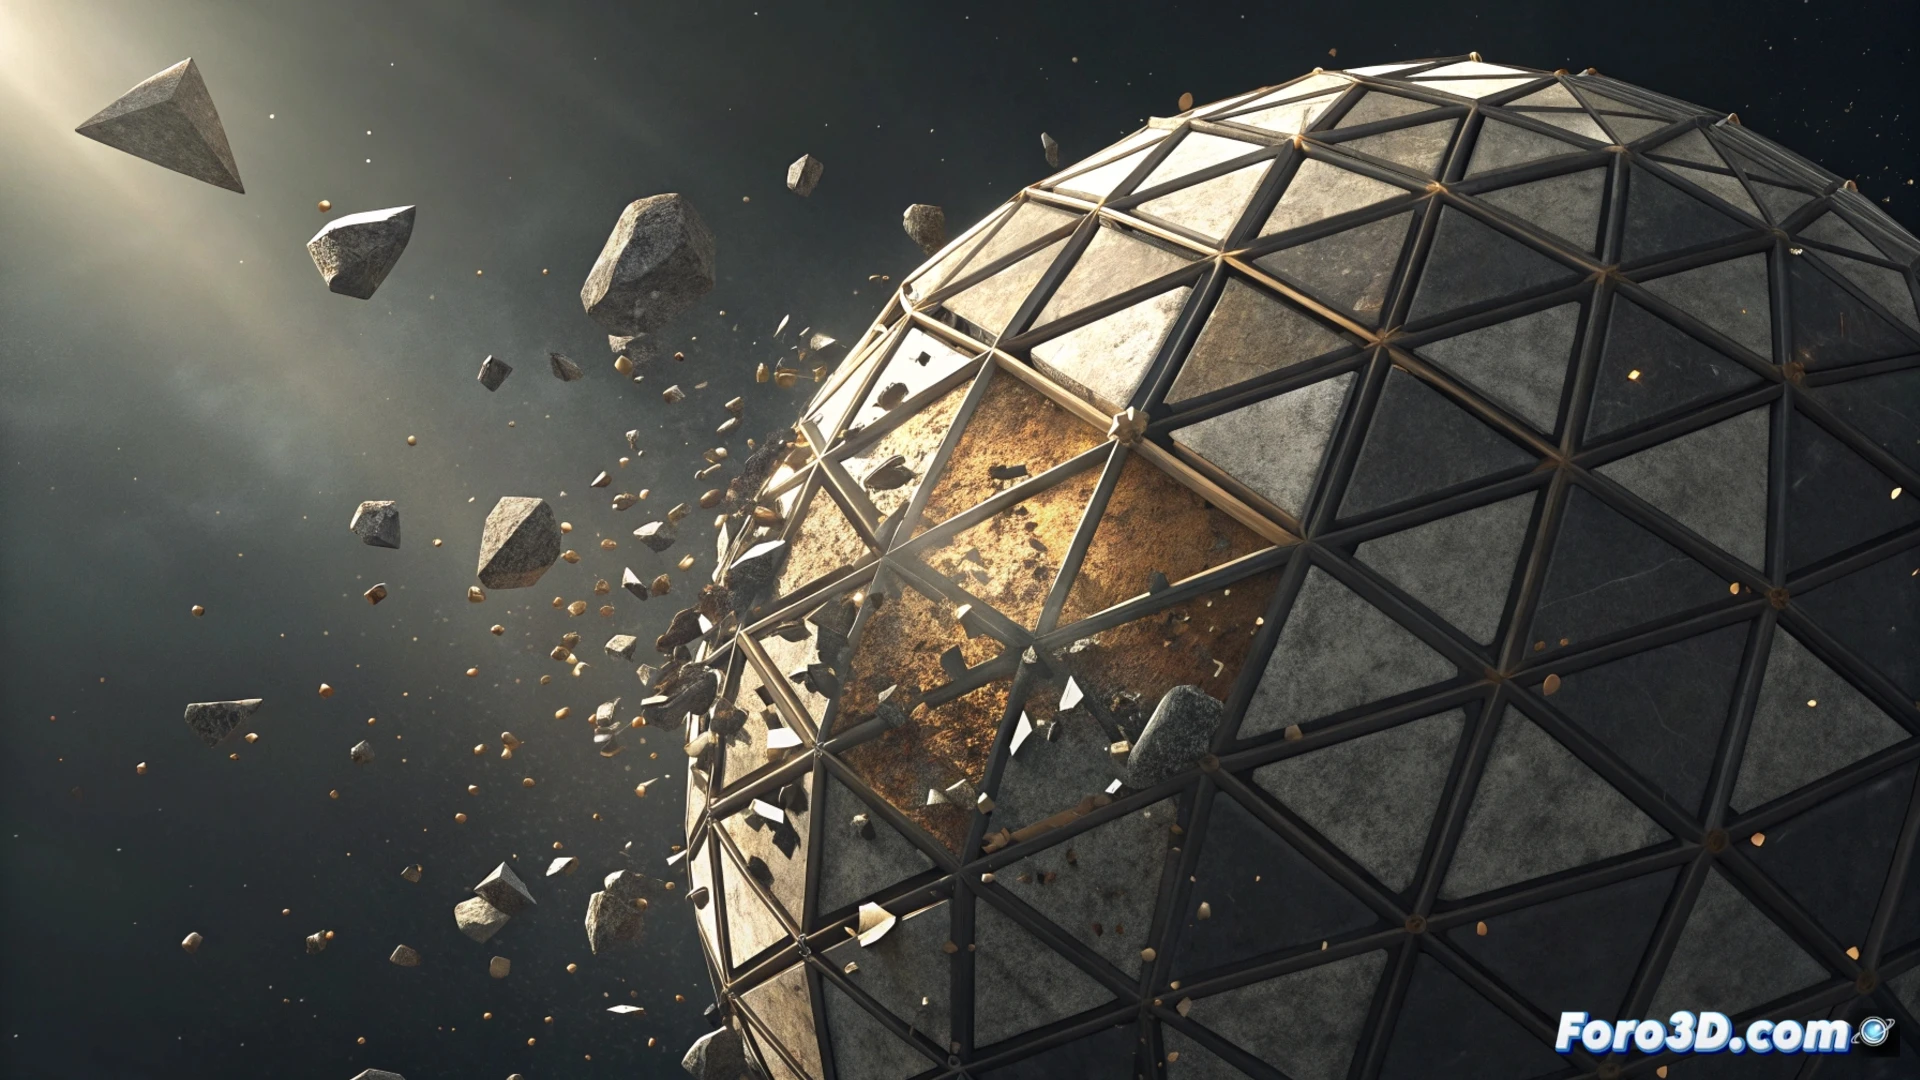
Fragment the Initial Geometry
The first step is to prepare the object you want to animate. Once in the scene, apply the Voronoi Fracture generator. This effect divides the mesh into multiple fragments procedurally, creating a believable break that will serve as the base for everything else. It is crucial for simulating a realistic decomposition.
Key steps to get started:- Add the model to your Cinema 4D scene.
- Select the object and apply the Voronoi Fracture effect from the simulations or generators menu.
- Adjust the quantity and scale of the cells to control the size of the resulting fragments.
The Voronoi fracture generates a random but controlled base, perfect for simulating a chaotic break.
Direct the Pieces with Linear Fields
The magic happens by using fields to animate how the pieces disperse and return. Create a Linear Field and animate its intensity parameter so that the fragments move away. For the return, duplicate this field and reverse its direction on the timeline. Assign the first field to the Strength parameter in the dynamics solver so that the pieces fall due to gravity. Use the second field, with its inverted animation, to pull them back to their initial position. 🔄
Field Setup:- First Linear Field: Animate the intensity from low to high to scatter the fragments.
- Second Linear Field (duplicated): Animate the intensity from high to low (or use a reverse track) to gather them.
- Connect each field to the rigid body solver at opposite moments in the animation.
Polish the Movement and Visual Appearance
You can refine the realism by modifying the physical properties and materials. In the rigid body solver, reduce the gravity force or incorporate a turbulence field to achieve a more unpredictable and natural movement. For the materials, animate the opacity channel or use a Layer Shader so that the fragments dissolve and appear progressively, smoothing the transition between states. Patience is key; sometimes the fragments decide to follow their own path before returning to the original shape. 💎