Lighting a House in 3ds Max for a Virtual Tour
Creating an interactive walkthrough of a home in 3ds Max requires careful planning of the lighting for each time of day and the function of each room. The goal is for the viewer to perceive a realistic and coherent atmosphere while moving through the different spaces. 🏠
Establishing the Base Natural Lighting
The first step is to define the light coming from outside, which will serve as the base for all scenes. For this, you can use the Daylight system in 3ds Max, which realistically simulates the sun and sky, or load an HDRI map for total control over the global environment. This main light will filter through windows and doors, defining the shadows and basic light intensity in all interiors during the tour animation.
Options for Exterior Light:- Use the Daylight system with geographic location and exact time settings.
- Implement an HDRI in the environment to uniformly control reflections and ambient light.
- Adjust the intensity and color of the sunlight to simulate dawn, noon, or dusk.
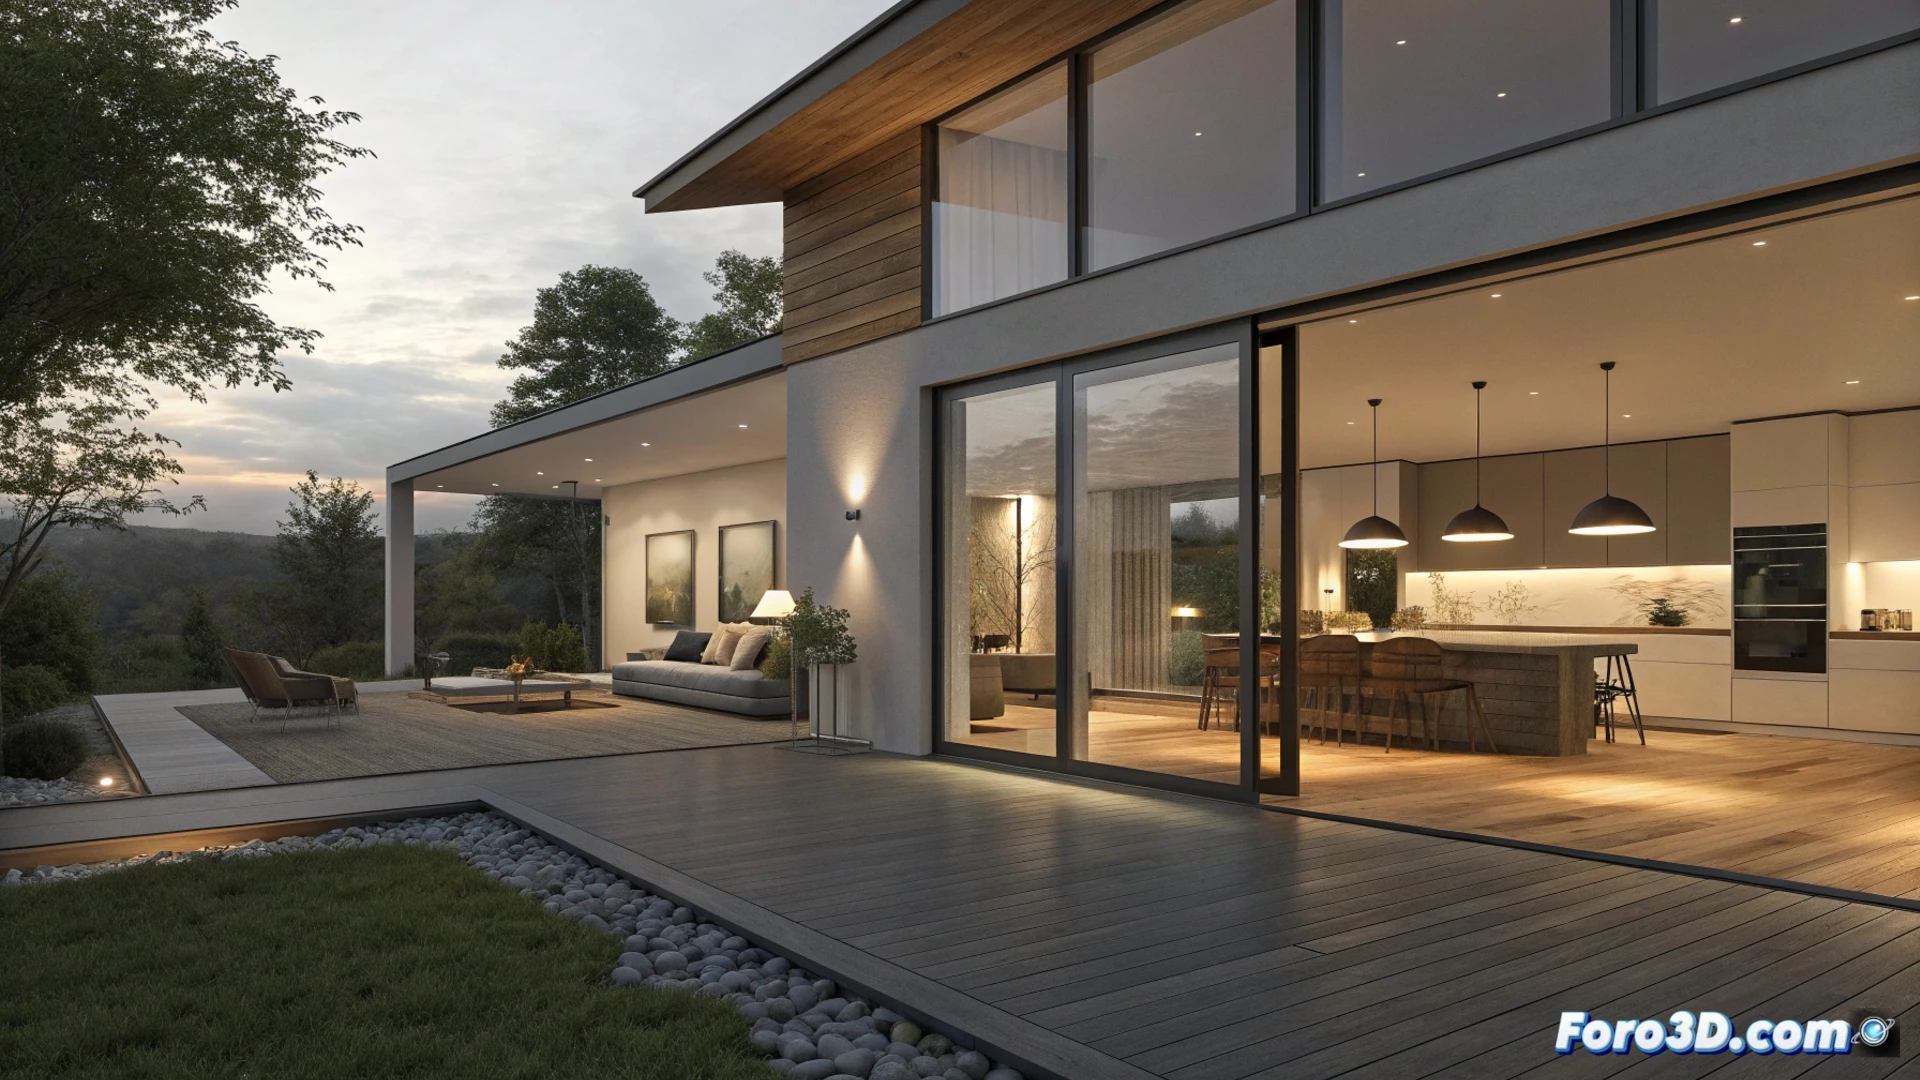
Complementing with Artificial Light in Each Room
Inside the house, it is necessary to add artificial light sources that complement the natural light and define the character of each room. In areas like the living room or dining room, use soft Plane or Sphere type lights to mimic ceiling lamps, and add spots to highlight paintings or decorative elements. In the kitchen, place linear lights under the upper cabinets and cooler-toned light points over the work area. For bedrooms, choose warm and diffuse lighting, using table lamps with attenuation parameters. In outdoor areas like the patio, use projectors to light paths and point lights to highlight plants or trees.
Distribution by Rooms:- Living Room/Dining Room: Wide and soft lights + directional spotlights for accents.
- Kitchen: Functional linear lighting under furniture and cool points on countertops.
- Bedrooms: Warm and dim atmosphere with attenuated night lamps.
- Exterior: Projectors for paths and point lights for vegetation.
A virtual bulb doesn't burn out, but your patience adjusting parameters might. The key is to test and review the tour from the camera view.
Configuring the Render to Unify the Lighting
The final step is to unify all light sources in the render engine. Whether using V-Ray, Corona, or another, you must adjust the power, color tone, and light falloff of each emitter to avoid overexposed or too dark areas. To efficiently calculate the bouncing light and ensure smooth transitions between spaces in the final video, enable maps like Irradiance Map and Light Cache. Render in multiple passes or use a denoiser to achieve clean images free of digital noise.
Key Settings in the Render Engine:- Balance intensity and color of each light to achieve global equilibrium.
- Use Irradiance Map and Light Cache to optimize indirect light calculation.
- Apply denoiser or multipass render to eliminate grain and maintain details.
Remember that the success of the virtual tour lies in constantly testing from the perspective of the camera that will traverse the scene, not just from preliminary views. Meticulously adjusting each lighting parameter will ensure a coherent and engaging visual experience from start to finish. ✨