How to Animate Objects Along a Path in 3ds Max
In 3ds Max, an effective way to make a model follow a specific path is by using the Path Constraint controller. This method is ideal for simulating complex movements, such as a spaceship flight or a camera path. 🚀
Setting Up the Path and Linking the Object
The first step is to draw the line that will mark the path. Then, select the element you want to animate and go to the menu Animation > Constraints > Path Constraint. Finally, drag the visual controller to the spline to create the link.
Key steps to set up:- Create the spline: Use the shape tools to draw the desired trajectory.
- Apply the constraint: Link the object to the path from the animation menu.
- Verify the linkage: The object will automatically move to the start of the spline.
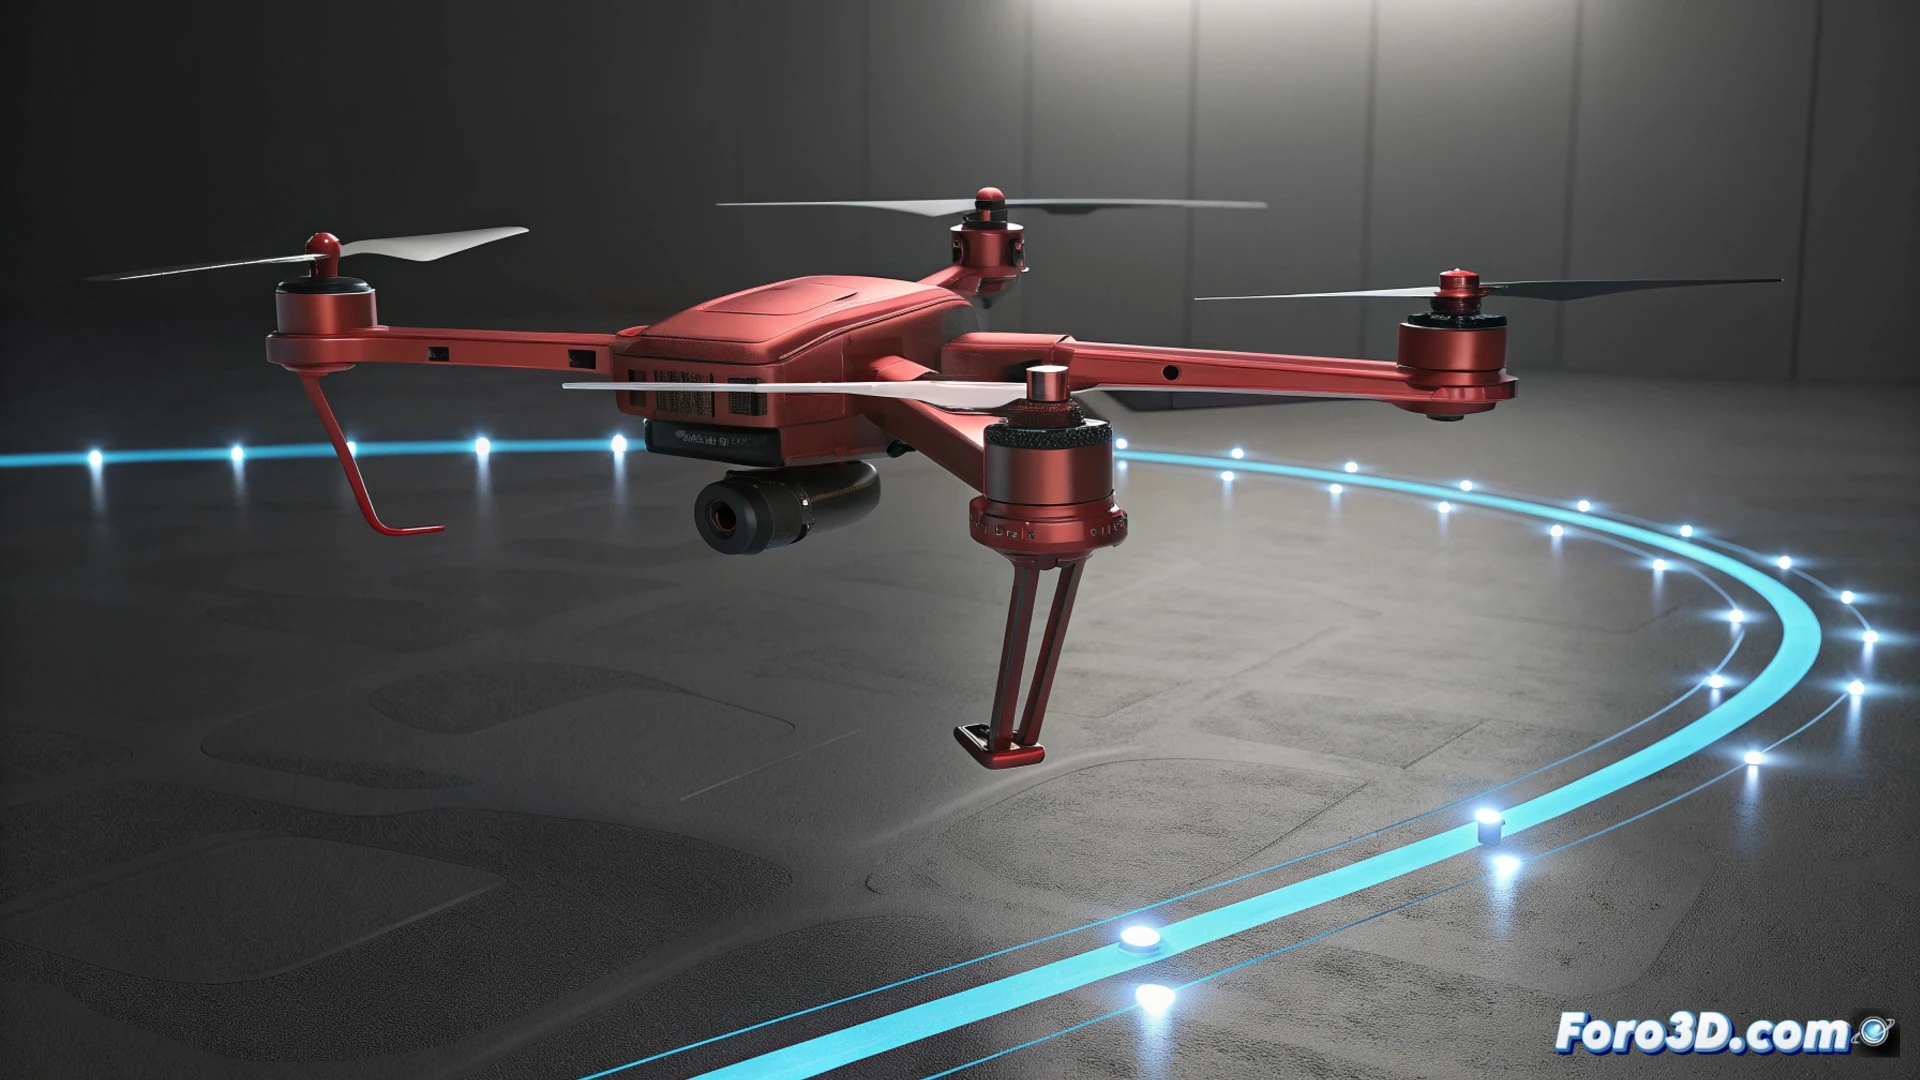
The Path Constraint controller transforms a static spline into a dynamic guide for animation.
Customizing the Movement Behavior
Once linked, access the motion panel to fine-tune how it moves. Enabling the Follow option will make the object rotate to face the direction of the path. Checking Bank will add a lateral tilt in curves, useful for vehicles. You can handle speed and starting point by editing the keyframes of the Percent parameter in the timeline.
Advanced settings on the path:- Orientation (Follow): Aligns the model's front axis with the curve.
- Tilt (Bank): Simulates centrifugal forces in turns.
- Speed control: Modify the percentage animation curve to accelerate or decelerate.
Refining Interpolation and the Path
For smooth movement, it's crucial to edit the spline. Add vertices and change them to Bezier type to handle tangents and smooth transitions. In the curve editor, modify the interpolation of the Percent value to achieve realistic accelerations. Sometimes, reviewing these settings prevents the object from behaving unexpectedly and passing through geometry. 🎬