Animating Characters in the Counter-Strike Style with Blender
Achieving a model's movement with the unique character of classic shooters requires a specific approach. This tutorial explains the key steps to recreate that look in Blender, from the base to the final export. 🎮
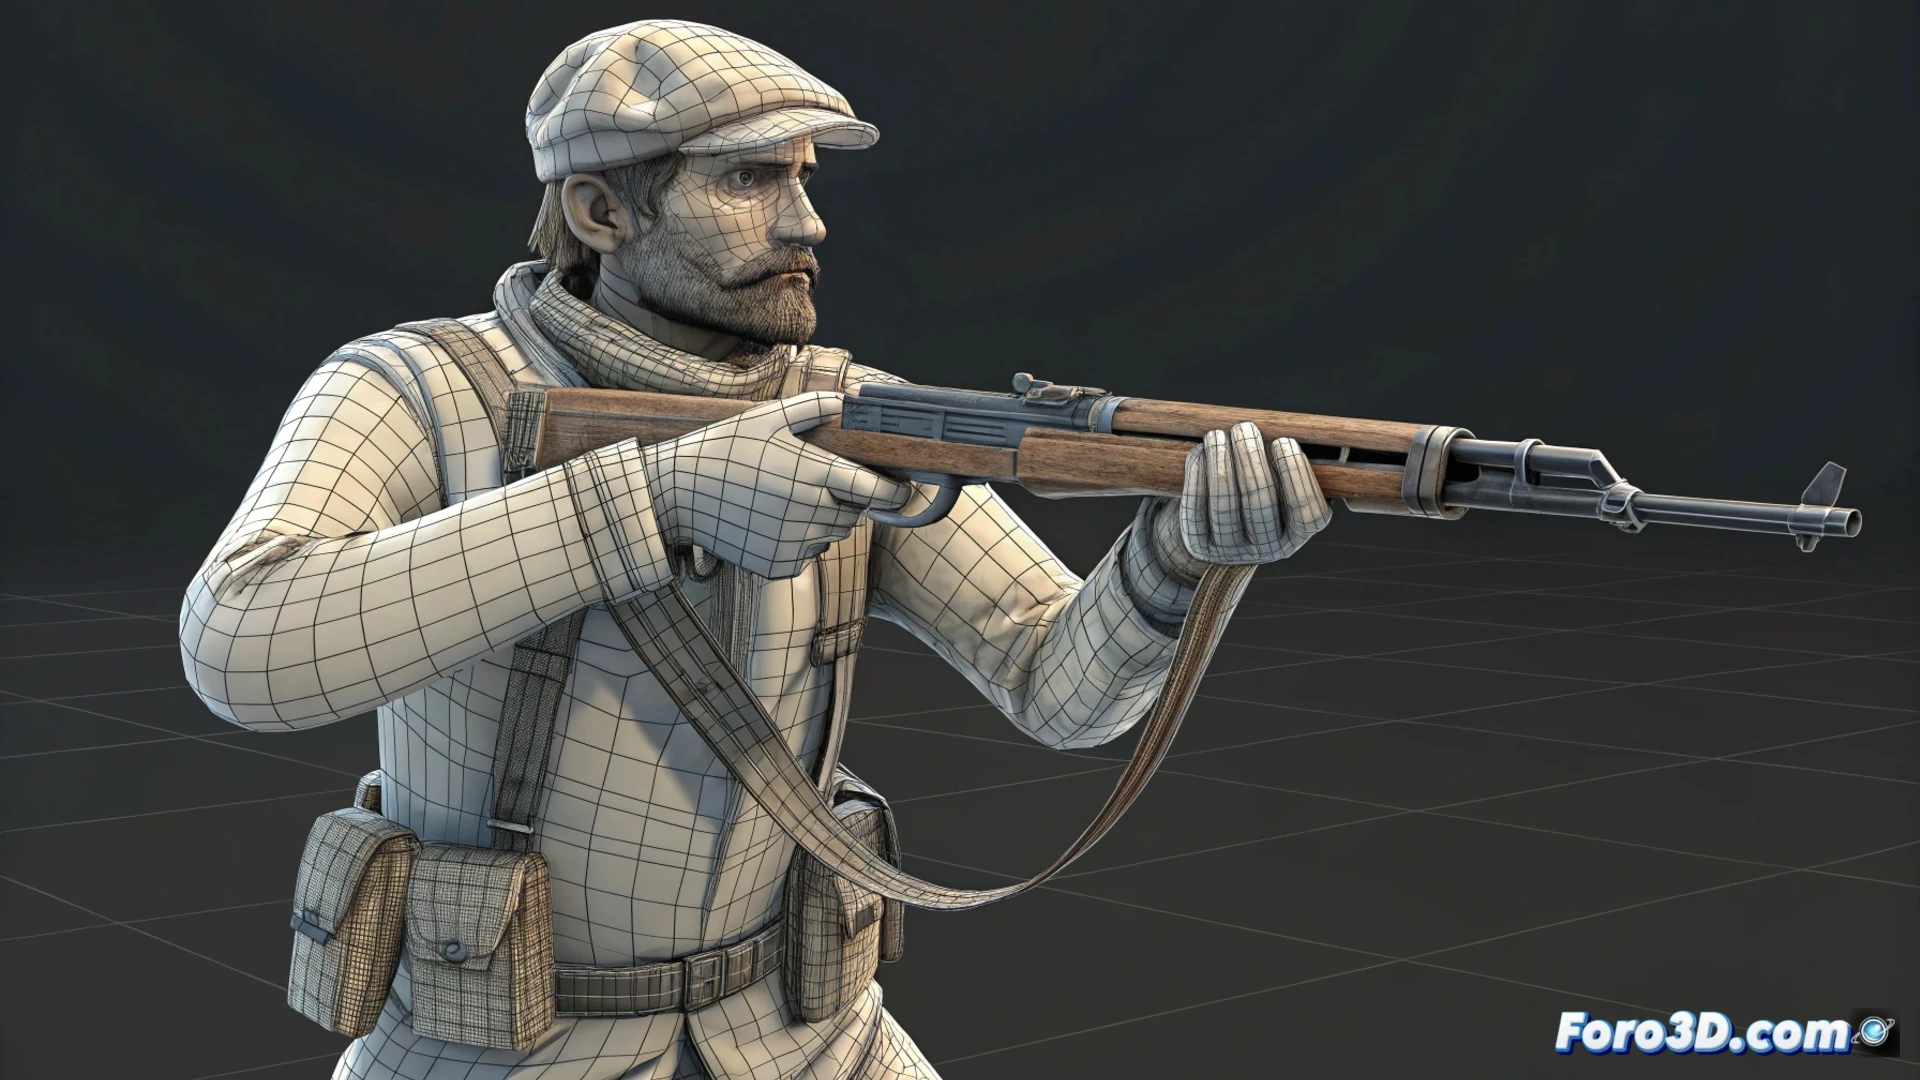
Prepare the Model Structure
The first step is to build a digital skeleton or rig that is simple and responds quickly. The goal is to imitate the efficiency of old games, where each bone has a clear purpose. Setting up controllers to be agile and direct is fundamental for manipulating movements easily.
Key points for the rig:- Use a minimalist and direct bone hierarchy.
- Adjust controllers for immediate response.
- Prioritize ease of manipulation over anatomical complexity.
In this style, a gravity-defying jump is not a flaw; it's a nostalgic wink.
Develop Essential Movements
You must focus on producing the main animation cycles: idle, walking, running, and shooting action. For the walk, seek a very pronounced arm swing and a low center of mass. Transitions between one animation and another must be abrupt, without smooth blends, to copy the feel of the GoldSrc engine. It is vital to export each animation as an independent file.
Animation cycles to create:- Idle: Base posture with slight breathing movements.
- Walk: Exaggerated arm and torso movement, with firm footsteps.
- Shoot: Quick and recognizable action, with pronounced recoil.
Prepare and Test the Export
The final phase is to extract the model and its animations for the target engine. Use add-ons like Source Tools for Blender or take the data to an intermediate format like FBX or SMD. Verify that the bone names and animation names exactly match what the engine needs. The only way to check that the weight and speed of the movements are correct is to test them in the real game environment. ✅