Animating a hose in Blender sounds simple, but it can become a headache if you don't use the right tools. In this forum tutorial, we explain how to use the Curve modifier and Armature bones to achieve smooth and realistic movement. Forget manual keyframes: here you will learn the efficient method so your hose twists as it should. 🐍
The workflow with Curve and Armature 🛠️
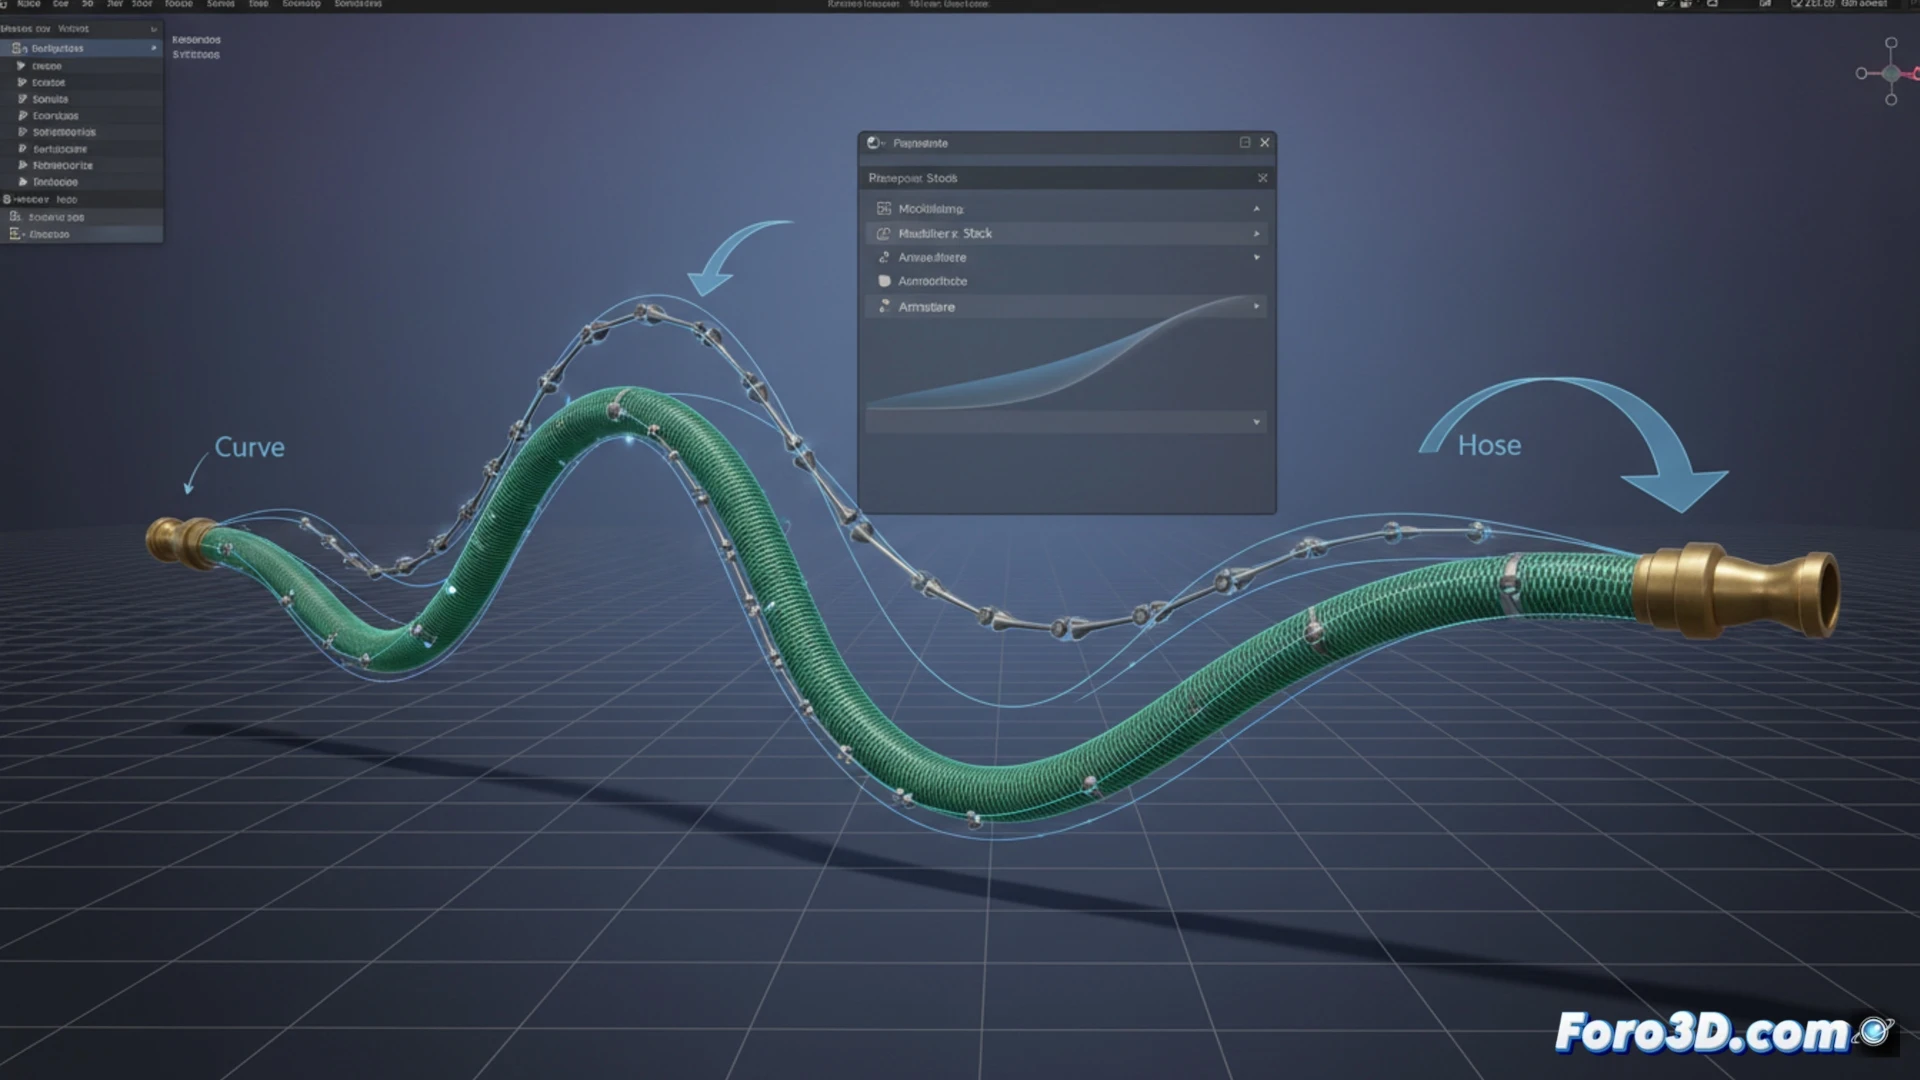
First, model the hose as a cylinder with enough subdivisions. Then, add a Bezier curve that will serve as a guide. Apply the Curve modifier to the object and adjust the geometry. For animation, add an Armature with bones that follow the curve; use the Follow Path constraint or IK (inverse kinematics) to control the trajectory. Don't forget to adjust the bone stiffness to avoid robotic movements. This method gives you precise control over each section without blowing up the timeline.
The day my hose turned into an octopus 🐙
The first time I tried to animate a hose, I ended up with something that looked like a drunk octopus spinning around. It turns out I forgot to set the object and curve origins. The golden advice: place the origin at the starting point of the hose, or your animation will be a quantum physics chaos. If things get out of hand, you can always blame Blender and have a coffee. Or an ibuprofen.