Ghostbusters: Spirits Unleashed represents a fascinating case study for independent developers. The game uses Unreal Engine 4 to recreate the iconic ghostbusting team, standing out for its particle systems and destructible environments. We analyze how the proton beams and spectral effects were implemented, combining tools like Blender and Photoshop to achieve solid real-time performance without sacrificing visual quality.
Technical implementation of beams and particles 🛠️
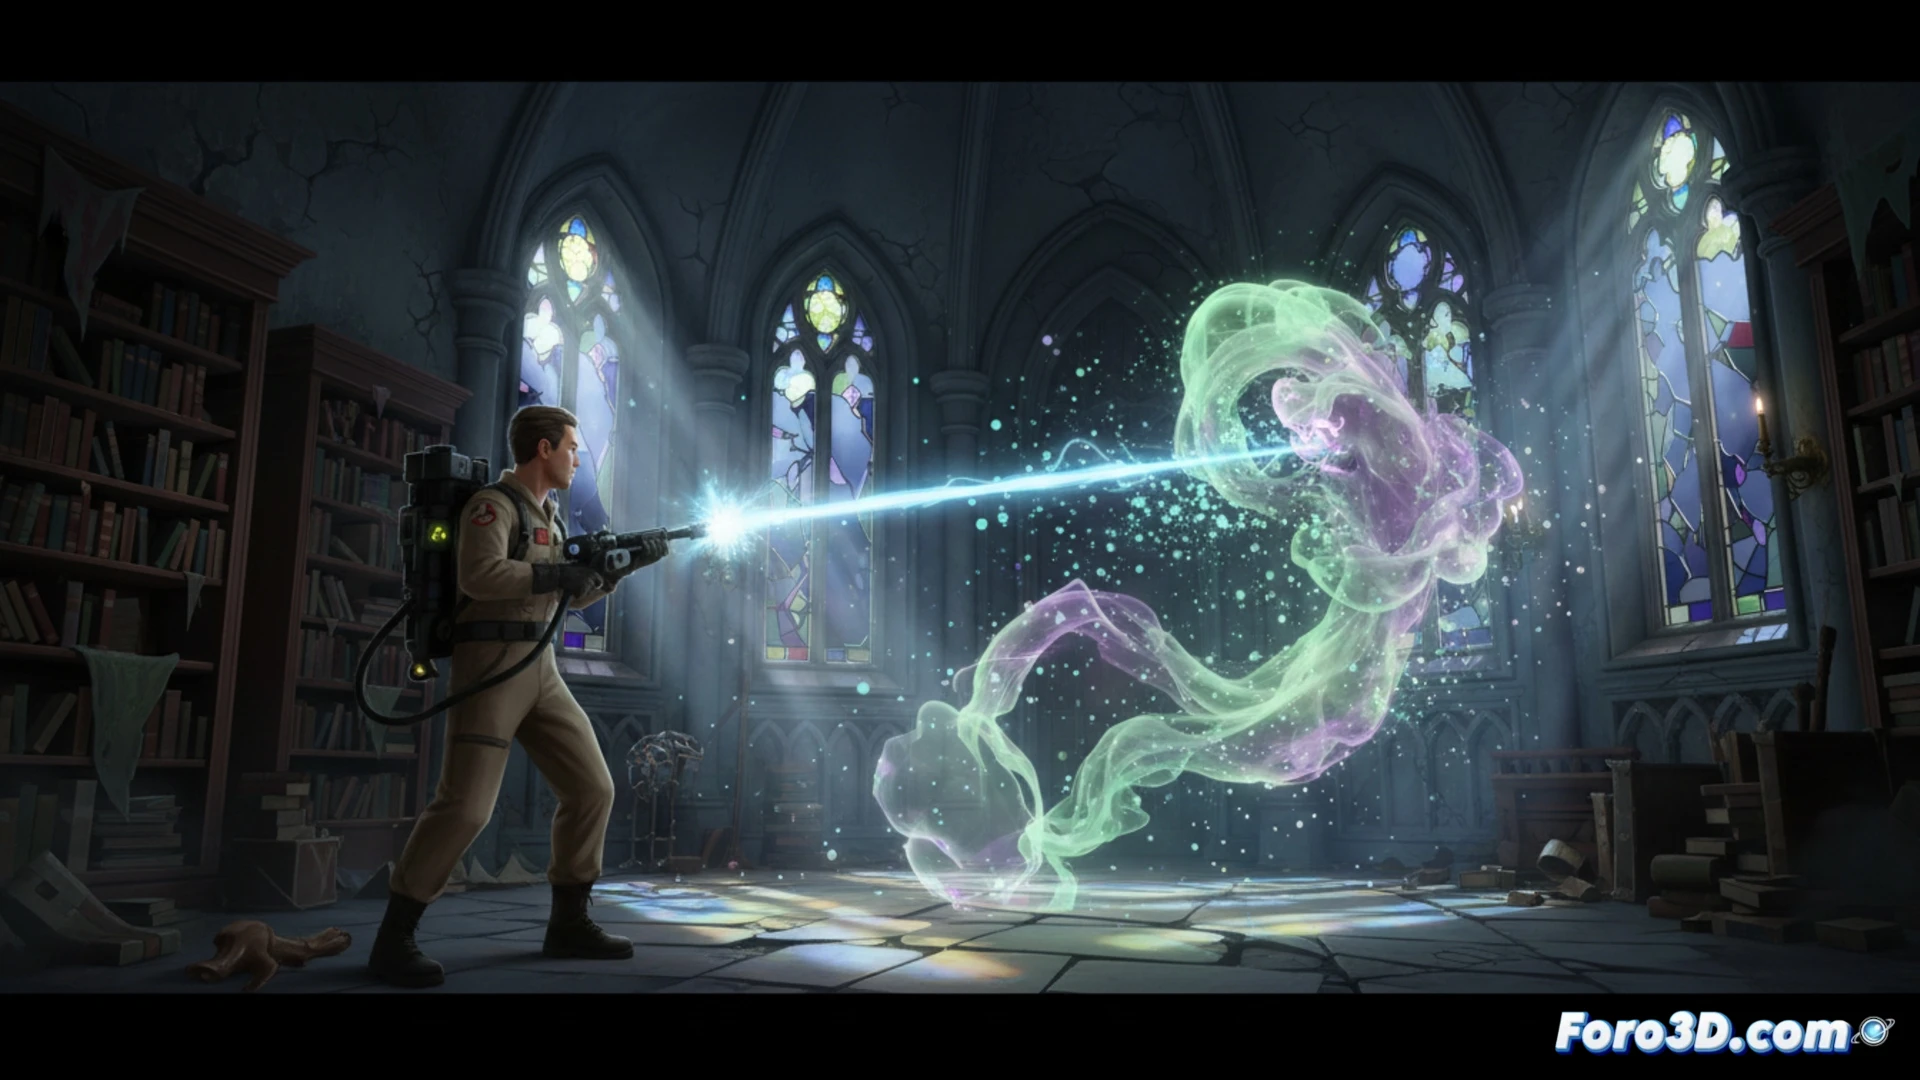
The proton beam is achieved through a cascading particle system within Niagara. A dynamic beam that updates per frame is used, combined with a material that receives collision data to generate sparks and shockwaves. Spectral particles, on the other hand, employ animated sprites with procedural noise textures created in Photoshop. For modeling the ghosts and equipment, Blender was key, allowing optimized retopology to keep the polygon count low. Destructible environments were implemented with pre-calculated fractures using UE4's destruction system, activating physics only when the player interacts with the object.
Lessons for independent developers 💡
If you're looking to replicate similar effects, prioritize using materials with noise masks instead of individual particles to save draw calls. For destruction, limit physical simulations to a radius close to the player and use aggressive LODs. Remember that in Unreal Engine 4, the key lies in the balance between visual fidelity and performance; a good asset modeled in Blender with 1K textures from Photoshop can look better than a poorly optimized 4K one.
How would you implement a spectral particle system with reactive behavior in Unreal Engine 4 for an independent project, taking as reference the techniques of the proton beams in Ghostbusters: Spirits Unleashed
(PS: shaders are like mayonnaise: if they break, you start all over again)