Reverse engineering no longer requires expensive equipment. With a smartphone and free software, you can digitize any physical object. This tutorial guides you through a professional workflow without licenses: photogrammetric capture with RealityScan, texture cleaning with Agisoft Texture De-lighter, and post-processing in Blender. A practical alternative for makers, designers, or hobbyists looking to replicate, archive, or repair real-world objects.
Step-by-step workflow: from photo to clean 3D model 🛠️
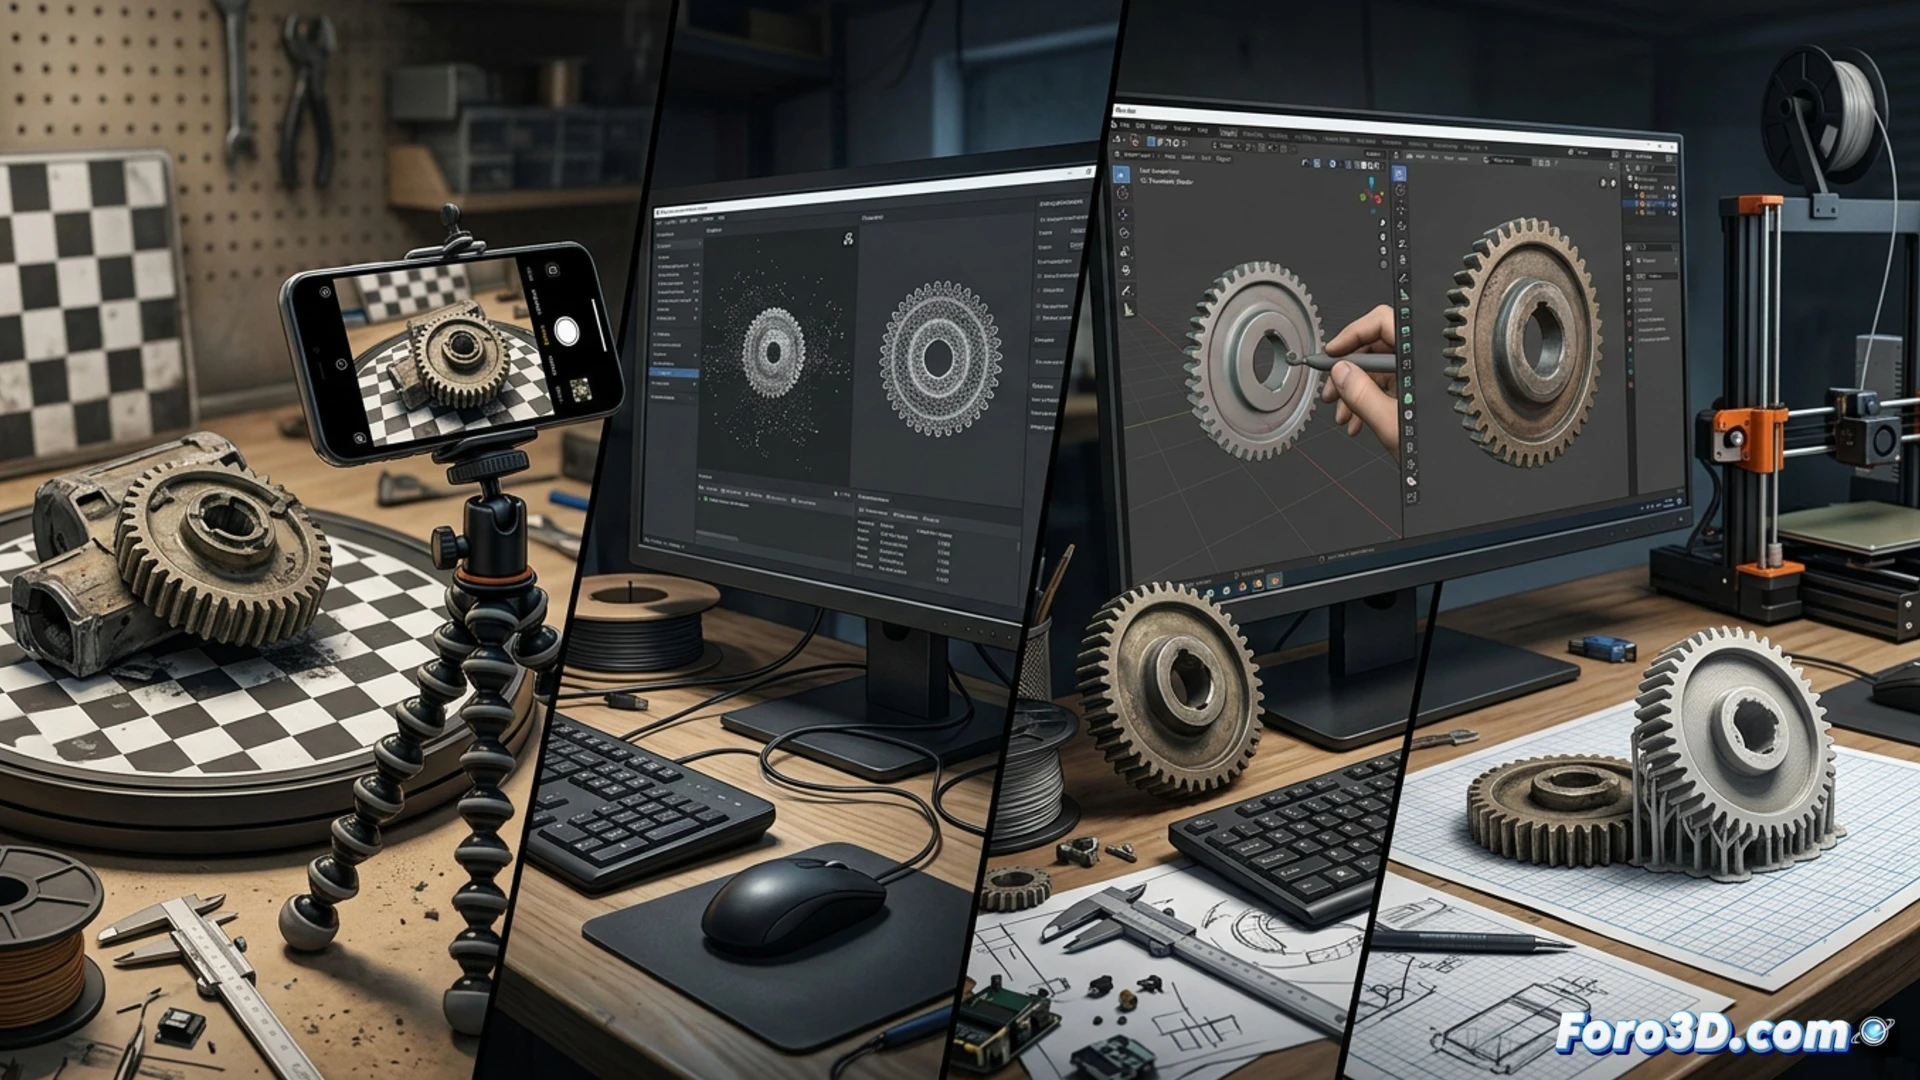
The process begins with Epic Games' RealityScan. Capture between 50 and 100 photos of the object, overlapping each shot by 70% and with good lighting. The app generates a 3D mesh with texture. The next step is crucial: use Agisoft Texture De-lighter, a free tool that removes shadows and reflections embedded in the texture, leaving a neutral and reusable color map. Finally, import the OBJ or PLY model into Blender. Here, you retopologize the mesh if necessary, repair holes with the Remesh modifier, and optimize the geometry for your final project, whether 3D printing or integration into a game engine.
Why this method makes a difference for the hobbyist ✨
This workflow demonstrates that quality reverse engineering is accessible. By avoiding generative AI solutions, you have total control over the result, faithful to the original object. The key is the combination of specialized free tools: one for capture, another for texture cleaning, and one last for editing. It's fundamental knowledge for any digital workshop that wants to become independent from expensive licenses or cloud services, putting the power of digitization in your hands.
Is it possible to obtain professional 3D models for reverse engineering using only your smartphone camera and photogrammetry techniques?
(PS: if the CAD model doesn't fit, you can always say it's industrial tolerance)