Recreating the unique atmosphere of the underwater world in Blender requires attention to specific details. This article focuses on three pillars to achieve believable scenes: lighting that attenuates and changes color, the environment with suspended particles, and the adaptation of materials and animation to water physics. A technical approach that combines nodes, volumes, and simulation.
Technical setup for lighting and volumes 🎨
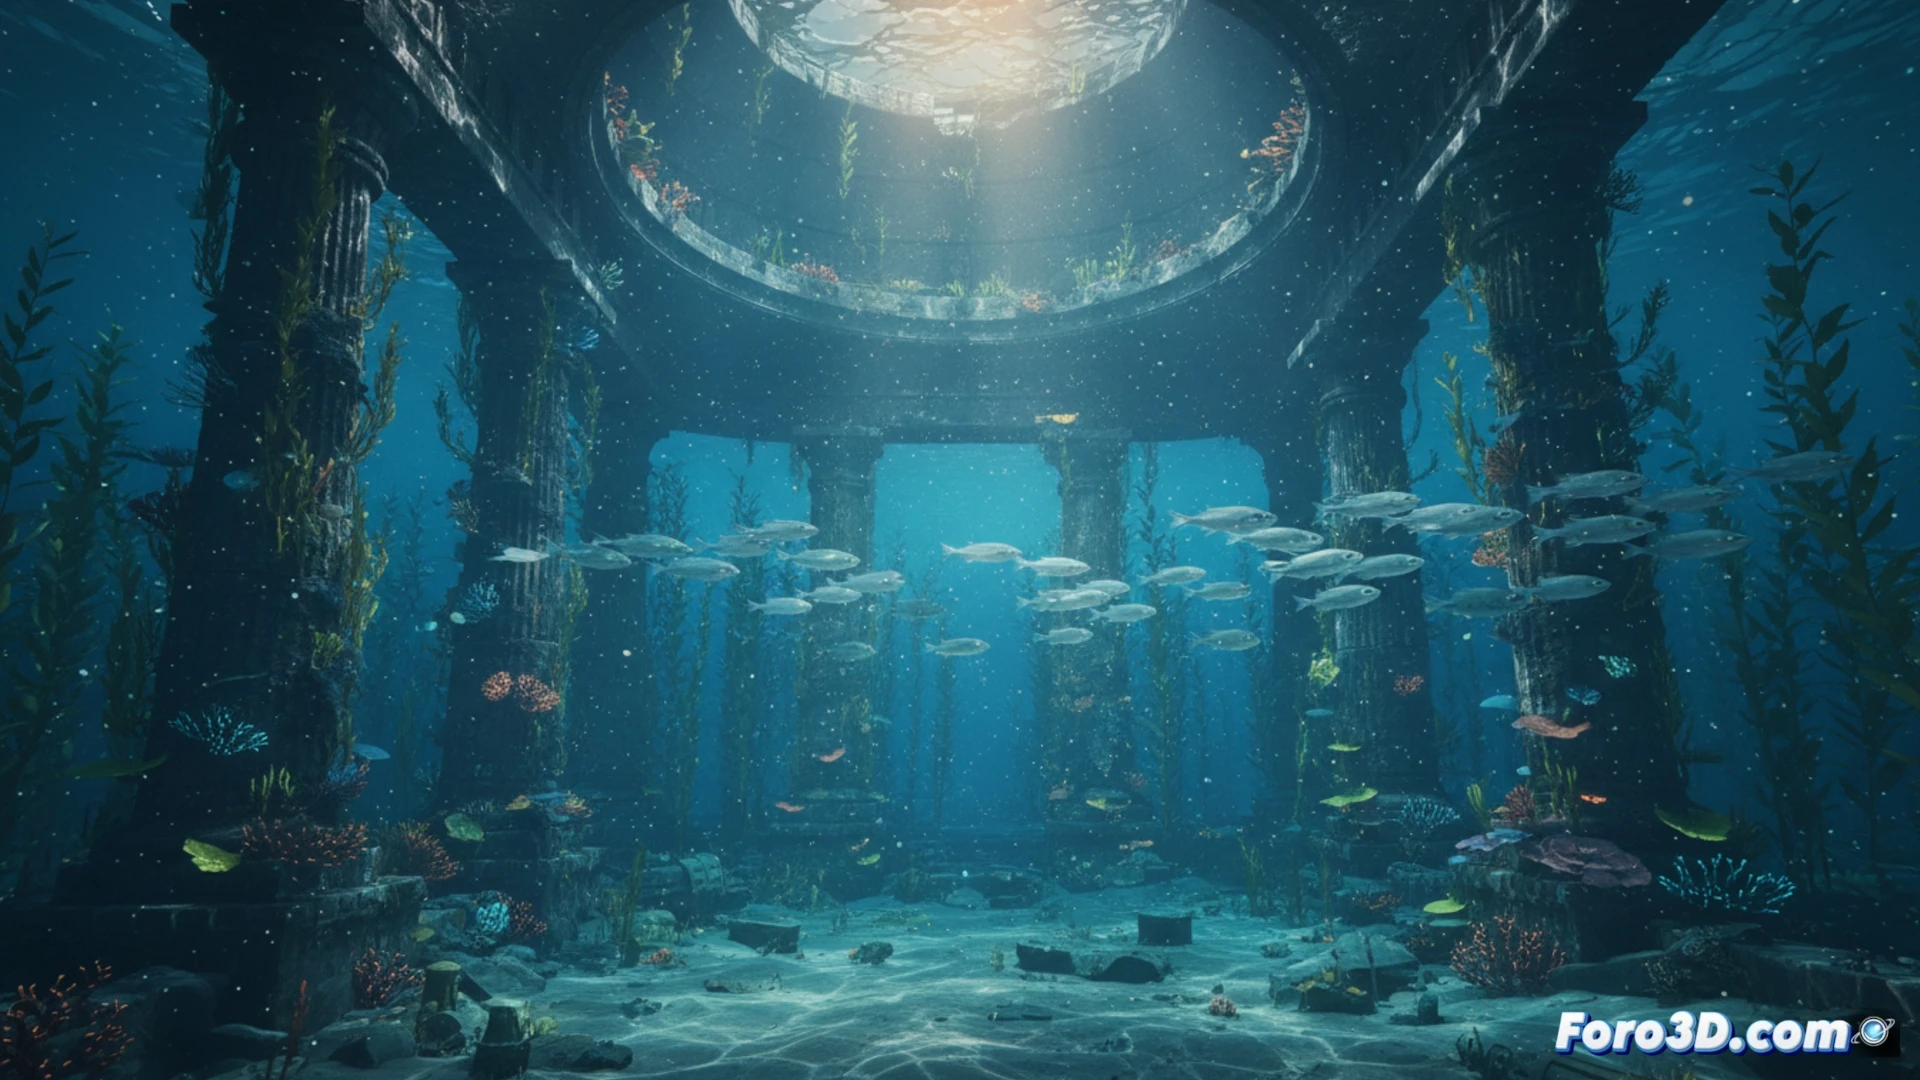
The first step is a composition with a scattering volume to simulate light attenuation. Lighting is worked with nodes, using a caustic texture projected through a light plane, adjusting intensity and color to simulate depth. Then, a particle system is added with an emissive material to create the effect of plankton or specks visible in the light beam.
When your character swims like a brick 😅
Perfect lighting is useless if your model moves with the grace of a stone. It's time to remember that underwater there are no superhero aerial poses. Adjusting buoyancy and resistance in the animation is key, unless your intention is to recreate the dramatic descent of the Titanic. A bit of slow and fluid movement avoids it looking like it's falling down the stairs.