Creating 3D portraits with professional lighting goes beyond placing lights randomly. It's about applying photography and cinema principles to control volume, atmosphere, and visual narrative. This article explores how to translate concepts like light direction, quality, and attenuation to Blender's tools, using techniques that prioritize the character's form over mere visibility.
Technical setup: lights, HDR, and focal length 🎬
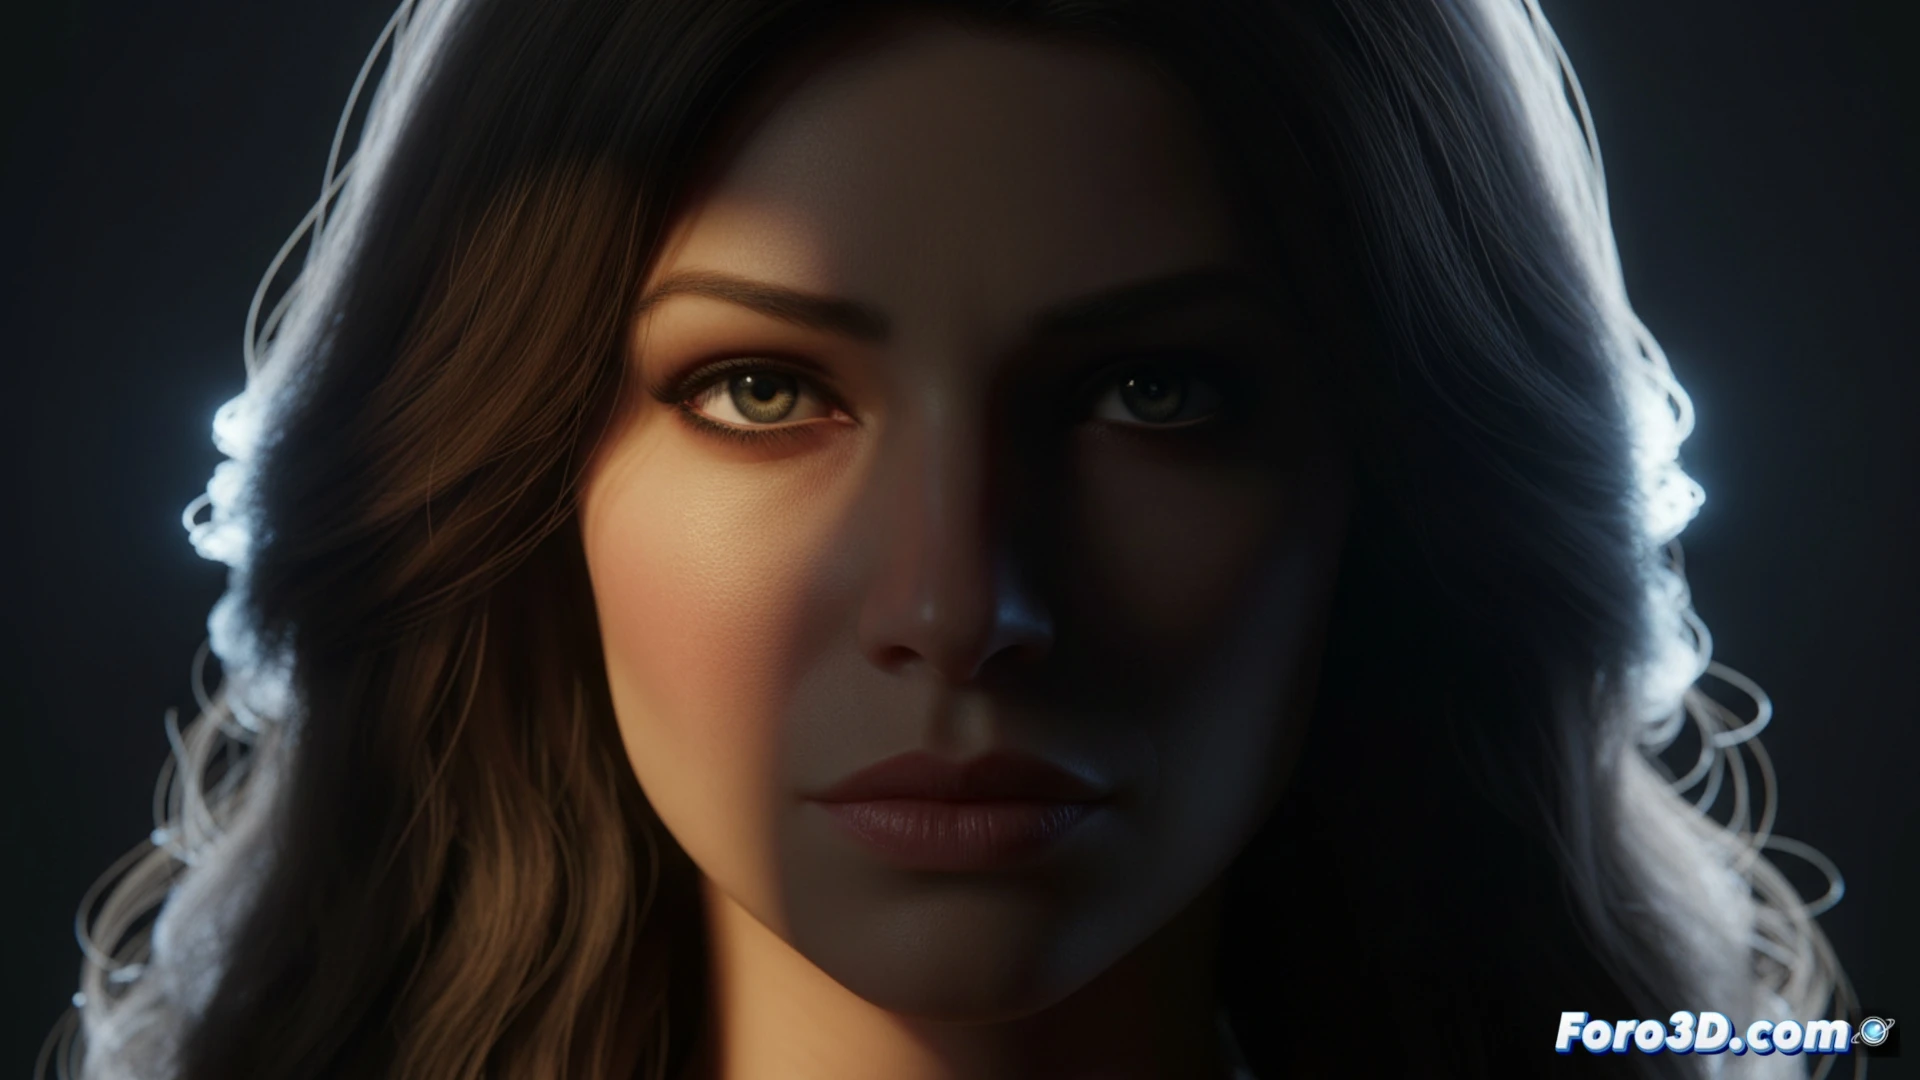
Start with a main key light to define direction and drama. Adjust its size and distance to control shadow hardness. Use a soft fill light with very low intensity, just to avoid pure blacks. This is where a dim HDR is useful: load an environment, but reduce its strength to almost zero so it acts as ambient fill and source of subtle reflections in the eyes, not as main lighting. The camera's focal length is key; a slight telephoto (85-105mm) compresses the planes and produces a more natural portrait.
When HDR becomes your sun ☀️
There's an initiation moment when you think an ultra-bright HDR will solve your entire scene. The result is usually a flat character, bathed in celestial light that erases all the volume you worked so hard to sculpt. It's like trying to make espresso by pouring tap water directly over the grounds: technically wet, but without character, strength, or purpose. The key is to remember that HDR is the fill water, not the fire of the main light.