Vertex Blend in Unreal Engine 5: Complete Vertex Interpolation Guide
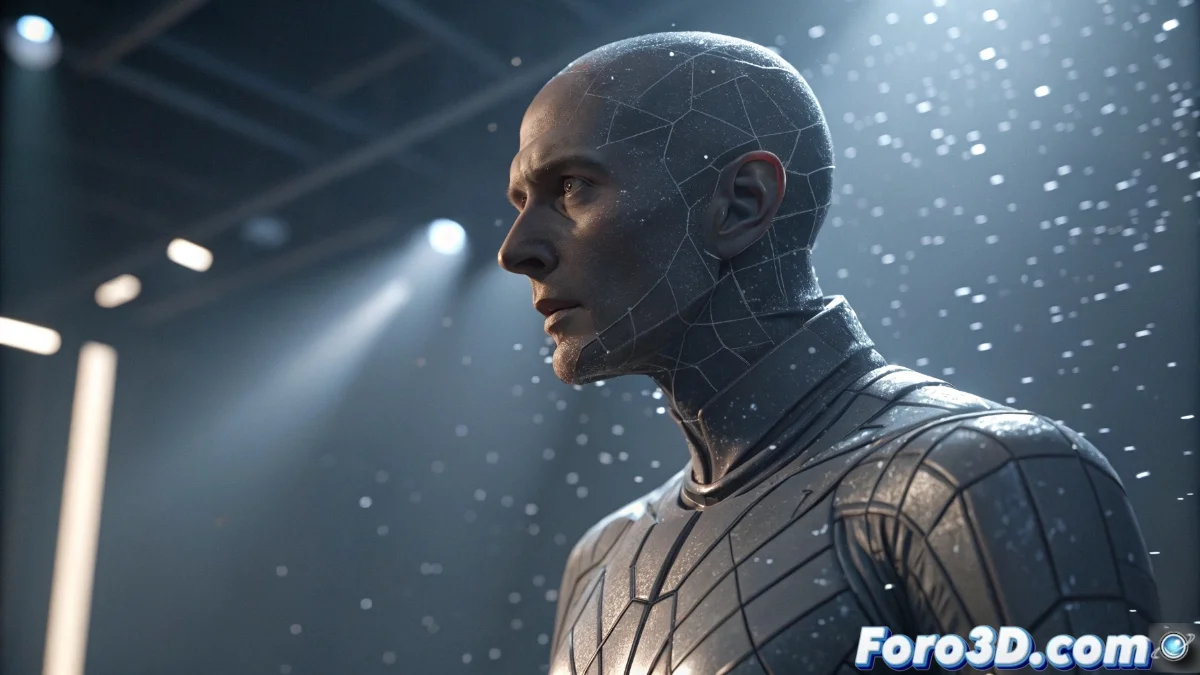
The Vertex Blend technique represents an advanced feature within Unreal Engine 5 that enables progressive combination between two different geometries through interpolation of their vertex structures at runtime. This capability is essential for creating smooth visual transformations between 3D models, such as character metamorphoses or dynamic object evolutions 🎭.
Technical Fundamentals of Vertex Interpolation
The system is based on the engine's materials and blueprints infrastructure, using a scalar weight parameter that determines the relative influence of each mesh on the final visual result. When the parameter value is 0, the first geometry dominates completely; when it reaches 1, the second mesh prevails; while intermediate values generate progressive transition states between both structures 🎚️.
Essential Requirements for Implementation:- The meshes must share identical topology and number of vertices
- Need to use the Vertex Interpolator node in the material
- Correct setup of world coordinates for each geometry
Preparing source meshes with identical vertex structure is usually the most significant challenge, sometimes requiring manual retopology of one of the models
Material System Setup
To implement Vertex Blend correctly, it is necessary to build a specialized material that incorporates the Vertex Interpolator node. This component receives as inputs the vertex positions of both meshes and a scalar value that functions as a blend factor. The world coordinates of each geometry are connected to the A and B ports of the interpolator, while the control factor can be linked to a material scalar parameter or a variable exposed from blueprints 🛠️.
Recommended Workflow:- Create new material with Vertex Interpolator node
- Connect world coordinates of both meshes
- Expose scalar parameter for external control
Dynamic Implementation via Blueprints
Within the actor blueprint, you can animate the blend parameter over time to generate dynamic transitions. By exposing the material parameter as a dynamic variable, it is possible to use timelines or timers to systematically modify its value between 0 and 1. This approach allows creating controlled geometric evolutions that can be triggered by specific events within the interactive experience ⚡.
Advantages of the Implemented System:- Smooth and natural visual transitions between models
- Precise control over complex geometric transformations
- Significant improvement in project visual quality
Final Considerations and Best Practices
Although the initial preparation of the meshes may present technical challenges, once this obstacle is overcome, exceptional control over geometric transformations is obtained, which can significantly elevate the visual impact of your projects in Unreal Engine 5. The Vertex Blend technique establishes a professional standard for advanced mesh animations that enrich the end-user experience 🚀.