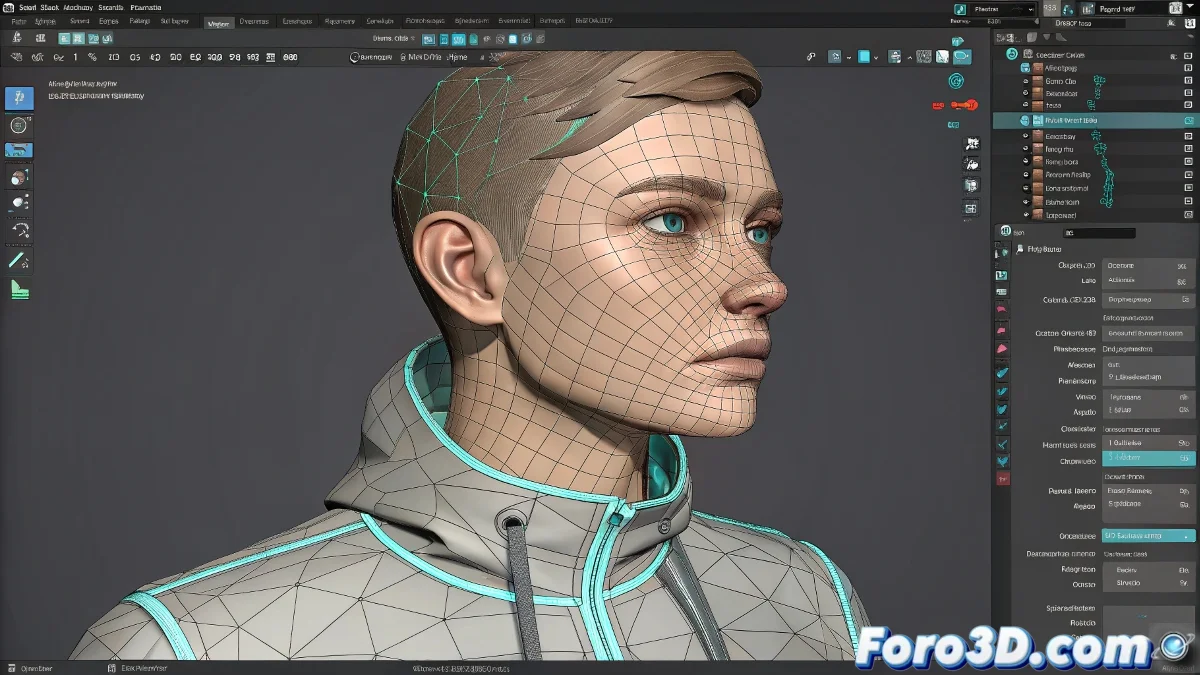
When Your Facial Expressions Decide to Rebel
Integrating Blend Shapes with skeletal animation in Maya can seem like a harmonious dance... until your character ends up with a smile that deforms the entire face. 😬 The key is the correct order of deformers and an intelligent control structure.
The Sacred Order of Deformers
Follow this infallible hierarchy:
- Blend Shape Node (first in the chain)
- Skin Cluster (applied after)
- Additional Deformers (like clusters or lattices)
Think of deformers like Photoshop layers: the order completely changes the final result.
How to Check and Adjust the Order
- Select your geometry and open Node Editor
- Go to Inputs > All Inputs in the geometry menu
- Drag the Blend Shape before the Skin Cluster
- Use Middle Mouse Drag to reorder if necessary
Smart Controllers for Non-Linear Animation
To work with Time Editor without losing Blend Shapes:
- Create a dedicated controller (locator, curve, etc.)
- Connect the Blend Shape attributes to the controller via Connection Editor
- Always animate through the controller, never directly
- When exporting clips, include all relevant controllers
Common Problems and Their Solutions
| Problem | Solution |
|---|---|
| Blend Shapes don't appear in Time Editor | Connect to controllers first |
| Strange deformations when animating | Check input order |
| Loss of animation when importing clips | Include all controllers in export |
Pro tip: In advanced productions, Custom Attributes are used on controllers to handle multiple Blend Shapes simultaneously, creating complete facial systems with just a few master controllers. 🎭
Now that you master this integration, your characters will be able to smile, frown, and grimace... without the rig turning into a digital Frankenstein. Time to animate! 😉
Bonus tip: For complex systems, consider using Utility Nodes like Condition or Multiply Divide to create advanced relationships between controllers and Blend Shapes.