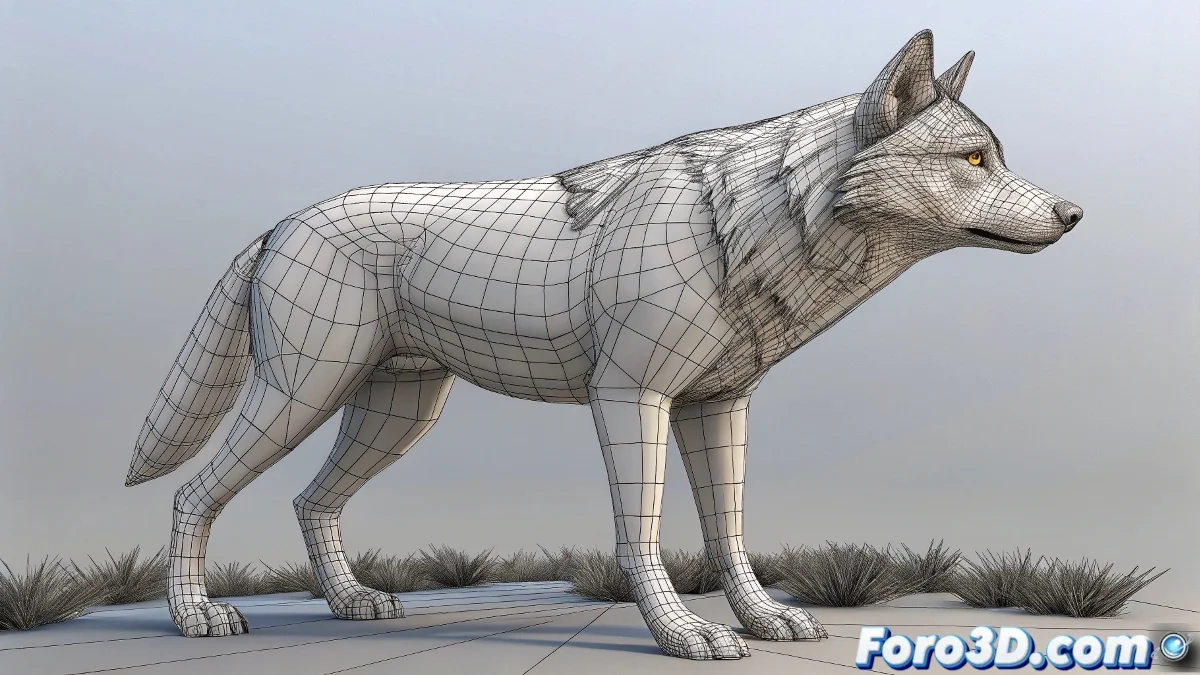
The Art of Combining Skin and Blendshapes Without Losing Your Mind 🧠✨
Do your blendshapes melt like ice cream when moving joints? The battle between SkinCluster and Blendshape in Maya is classic, but with this guide you'll master their perfect combination. Discover the sacred node order, the power of Tweak, and professional secrets for flawless animations.
"In facial rigging, SkinCluster and Blendshape are like water and oil: separate they're useful, but mixed badly... disaster guaranteed!"
The Correct Order: The Fundamental Law
Lifesaving Deformer Hierarchy:
- Blendshape (first in the chain)
- Tweak (optional for manual adjustments)
- SkinCluster (always at the end)
Use Hypergraph or Node Editor to verify this order. Any variation causes shrinking or ghost deformations.
Professional Step-by-Step Technique
1. Prepare Your SkinCluster
- Create joints and do Smooth Bind
- Paint weights carefully
- Test with extreme poses
2. Add Blendshape Correctly
- Select targets then the base mesh
- Execute Create Deformer → Blendshape
- Verify that the node is BEFORE the SkinCluster
3. Use Tweak for Millimeter Adjustments
- Apply Create Deformer → Tweak
- Edit vertices in component mode
- Changes are preserved during animation
Solutions for Complex Cases
When blendshapes "fight" with the skin:
- Correction Script: Use Python/MEL to compensate deformations
- Delta Mush: Add this deformer to smooth transitions
- Shape Correctives: Create specific blendshapes for problematic poses
Advanced Studio Tricks
- Visibility Toggle: Create controls to enable/disable blendshapes during skinning
- Animated References: Use joint animation as driver for blendshapes
- Deformation Layers: Organize influences with set groups
- Extreme Tests: Record fast playback to detect micro-deformations
On foro3d you'll find scripts to automate this process. Because we've all had that character whose face collapsed like a flan when smiling. 😅
Foolproof Workflow
- Model your base mesh and targets
- Apply blendshapes first (weight at 0)
- Add tweak for manual adjustments
- Skin to joints as the last step
- Test with progressive animation
- Correct with shape correctives if necessary
As veteran riggers say: "The order of deformers alters the product... and your mental health". Now go and make blendshapes and skin coexist in harmony. ✌️