The Challenge of Perfect Deformations in Skin
Working with the Skin modifier in 3ds Max can feel like trying to tame a digital beast with multiple personalities 🎭. The discrepancy between what the visual envelopes show and what actually happens with vertex weights is a common source of frustration, especially in anatomically complex areas like armpits, groins, and elbows where multiple bones compete for influence.
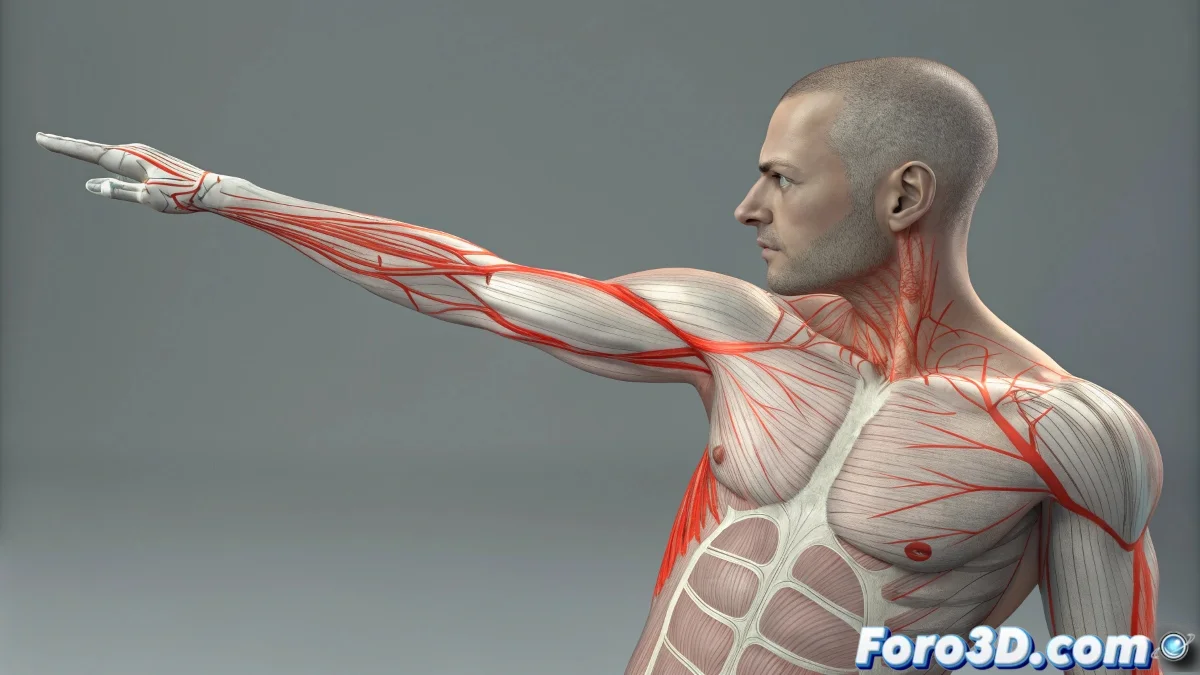
Demystifying Visual Envelopes
The colored envelopes in the viewport are just an approximate representation of the real influence. A vertex may appear deep red within a bone's envelope but have zero weight in reality. This disconnection between visual representation and numerical data is the root of many skinning problems 🎨.
Don't blindly trust the envelope colors: the Weight Table never lies.
Navigating the Weight Table Like a Pro
The Weight Table is your window to the numerical truth behind the deformations. This is where the real weights for each vertex are revealed, regardless of what the visual envelopes show.
- Filtered selection: Quickly isolate problematic vertices
- Precise numerical adjustment: Modify weights with decimal precision
- Hierarchical visualization: View all influences simultaneously
- Copy/paste weights: Transfer configurations between symmetric vertices
Techniques for Conflict Zones
Areas like armpits require specialized approaches due to the complex muscle interaction and overlapping bone influences. Specific strategies can make the difference between a natural deformation and a geometric disaster.
- Overlapping envelopes: Multiple controlled influences for smooth transitions
- Graduated weights: Progressive transitions between influence areas
- Auxiliary bones: Add additional bones for better control
- Strategic exclusion: Remove influence where not needed
Automatic Adjustment Tools
3ds Max offers several tools to assist in the weight painting process, but understanding when and how to use them is crucial for professional results.
- Envelope Adjustment: Automatically recalculate with Alt+Shift+click
- Normalize All: Ensure the sum of weights is always 1
- Paint Weights: Intuitive visual adjustment with brush
- Mirror Mode: Maintain symmetry in bilateral models
Best Practices for Consistent Skinning
Preventing problems from the start of the skinning process saves countless hours of debugging and later correction. Certain practices guarantee more predictable and professional results.
- Geometric preparation: Optimize topology before applying Skin
- Clean bone hierarchy: Well-organized and named bones
- Conservative envelopes: Avoid excessive initial overlaps
- Early testing: Test deformations with extreme poses
Systematic Debugging of Issues
When problems arise, a methodical debugging approach helps identify and resolve root causes quickly.
- Vertex-by-vertex verification: Inspect individual values
- Isolated pose tests: Identify specific problematic bones
- Reset and reconstruction: Start from scratch in critical areas
- Change documentation: Keep record of adjustments made
The Final Artistic Touch
In the end, perfect skinning is both art and science. Numerically correct values must be complemented with artistic judgment to achieve deformations that are not only technically precise but visually convincing.
And when your character ends up with armpits that look like abstract origami, you can always argue it's a vanguard artistic style 🎨. After all, in the rigging world, sometimes "creative errors" become distinctive features.