When Textures Decide to Rebel in Maya: The UV Mapping Drama
Nothing breaks the magic of an animation more than seeing the character's texture stay as still as a student in Monday morning class while the model moves 🎭. If when animating your character in Maya the textures seem to have a mind of their own, it's time to intervene before the problem escalates to epic proportions.
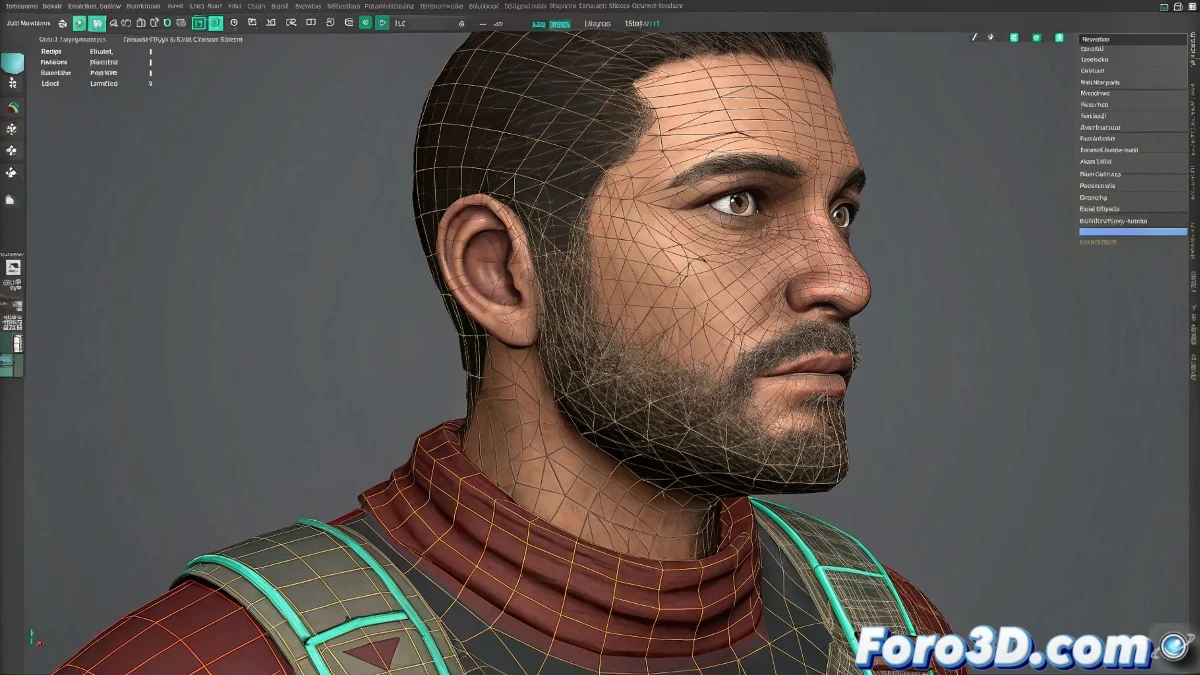
Diagnosis: When UV Mapping Divorces from Animation
The symptoms are clear:
- Textures that stay like statues while the mesh dances
- Deformations that would make a skin weights artist cry
- That panic moment when your character's mustache floats independently from their face
"Poorly applied UV mapping is like a tattoo on a t-shirt: it moves on its own and never stays where it should"
Emergency Treatment for Rebellious Textures
The cure for this technical ailment involves:
- Surgical review of the skin weights
- Direct intervention in the skin cluster
- Intensive therapy for the UV sets
- Transplant of projected maps to standard UVs when necessary
The process can be as delicate as operating with a stylus, but the result is worth it ✨. Although if everything fails, you can always say it's an artistic style and that floating textures are your personal signature.
Prevention: The Vaccine Against Technical Drama
To avoid future problems:
- Paint the skin weights as if your character were presenting at Cannes
- Test deformations with basic textures before the final look
- Consider using multiple UV sets for problematic areas
Remember that in the world of 3D animation, a happy UV mapping makes a happy character. And if everything goes wrong, you can always animate with a fixed camera or turn the error into a special effect. Who wouldn't want to see a mustache dancing independently of its owner? 🕺