The Mystery of Ghost Particles in Thinking Particles
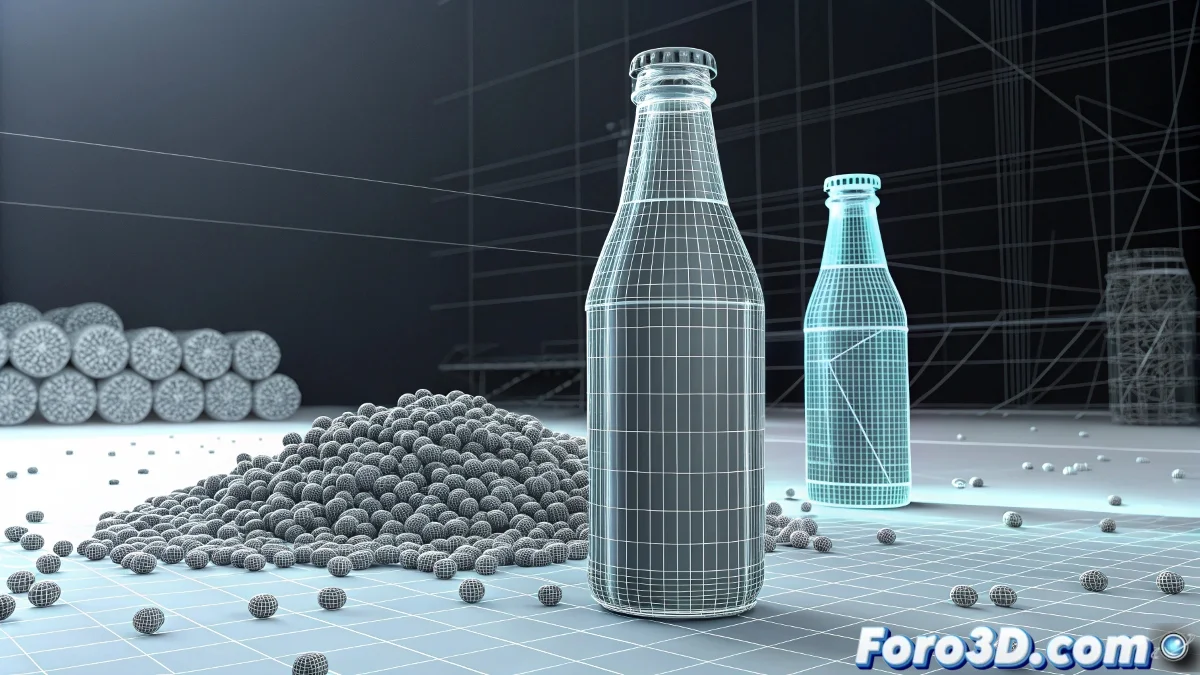
This is a classic and frustrating problem with Thinking Particles: the particles look perfect in the viewport preview, but when doing the final render, they decide to become shy and mysteriously disappear in certain areas, especially where there are material changes like on your bottle label. The preview uses a different render engine than the final render, which explains the discrepancy you're experiencing.
The problem is almost always related to how Thinking Particles interacts with multiple materials and the render properties of the geometry. Your bottle label probably has a different material than the glass, creating zones where the particles don't render correctly due to conflicts in visibility and depth calculations.
In Thinking Particles, particles that disappear in render are like selective ghosts: they show up where they want and hide where it suits them
Checking Bottle Render Properties
The first step is to review the render properties of the bottle geometry. The particles may be affected by specific mesh settings.
- Select the bottle: go to Object Properties
- Check Rendering Control: ensure Visible to Camera is enabled
- Review Visibility: ensure it's not at 0 for render
- G-Buffer Object ID: check for conflicts with particles
Multiple Materials Configuration
The most likely problem is in how the materials are assigned to the bottle. A multi-material may be causing conflicts with particle rendering.
Check the bottle material in the Material Editor. If it's a Multi/Sub-Object, verify that all sub-materials have consistent transparency and reflection settings 😊
- Check Material ID: on the label polygons
- Opacity consistency: all materials should have similar values
- Raytracing properties: check in each sub-material
- Label material: especially its opacity and reflectivity
Particle Render Properties
Thinking Particles has its own render settings that may conflict with the bottle materials.
In the Thinking Particles panel, look for the Render Properties section and verify that the particles are configured to render correctly with complex materials.
- Render Visibility: ensure it's at 100%
- Material Assignment: check that the material is applied correctly
- Render Tree: review material nodes on the particles
- Depth Sorting: adjust for better interaction with transparencies
Transparency Conflict Solution
The most common problem in these cases is conflicts between the glass transparencies and the particles. Both compete in the depth calculation.
Adjust the render order and transparency properties to give priority to the particles over the bottle material.
- Render Order: force particles to render after
- Opacity Falloff: adjust in the glass material
- Raytrace Settings: modify depth limits for transparencies
- Material Override: temporary for diagnostic tests
Geometry and Normals Verification
Problems in the bottle geometry can cause particles not to render correctly in specific areas.
Check that the bottle has consistent normals and no sealing issues or geometry overlaps in the label area.
- Uniform normals: use Normal modifier if necessary
- Geometry check: for overlapping faces or gaps
- Glass thickness: verify it has real volume
- UVW Mapping: mapping issues can affect render
Render Engine Configuration
Depending on the render engine you're using (Scanline, Mental Ray, V-Ray, etc.), the solutions may vary. Each engine handles particles differently.
If you're using V-Ray, check the specific options for particle geometry and ensure they are compatible with the scene materials.
- V-Ray Particle settings: in Render Setup
- Global switches: check that Particles is enabled
- Material overrides: disable temporarily for tests
- Render elements: check if they appear in separate passes
Diagnostic Technique by Exclusion
To identify exactly where the problem is, use the exclusion method. Simplify the scene until you find the conflicting element.
Start by temporarily removing the label material and render only with the base glass material. If the particles appear, the problem is in the label material.
- Simple material: apply a basic material to the entire bottle
- Render by layers: isolate particles and bottle separately
- Minimal scene: test with basic geometry and particles
- Backup and reset: save and recreate the particle system
Visibility Adjustments by Material ID
Thinking Particles may have visibility settings based on Material ID that could be causing the problem.
Check in the particle material operator if there are Material ID-based restrictions that might be hiding the particles in specific areas of the bottle.
- Material ID operator: check assignment conditions
- Visibility conditions: review geometry-based rules
- Dynamic sets: check affected particle sets
- Condition nodes: review visibility logic
Solution with Render Elements
If the problem persists, consider rendering the particles in a separate pass and compositing in post-production.
Render the particles as a separate render element and the bottle in another pass. Then combine them in your favorite compositing software.
- Render passes: create specific pass for particles
- Material ID pass: for selective masks
- Post composition: greater control over integration
- Alpha channel: check that particles have clean alpha
Solution Workflow
Follow this methodical process to resolve the problem efficiently. Patience is key with complex render issues.
Start with the simplest solutions and progress to the more complex ones. Document each change so you can revert if necessary.
- Step 1: Check basic render properties
- Step 2: Simplify materials temporarily
- Step 3: Adjust particle settings
- Step 4: Consider rendering in separate passes
After applying these solutions, your water particles should render consistently across the entire bottle, including the problematic label area... and you'll finally be able to complete your project without that mysterious selective disappearance effect that had you frustrated 🍾