The Mystery of Black Renders in Maya
Nothing causes more frustration than meticulously preparing a virtual tour in Maya, only to discover that all rendered frames come out completely black 🎬. This classic problem often has simple solutions that are overlooked, especially when the viewport shows everything perfectly lit. The disconnection between what you see and what you render is the first obstacle every Maya artist must overcome.
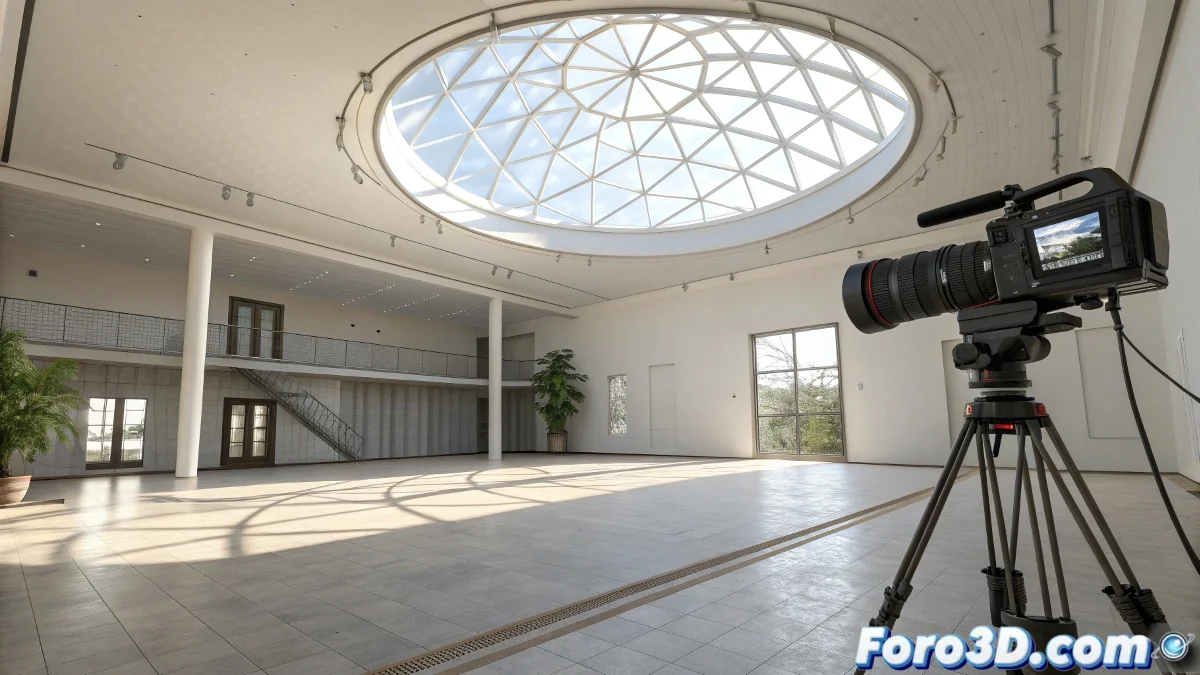
The Great Disconnect: Viewport vs Render
Maya uses a different lighting system in the viewport than during rendering. While the viewport uses basic default lights for preview, Arnold – the modern render engine – requires real lights specifically placed and configured. This fundamental difference is the root cause of most black renders.
If Arnold were a photographer, it would need real flashlights, not the viewport's imagination.
Essential Light Setup for Arnold
Arnold is notoriously demanding with lighting. Without lights explicitly added to the scene, it will simply render absolute black, regardless of how it looks in the viewport.
- Ai Skydome Light: Global lighting with HDRI for full environment
- Area Lights: Directional lights for specific lighting
- Mesh Lights: Convert geometry into light emitters
- Physical Sky: Realistic atmospheric simulation
Camera Verification and Critical Settings
A perfectly positioned camera can still fail to render if certain crucial settings are not activated. These small checks make the difference between success and failure.
- Renderable attribute: Ensure the camera is marked as renderable
- Clip planes: Verify that near/far clip do not crop the scene
- Exposure settings: Adjust exposure if the image is black but not completely
- Camera aperture: Check for problematic overrides
Render Settings Configuration for Animation
Rendering full sequences requires specific configurations that differ from single frame rendering. Small oversights here can result in hours of useless rendering.
- Frame range: Correctly specify start and end frames
- Output format: Use lossless formats like EXR or PNG
- Project directory: Set correct paths for image output
- Render layers: Review overrides that may be turning off visibility
Workflow for Quick Diagnosis
When facing black renders, following a systematic diagnosis process saves time and frustration.
- Render current frame: Test with Render Current Frame first
- Basic lights: Add a simple Area Light for quick test
- Shader replacement: Replace all shaders with basic Lambert
- Scene simplification: Remove complex elements to isolate the problem
Optimization for Real Production
Once basic issues are resolved, certain practices ensure consistent and efficient renders throughout the entire animated sequence.
And when everything else fails and you still get black screens, you can always argue that you're paying cinematic tribute to 2001: A Space Odyssey 🚀. After all, in the 3D rendering world, sometimes technical problems turn into unexpected creative opportunities.