When your Biped's footsteps dance to the wrong beat 🕺
The Footstep system in 3ds Max is like that friend who promises to help you move the sofa but ends up just getting in the way. Many 3D artists, especially those learning animation, find that their animation keys behave like rebellious teenagers: they appear where they shouldn't and disappear when you need them most.
Animation with Footsteps: the quick method for when the deadline was yesterday and patience ran out the day before.
The chaotic carnival of keys
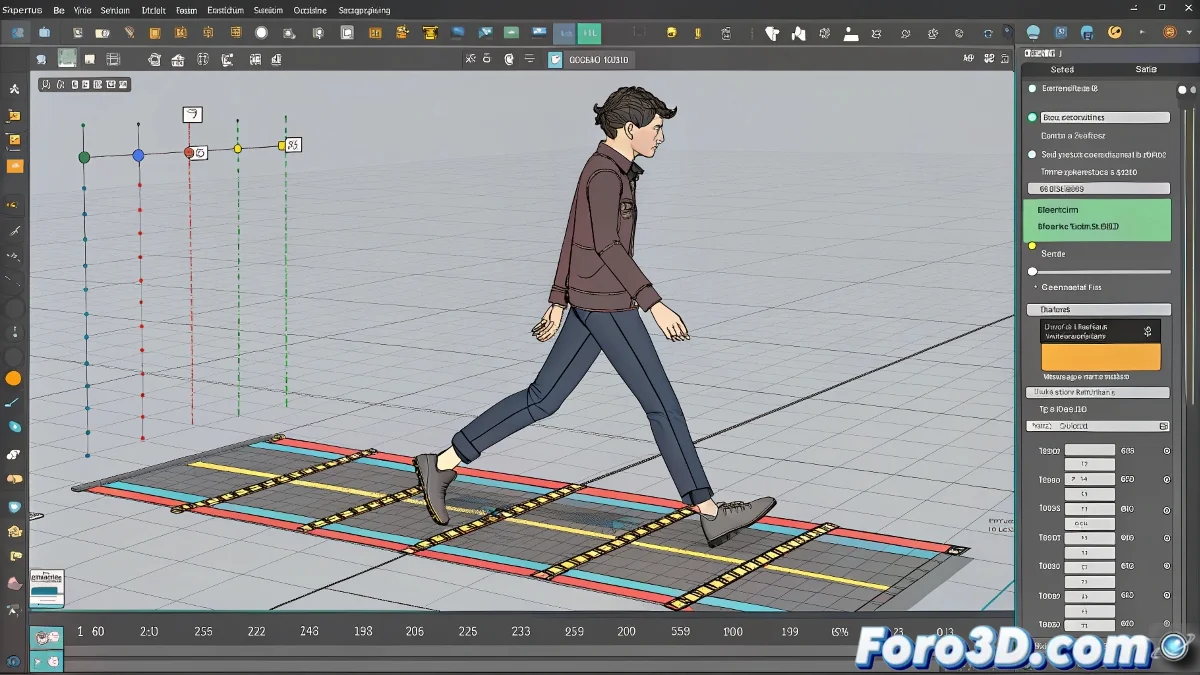
When working in Footstep mode, it's common to find that the Track Bar displays a rainbow of keys in all colors, even though you've only asked to see body rotation ones. This isn't a user error, but rather the Biped has its own ideas about visual organization.
Three uncomfortable truths about the Footstep system:
- It generates keys in multiple tracks without asking
- The Track Bar filters like a holey sieve
- For real control, you have to use the Curve Editor or Dope Sheet 🎭
The mystery of the empty Curve Editor
When you open the Curve Editor expecting to see all your keys and find it emptier than a retiree's schedule during a pandemic, don't panic. Footsteps are like those bosses who delegate all the work:
- The real keys are in the Biped's parts (pelvis, feet...)
- Footsteps are just the general instructions
- To edit the animation, you have to go straight to the source
It's like searching for your car keys in the wrong place for half an hour: frustrating, but solvable once you understand the system's logic. 🔑
Animated survival tip
If the Footsteps system is driving you crazy, consider these points:
- It's perfect for basic animations and quick prototypes
- For professional control, better to learn traditional animation with bones
- Time invested in mastering rigging is never wasted
And remember: when Footstep mode fails you, you can always say it's an artistic choice. In the 3D world, persistent errors are called personal style. 😎