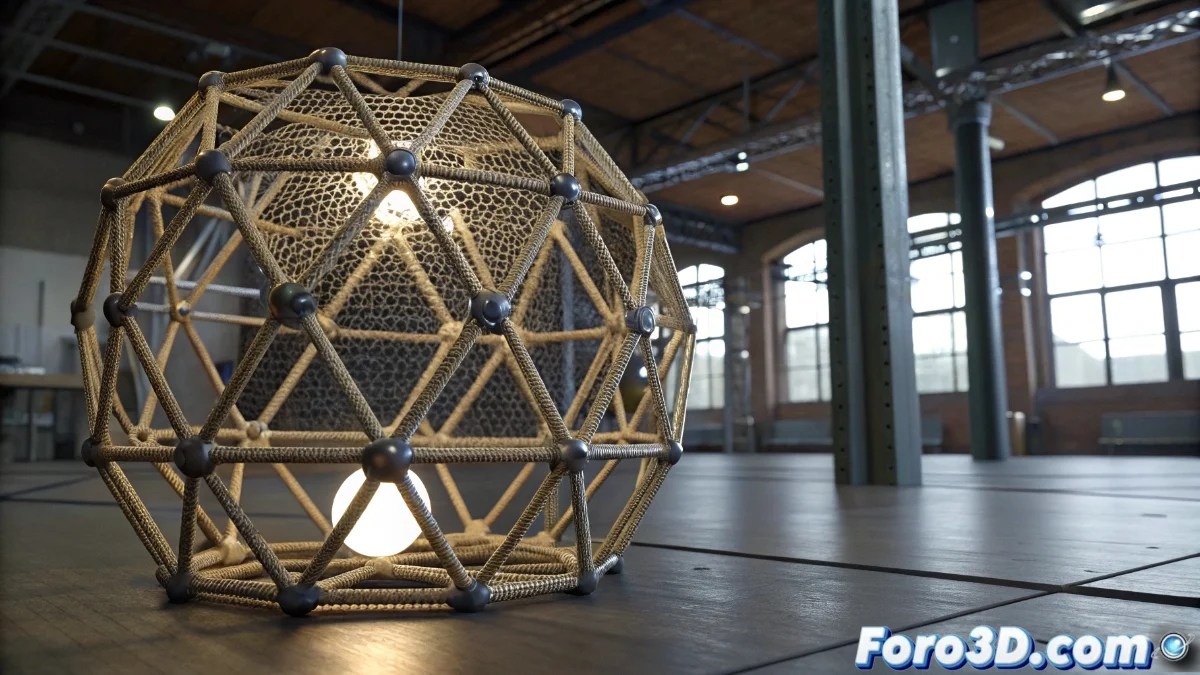
The Lattice Modifier in Blender 5: Advanced Non-Destructive Deformation
The Lattice modifier in Blender 5 revolutionizes the mesh deformation approach through a three-dimensional cell structure that acts as an adaptable skeleton for 3D objects. This tool allows for complex transformations without altering the original topology, offering millimeter-precision control over large sections of the geometry without the need to manipulate vertices individually. Its perfect integration with the new geometric nodes system exponentially expands creative opportunities, facilitating innovative combinations with other modifiers and deformation utilities 🎯.
Essential Lattice Modifier Setup
To implement the Lattice modifier correctly, it is crucial to start by creating a lattice object from the Add | Mesh | Lattice menu, adjusting its dimensions to completely enclose the object to be deformed. Then, apply the modifier to the target and link the newly generated lattice in the designated field. The deformation quality is directly linked to the lattice resolution, adjustable via the U, V, and W parameters in the object's properties. High values in these parameters ensure more detailed deformations, although they increase processing resource demands.
Fundamental Setup Steps:- Create the lattice object from the specific menu and scale it to encompass the entire object
- Apply the Lattice modifier to the target object and associate the created lattice
- Adjust the resolution using U, V, W to balance detail and performance
The lattice acts like that helper who helps carry furniture but ends up bending the table legs at impossible angles, reminding us that the power of deformation comes with great responsibility.
Professional Deformation Techniques with Lattice
When tackling sophisticated deformations, it is vital to understand the relationship between control points of the lattice and the mesh vertices. Weight painting becomes an indispensable tool for defining the lattice's influence over different regions of the object, generating smooth transitions between deformed zones and preserved areas. The synergy with modifiers like Curve or Simple Deform unlocks additional creative possibilities, allowing effects such as gradual twists or deformations that follow curved paths. The renewed node system in Blender 5 simplifies the creation of reusable setups where multiple objects share the same lattice structure with variable influence intensities.
Advanced Implementation Strategies:- Use weight painting to control influence zones and create natural transitions
- Combine with Curve and Simple Deform modifiers for twist and directional deformation effects
- Leverage the node system for reusable setups with multiple objects
Integration and Best Practices
The effective implementation of the Lattice modifier requires understanding its predictive behavior and how it interacts with other tools in the Blender ecosystem. By mastering weight painting techniques and combinations with other modifiers, artists can achieve organic and precise deformations that maintain topological integrity. The key lies in experimenting with different lattice resolutions and influence profiles to achieve the perfect balance between creative control and computational efficiency 💡.