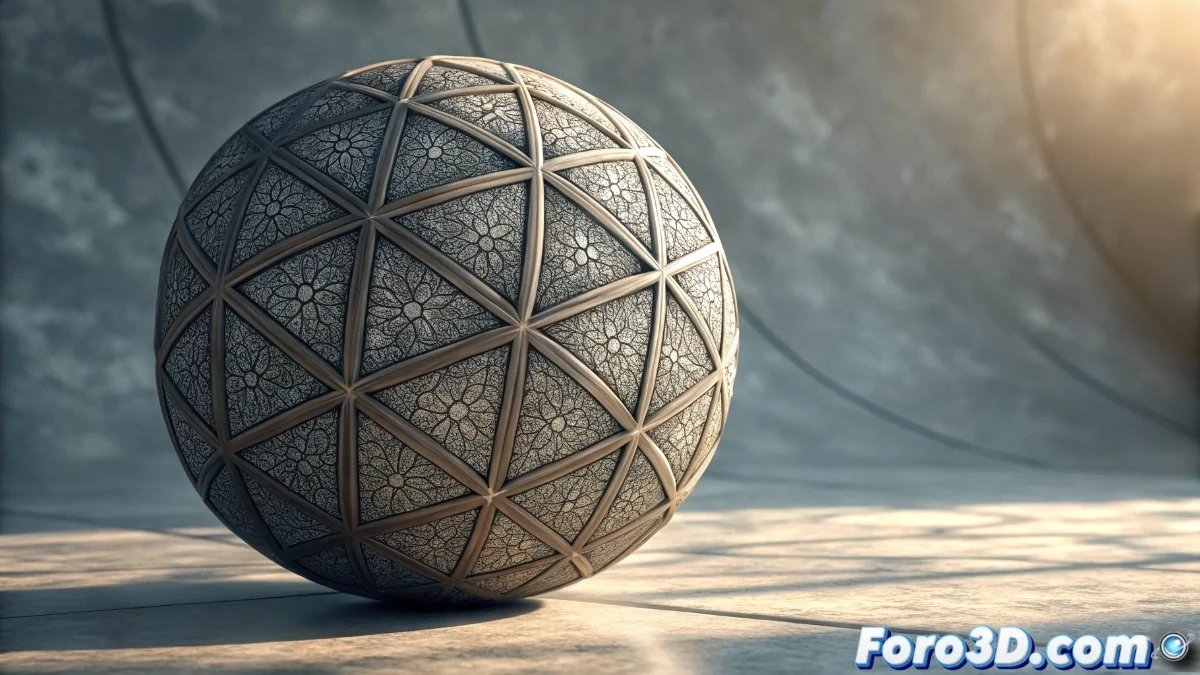
The Displace Modifier in Blender 5: Complete Texture Deformation Guide
The Displace modifier in Blender 5 has established itself as an essential tool for advanced geometry deformation through the use of textures, allowing artists to create complex surfaces without resorting to manual sculpting. Performance improvements and its integration with the shading system facilitate more efficient workflows and visually striking results 🎨.
Basic Setup and Essential Parameters
To start using this powerful modifier, select any object and add it from the corresponding panel. The Strength parameter controls the displacement intensity, while the direction can be defined using coordinate axes or custom textures. The assigned texture determines the deformation pattern: light tones raise the surface and dark ones depress it, generating detailed reliefs based on the intensity of the graphical information. It is essential to adjust the subdivision levels of the mesh beforehand to ensure smooth results, especially when working with intense displacements that require sufficient geometry to manifest correctly 📐.
Key parameters for optimal configuration:- Strength: Controls the overall intensity of the displacement applied to the mesh
- Displacement Texture: Defines the specific deformation pattern using grayscale values
- Subdivision Levels: Determines the amount of geometry available for detailed deformations
The Displace modifier transforms two-dimensional textures into complex three-dimensional geometry, efficiently bridging the gap between texturing and modeling.
Advanced Integration with Materials and Nodes
Blender 5 has significantly optimized the connection between the Displace modifier and the material nodes editor, allowing textures used in shaders to be implemented simultaneously as displacement maps. This integration eliminates the need to duplicate resources and ensures perfect visual coherence between shading and geometry, ideal for representing organic materials and complex surfaces with a high degree of realism. Users can experiment with various node types such as procedural noise, Voronoi, or external images to generate infinite variations, adjusting scale and intensity directly from the modifier to perfect the final effect 🔄.
Advantages of node integration:- Direct Connection: Material textures are automatically applied as displacement maps
- Visual Coherence: Surface details perfectly match between shading and geometry
- Creative Flexibility: Ability to use procedural nodes to generate unique displacements
Practical Considerations and Troubleshooting
Occasionally, the Displace modifier can produce unexpected deformations that seem to defy logic, as if the vertices decided to move in random directions. This behavior is usually resolved by correctly applying the object's scale before using the modifier, a fundamental step that many users initially overlook. Maintaining an adequate base geometry and understanding how different parameters interact avoids frustrations and ensures that the displacement manifests exactly as visualized in the creative process 💡.