The Color Page in DaVinci Resolve
In DaVinci Resolve, the Color workspace is where the entire process of correcting and styling the image takes place. 🎨 This environment is designed with a linear workflow that guides the artist: first, global values are adjusted, and then specific areas are refined.
Essential Tools for Adjusting the Image
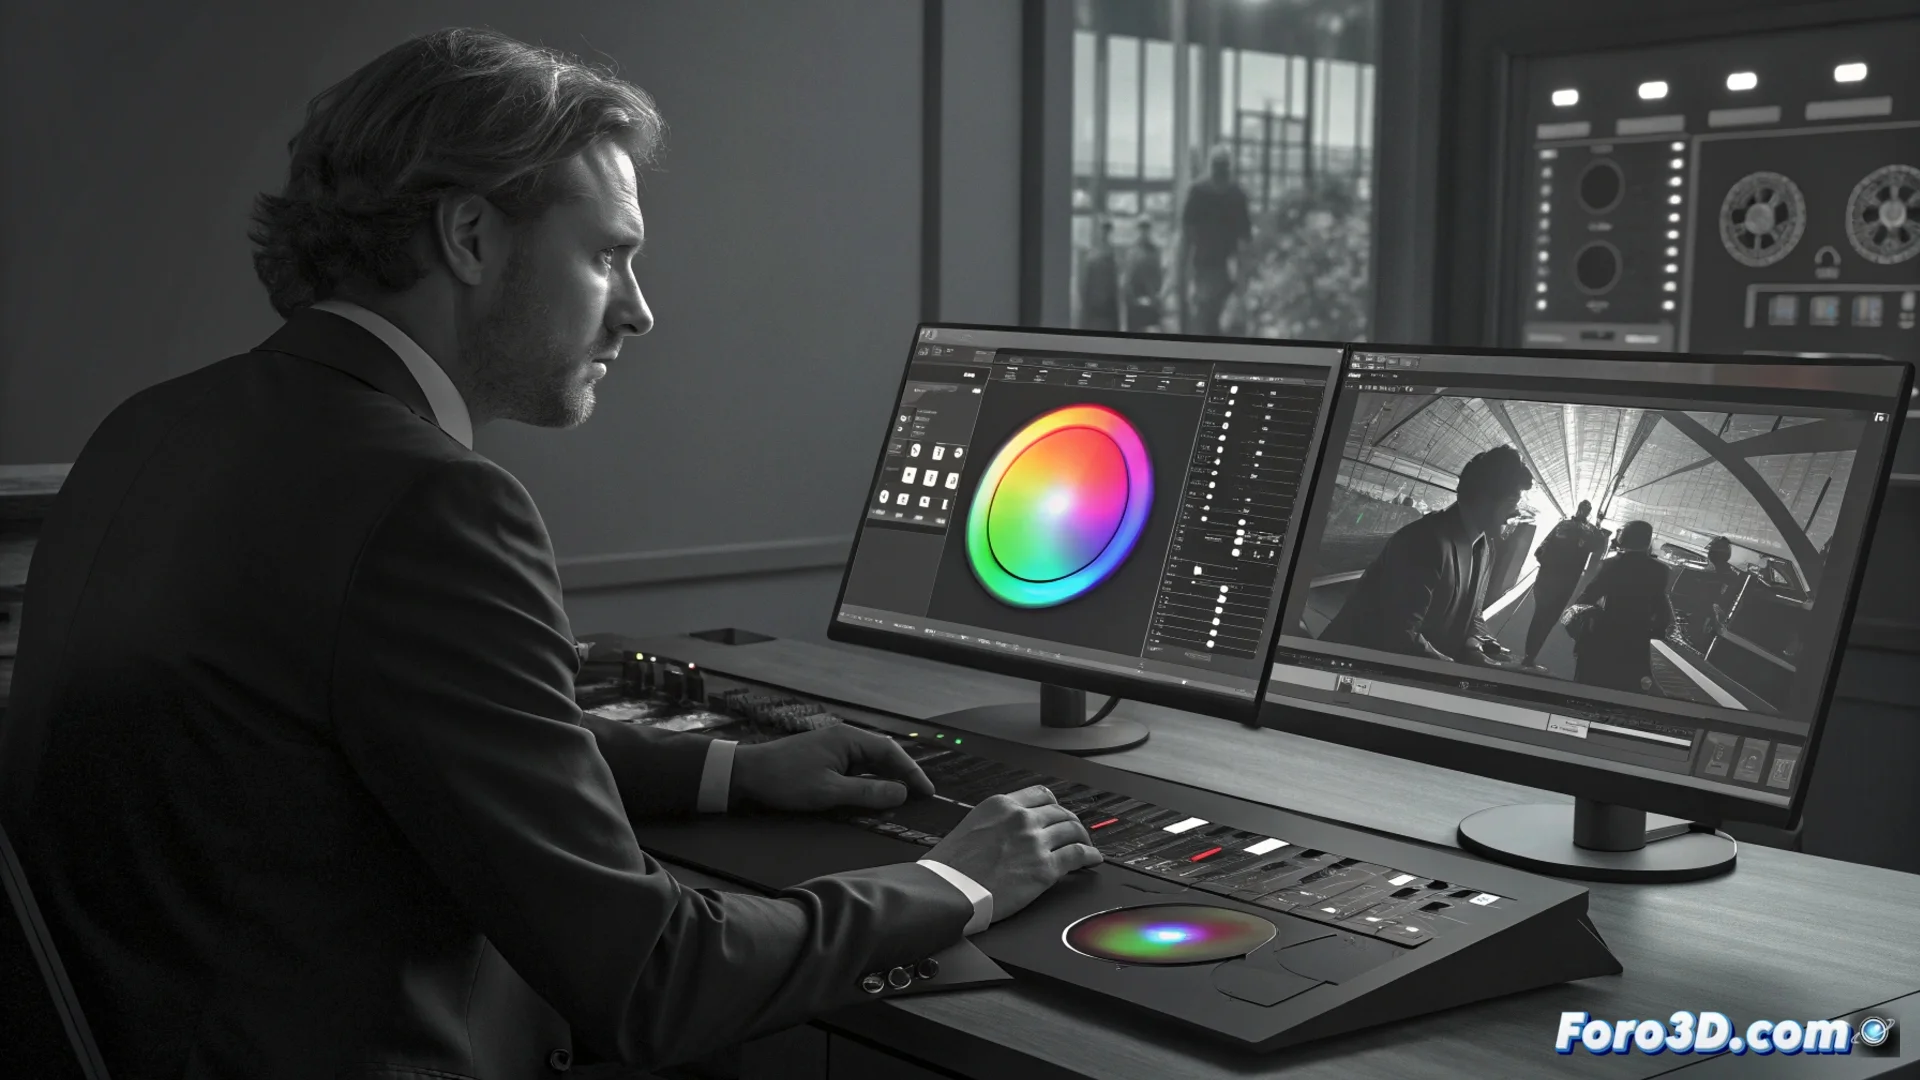
Primary correction is based on two key elements. The color wheels allow visually balancing shadows, midtones, and highlights. The curves offer precise control over luminance and each color channel separately. To isolate parts of the frame, power windows are used.
Key functions of power windows:- Create geometric shapes or freehand drawings to isolate areas.
- Combine them with the tracker so adjustments follow moving objects.
- Allow highly localized secondary corrections without affecting the entire shot.
The node system visualizes the image processing flow and allows creating complex adjustments without damaging the source material.
Working with Motion and Specific Colors
The tracker analyzes pixel-by-pixel motion. Its function is crucial for stabilizing a window or making it adhere to an actor or moving element in the shot. The page also integrates tools to isolate specific tones, remove imperfections, and match the look between different shots.
Advantages of the node-based workflow:- Provides a clear graphical view of each correction step.
- Facilitates creating and testing different versions of a grade.
- Keeps the original material intact at all times (non-destructive work).
Mastering the Color Environment
Although it requires practice, the organized logic of this page avoids wasting time in menus. It groups tools into dedicated panels, allowing complete focus on what matters: transforming and enhancing the image. 🎬