Automatic LeviQ Leveling on the Anycubic Kobra 2 Can Fail
The LeviQ system on the Anycubic Kobra 2 printer simplifies the bed calibration process, but it does not guarantee a perfect result 100% of the time. Many users find that the first layer does not adhere homogeneously across the entire print surface, which ruins the part. 🧐
Why Does Automatic Calibration Fail?
The LeviQ sensor can lose precision for several reasons. Changes in ambient temperature or small filament residues that remain on the tip of the nozzle during the process are common causes. When the sensor does not measure correctly, the compensation mesh calculated by the printer contains errors, which translates into an inconsistent bed distance.
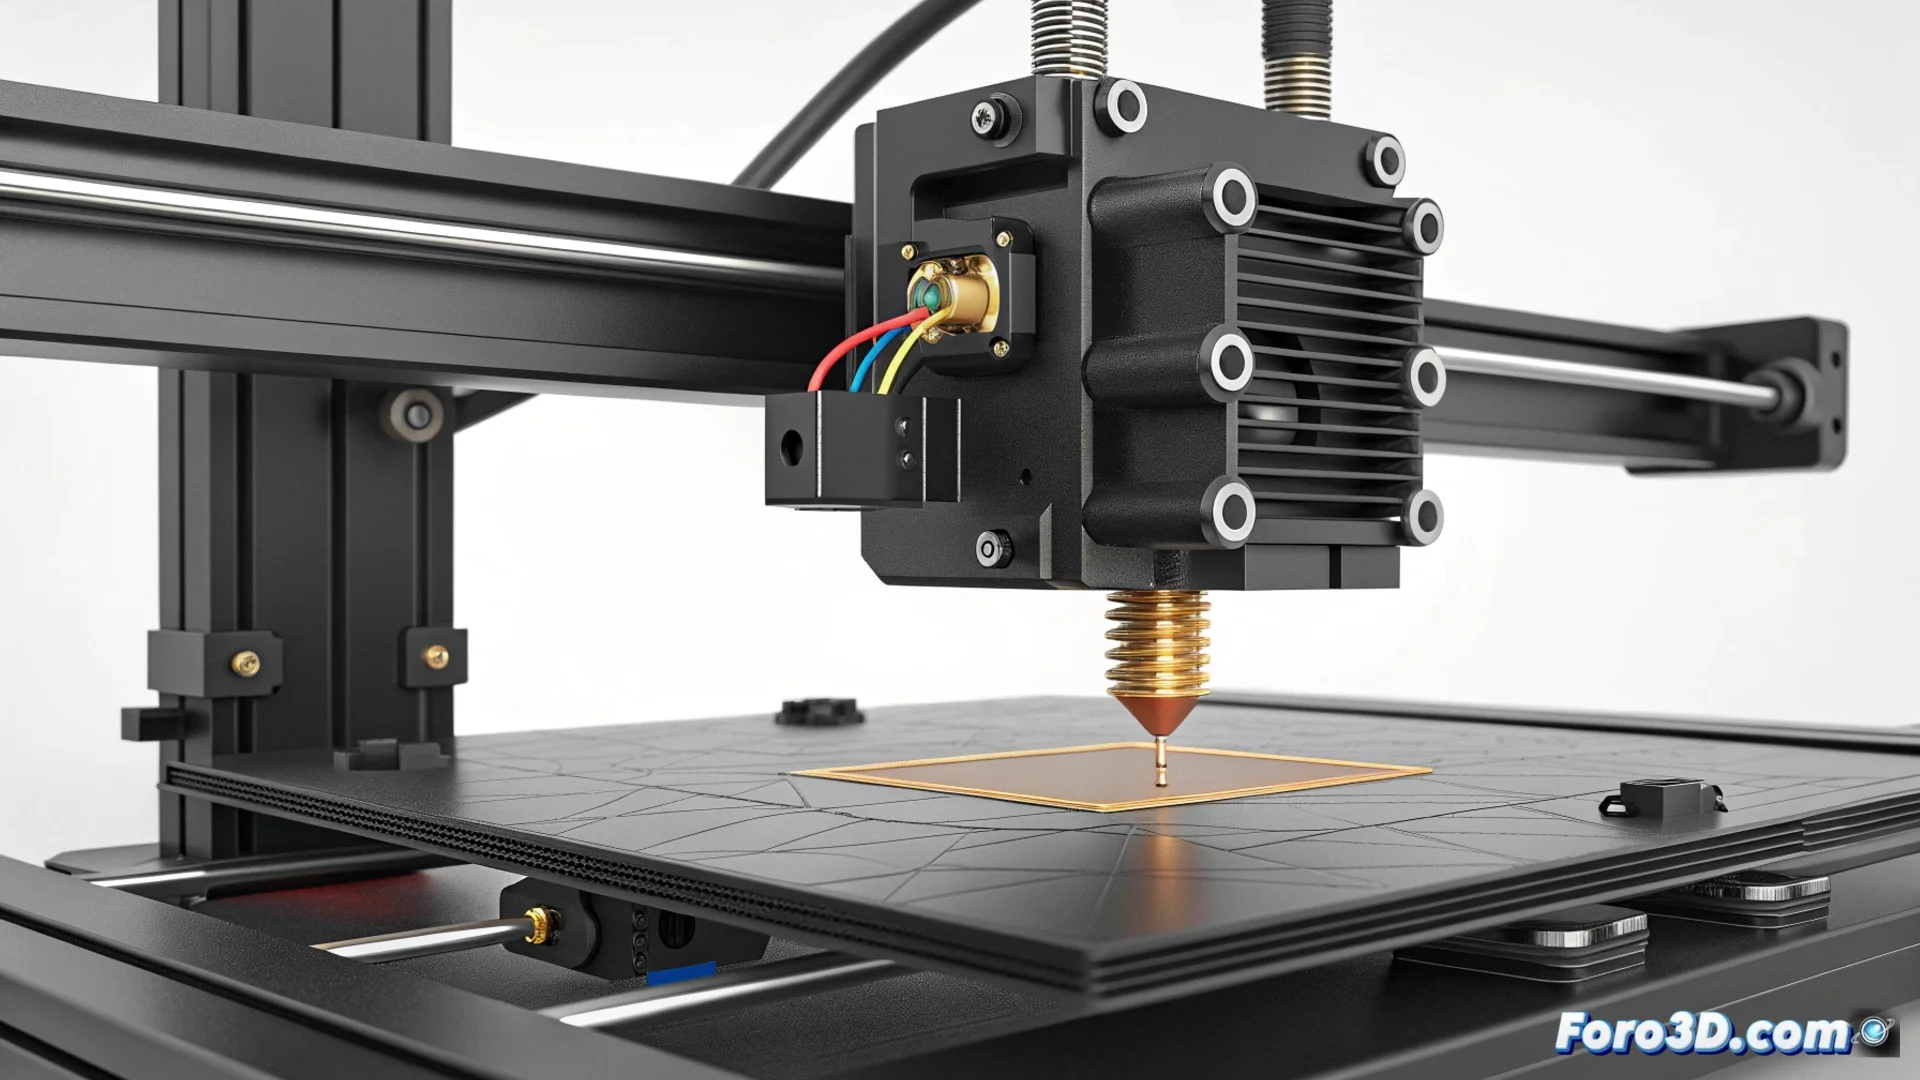
Factors That Compromise Measurement:- Residues on the Nozzle: Small plastic burrs alter the actual contact point with the bed.
- Thermal Variations: The sensor may behave differently if the ambient temperature fluctuates.
- Uneven Base: If the bed has a very pronounced tilt, the system has more difficulty compensating.
The machine that's supposed to think for you sometimes decides that one corner of the bed doesn't deserve the plastic to stick there. It's its little act of technological rebellion.
Preparing the Printer to Calibrate Correctly
For the LeviQ system to work optimally, it is essential to prepare the hardware. A fundamental preliminary step often makes the difference between success and failure.
How to Clean the Nozzle Before Calibrating:- Heat the hotend to the usual printing temperature.
- Use a heat-resistant cloth or metal tweezers to carefully remove any plastic residue from the tip.
- A completely clean nozzle allows the sensor to touch the bed at the exact point and generate reliable data.
Adjust and Verify the Leveling Mesh
If the problem persists after thorough cleaning, the next step is to inspect the mesh generated by the printer. From the menu, you can view the numerical values that indicate the height at different points on the bed.
For persistent deviations, many users choose to manually adjust the screws at the bed corners. The goal is to level it as much as possible before running the automatic calibration again. This step helps the LeviQ system start from a more level base, allowing it to generate a much more precise and reliable compensation mesh. ✅