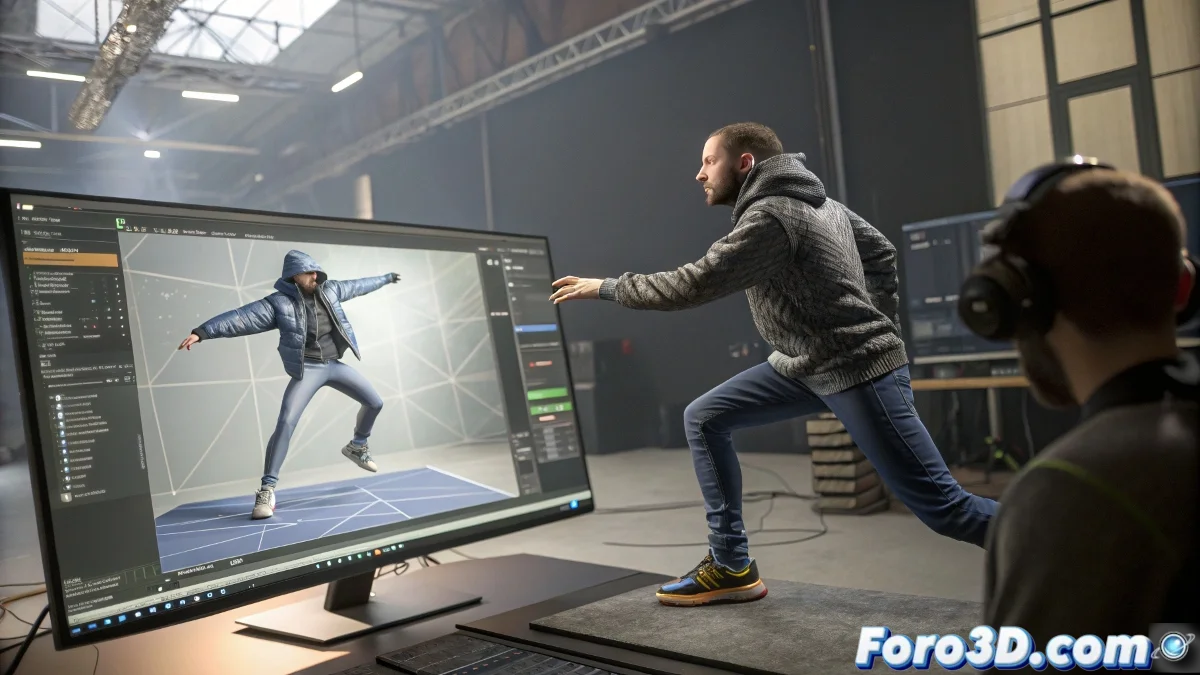
The Chaotic World of Making Digital Cloth and Hair Behave
Animating it in 3D is like trying to tame a cat with a hairdryer: it seems simple until you try. 🐱 In 3ds Max, getting cloth and hair to move naturally requires patience, strategy, and knowing when to surrender to the (digital) laws of physics.
The Unwritten Manual for Taming Virtual Cloth
Before your character ends up looking like they dressed in wet sheets, follow these steps:
- Animate First, Ask Questions Later: Complete the Biped movement before touching the Cloth modifier
- Tie Down What Should Stay Still: Set up constraints properly on necks and waists
- Bake Your Simulation: Use baking as if it were your grandmother's secret recipe
A good cloth system in 3D is like a good marriage: it needs room to move but with clear boundaries.
When Hair Has a Mind of Its Own
The Hair & Fur modifier seems innocent until you try to make it obey:
- Forget about Live Mode for the final result (it's the animated version of "looks good from a distance")
- Precompute Simulation is your new best friend
- Create a simplified Collision Object (your CPU will thank you)
Remember that in the world of simulations, gravity is more of a suggestion than a rule. 🌪️
The Order of Things: Timeline of a Controlled Disaster
To maintain your sanity:
- Character first (without clothes, like in those weird dreams)
- Cloth next (with all its dramatic wrinkles)
- Hair last (to cover up any mistakes in the cloth simulation)
And when everything fails and your character ends up with a shirt going through their stomach or hair dancing salsa on its own, remember: in 3D art we call it "personal style", not "simulation error". 😅 After all, what would animation be without a bit of creative chaos?