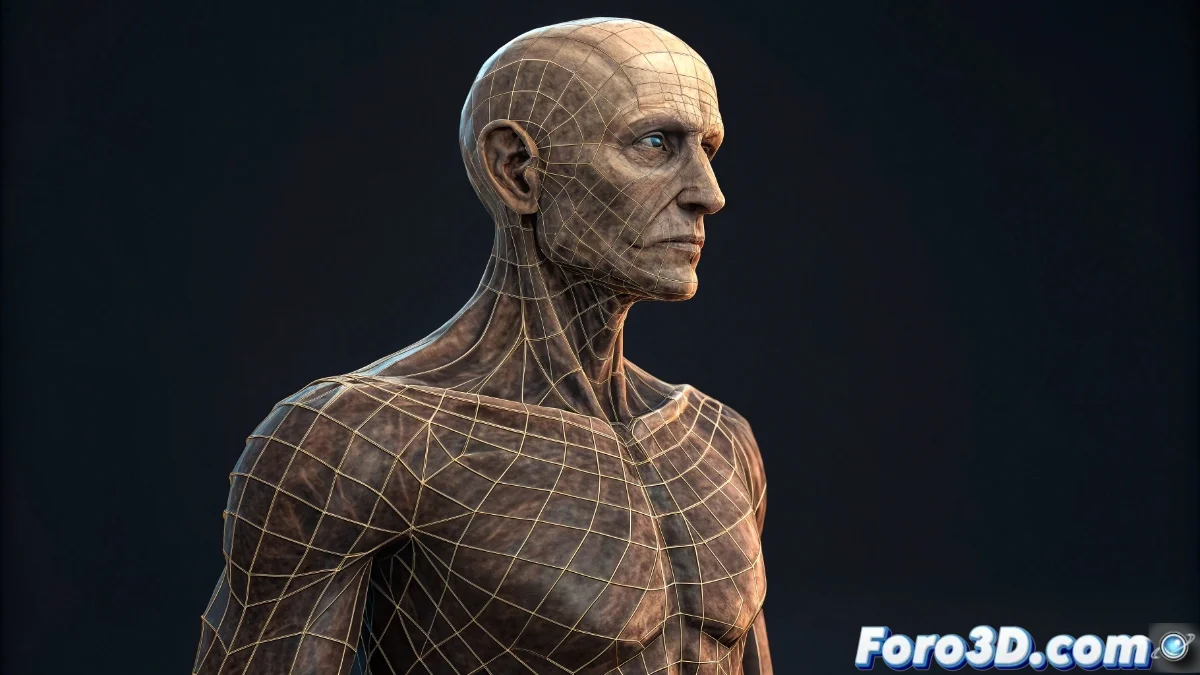
The Armature Modifier in Blender 5: Complete Guide to Advanced Deformations
The Armature modifier in Blender 5 revolutionizes the way we deform meshes using bones as a control system, being essential for animating characters and objects with complex joints. This powerful modifier establishes a direct connection between the model's geometry and the skeletal structure, allowing fluid and natural movements without having to manually manipulate each vertex. By implementing it, artists can precisely define how bones affect different areas of the model through weight adjustments and vertex groups, achieving realistic and controlled deformations. The perfect integration with Blender 5's pose and animation system makes the entire process intuitive and highly efficient, significantly improving the workflow in professional rigging and animation projects 🦴.
Essential Armature Modifier Setup
To start the process, select the mesh you want to deform and add the Armature modifier from the corresponding panel. Assign the Armature object containing the bone structure and choose the most suitable deformation mode for your project, such as Quaternion or Dual Quaternion for smoother and more natural rotations. A critical step is to correctly link specific bones with the mesh's vertex groups, a process efficiently managed through the weight painting tool in Weight Paint mode. This functionality allows you to meticulously control the influence of each bone on particular areas of the model, preventing unwanted deformations and ensuring that movements during animation maintain an organic and believable appearance.
Fundamental Setup Steps:- Selection of the target mesh and addition of the Armature modifier from the specialized panel
- Assignment of the Armature object with the skeletal structure and selection of the appropriate deformation mode
- Use of the Weight Paint tool to define bone influences through vertex groups
Precision in weight assignment determines the final quality of deformations during animation.
Optimization Strategies and Practical Recommendations
Blender 5 introduces significant improvements in deformation calculations within the Armature modifier, notably reducing common artifacts like mesh collapses or excessive twisting. Take advantage of advanced features like Preserve Volume to maintain shape integrity during complex rotations, and strategically organize the modifier stack order when combining Armature with other systems, such as Subdivision Surface, to avoid deformation conflicts. In projects involving multiple characters, it is very useful to organize bones into differentiated layers and employ constraints to automate repetitive movements, saving valuable time during the animation process. It is essential to test deformations in various extreme poses to refine weights before finalizing the rig, ensuring consistent results in all animation situations.
Advanced Optimization Tips:- Activation of Preserve Volume to maintain volumetric integrity in complex deformations
- Management of modifier order when combining Armature with Subdivision Surface or other systems
- Organization of bones into layers and use of constraints for movement automation
Mastering the Art of Armature
Working with the Armature modifier can be compared to taming a rebellious skeleton that initially prefers chaotic movements over controlled elegance, but through patience and precise adjustments, even the stubbornest bone eventually aligns with your artistic vision. The combination of meticulous setup, leveraging Blender 5's new capabilities, and applying proven optimization techniques transforms this modifier into an indispensable tool for any rigging and animation artist seeking professional results and high-quality deformations in their creative projects 💀.