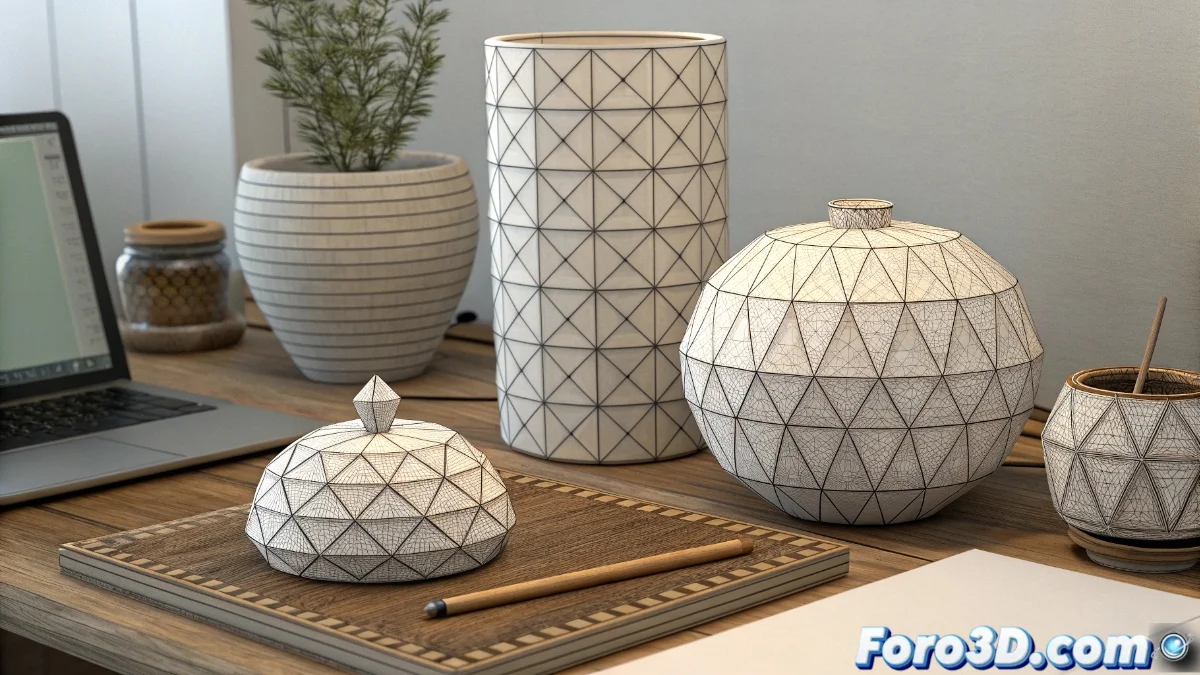
Techniques for Applying Multiple Chamfers in 3ds Max
In professional 3D modeling, the ability to apply chamfers to multiple objects simultaneously represents a significant advantage in efficiency. 3ds Max offers built-in and advanced methods to achieve this task while maintaining visual coherence across all scene elements 🛠️.
Collective Selection and Chamfer Modifier
The most direct approach involves selecting multiple objects using Ctrl + click and applying the Chamfer modifier from the modifier panel. This action generates identical instances of the modifier on each object, allowing centralized control of parameters such as radius and segments for uniform results.
Key advantages of the multiple Chamfer method:- Simultaneous adjustment of all chamfers from a single control panel
- Guaranteed consistency in edge smoothing between related objects
- Ability to modify parameters globally without processing elements individually
Uniformity in mass chamfering is crucial for projects with multiple identical structural components
Advanced Methods with Edit Poly and Scripts
When specific precision is required on particular edges, converting to Edit Poly allows manual selection of strategic edges across multiple objects. For complex scenes, custom scripts offer complete automation of the chamfer process.
Alternatives for detailed control:- Manual selection of specific edges in Edit Poly mode for localized chamfers
- Use of third-party tools specialized in mass chamfering with advanced parameters
- Implementation of scripts that automatically process groups of objects with predefined criteria
Workflow Optimization
The diversity of methods available ensures that from basic modelers to advanced professionals can find the ideal technique for their specific needs. The work philosophy behind these tools demonstrates how 3ds Max balances functional simplicity with exhaustive professional capabilities, avoiding endless manual processes 🎯.