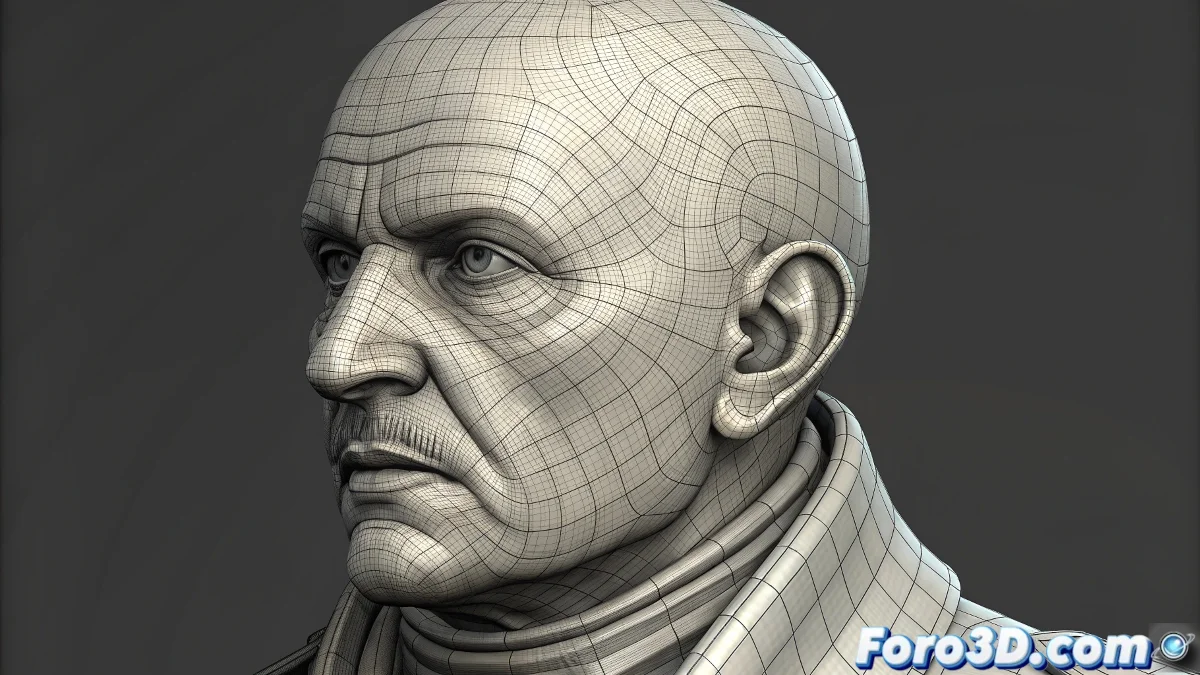
The Mystery of UVs That Seem Correct But Overlap
When working in ZBrush and you encounter your UV mapping appearing visually correct but the UV overlapping check reveals hidden overlaps, you're experiencing one of the most common and frustrating issues in the texturing workflow. The discrepancy between what you see and what the checker reports indicates that there are areas where your UV coordinates are overlapping, even though the layout appears organized and clean at first glance. This problem is particularly deceptive because you can have a mapping that works decently for simple textures, but causes havoc with advanced techniques like painting or detail baking.
Understanding UV Overlapping in ZBrush
UV overlapping occurs when different parts of your 3D mesh share the same UV coordinates. This means that multiple areas of your model will be painting over the same texture pixels, creating unwanted duplications. The fact that your mapping looks visually correct but fails the test suggests there are small overlaps on edges or areas where UV shells are touching or slightly overlapping.
- Overlaps on edges of UV shells
- Insufficient spacing between different parts of the mapping
- Precision issues in UV export/import
- Artifacts from algorithms of automatic unfolding
Techniques to Clean Up Overlaps
Solving this problem requires a systematic approach to verification and correction. Here are the most effective strategies to eliminate overlaps while maintaining the quality of your existing mapping.
Overlapping UVs are like having several people writing on the same sheet of paper: eventually their texts will mix and make the result illegible
- Use UV Master with the option to avoid overlaps
- Manually adjust padding between UV shells
- Check edges with the checker at maximum zoom
- Reorganize problematic shells in less critical areas
Preventive Workflow for Clean UVs
To prevent this problem from reappearing in future projects, establish a verification protocol that includes specific checks at different stages of your mapping process.
Mastering UV management in ZBrush is essential for professional texturing without unpleasant surprises 🎨. Every overlap you eliminate and every shell you organize correctly brings you closer to having absolute control over how your textures are applied to the model, ensuring consistent and predictable results.