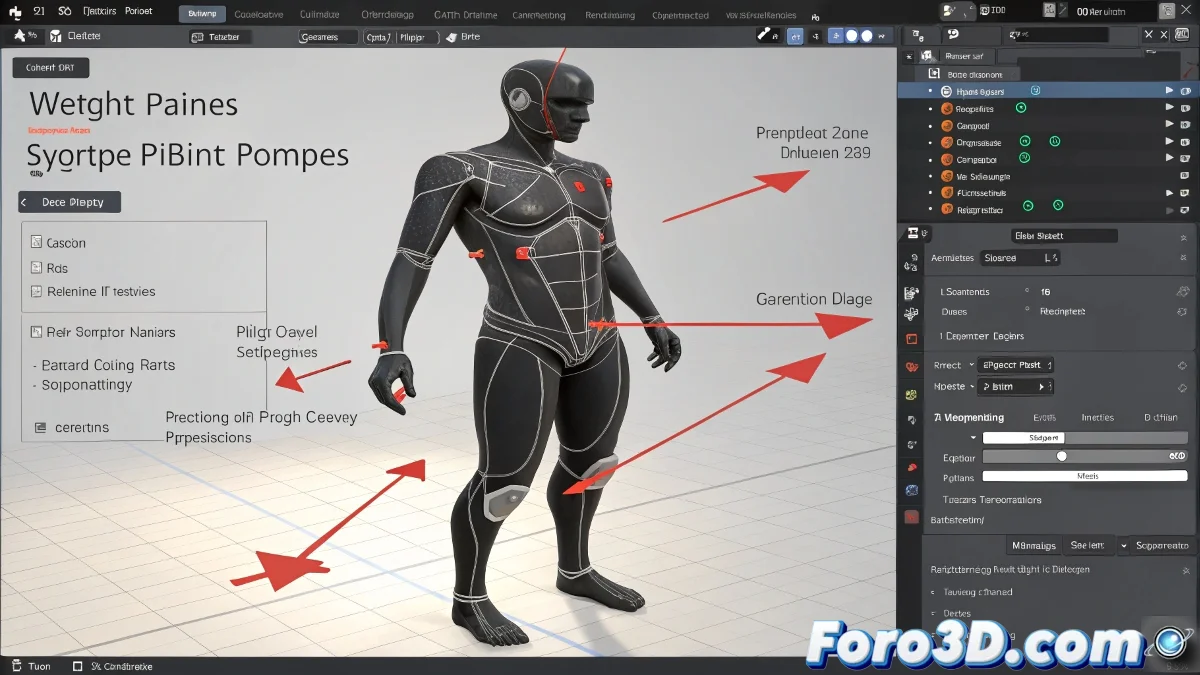
Solving the Mysteries of Weight Painting in Blender
Weight painting in Blender can be as confusing as trying to decipher Egyptian hieroglyphs after three coffees. When certain areas of the model refuse to cooperate and appear black, many novice 3D artists feel like they're dealing with dark magic. But fear not, because as with everything in Blender, there is a logical explanation (and solution) for these seemingly mystical problems.
"Weight painting: where rebellious vertices behave like moody teenagers"
When Vertices Go Negative (Literally)
Those black areas that resist being painted usually indicate a fundamental problem:
- Orphaned vertices: They are not assigned to any vertex group
- Wrong groups: You are trying to paint on the incorrect group
- Lost weights: The initial assignment failed or became corrupted
The Step-by-Step Solution to Tame Rebellious Vertices
To regain control over those problematic areas:
- Select your model and go to Object Data Properties
- Check the list of Vertex Groups
- Enter Edit Mode and select the problematic vertices
- Choose the correct group and click Assign
- Return to Weight Paint Mode and verify the correct group is selected

The Mystery of the Missing Layers
For users who miss the traditional Layers:
- Blender now uses Collections instead of Layers
- To control bone visibility, select the skeleton
- Go to Object Data Properties → Viewport Display
- Adjust options like Show Names or Shapes
Remember that in the world of rigging, patience is as important as technical knowledge. And when all else fails, you can always restart Blender... or have a coffee. ☕