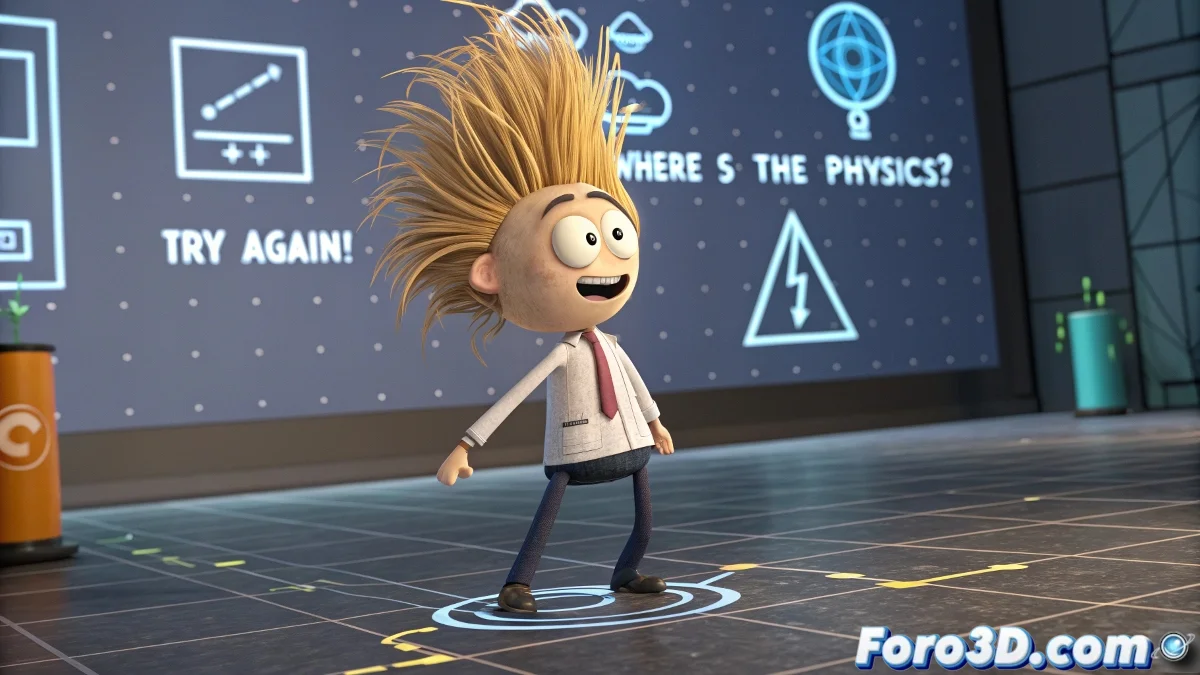
When Hair in 3ds Max Decides to Defy the Laws of Physics
There are moments in every animator's life where digital hair becomes their worst enemy 💇. You use Shag:Hair, set everything up with love, your character moves gracefully... but its mane remains motionless as if made of concrete. Physics? Gravity? Your 3D hair doesn't want to know anything about that.
The Drama of Dynamics That Don't Dynamic
When the hair refuses to move, these are the usual suspects:
- Incorrect binding: The hair doesn't know it should follow the head
- Timid deflectors: That don't dare to interact with the hair
- Ghost forces: Gravity and wind that appear on the list but don't work
Hair animation is like combing a teenager: it requires patience and doesn't always turn out as expected.
The Survival List for Rebellious Hair
To tame your digital mane:
- Verify that the hair node is properly bound to the skull
- Try different gravity values (hair doesn't weigh the same on Mars)
- Bake the simulation when nothing else works
- Consider switching to Hair & Fur as a last resort
The final irony is that you spend hours wanting realistic hair, and when it finally moves, it does so as if your character were in a giant hairdryer 🌪️. But don't despair, with these tips and a bit of luck, you'll achieve that natural movement... or at least convincing enough so it doesn't look like a wig.
Remember: in the 3D world, sometimes perfect hair is like a unicorn, everyone talks about it but no one has really seen it. Good luck with your hair quest!