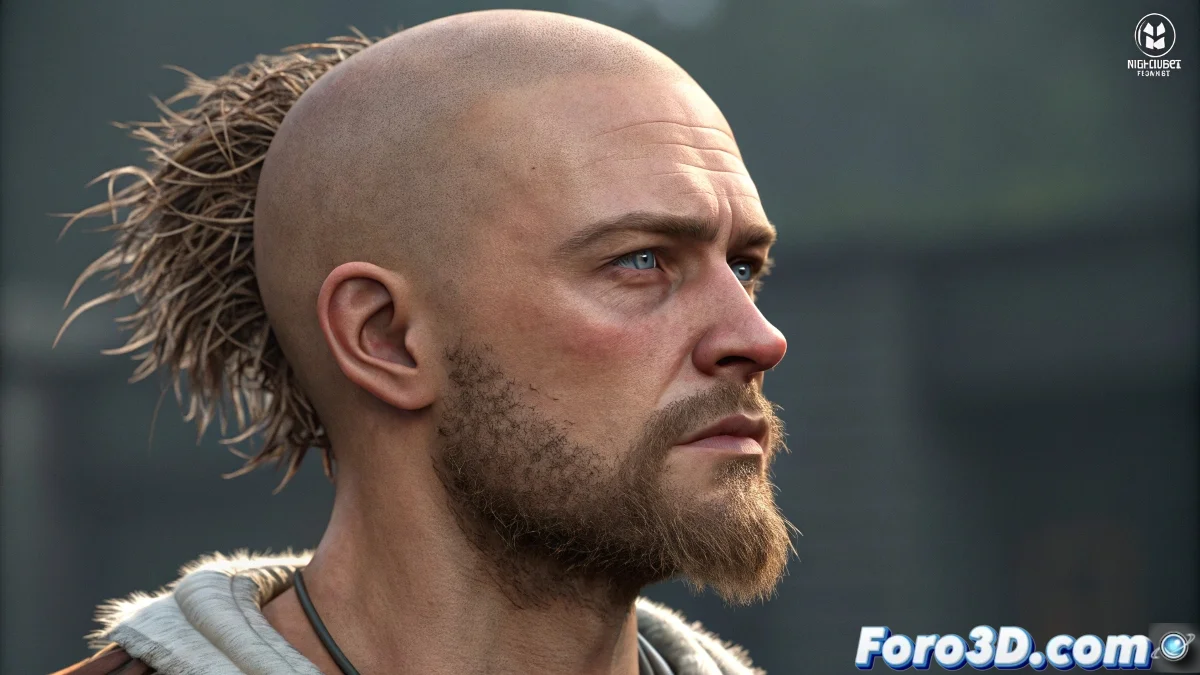
The mystery of invisible hair in Blender
It's frustrating when you've perfectly set up hair dynamics in Blender, seen it move realistically in the viewport, but when rendering... nothing. The hair simply decides not to appear, as if your character got shaved at render time. This problem is more common than you think and usually has simple solutions.
The invisibility of hair in the render is generally due to a combination of material settings, particle system properties, and render settings. It's not that the hair isn't there, but that Blender isn't receiving the correct instructions to display it in the final image.
In Blender, hair that doesn't render is like a well-groomed ghost: perfect in the viewport but invisible in reality
Essential render visibility check
The first thing is to confirm that the hair system is set up to render. Blender has separate controls for viewport and render, and sometimes it's only visible in one of them.
- Particle Properties panel: look for the Viewport Display section
- Render As vs Viewport As: ensure both are activated
- Material assignment: verify that the hair has material assigned
- Render visibility: the object must be visible in render
Hair material setup
Hair needs specific materials to render correctly. A standard material may not work properly with the hair particle system.
Go to the Shader Editor and make sure you're using a Hair BSDF instead of the standard Principled BSDF. This shader is specifically designed for hair 😊
- Create new material: specific for the hair system
- Use Hair BSDF: instead of conventional shaders
- Set color and roughness: realistic values for hair
- Add Hair Info node: for advanced control
Critical particle system properties
In the particle panel, there are settings that specifically control how hair is rendered. Incorrect values here can make it invisible.
The Render section in Particle Properties has options that dictate the final appearance. Make sure they are set for your specific hair type.
- Render As: Strands for normal hair, Object for clumps
- Material: assign the correct material to the system
- Children: verify that children are also rendered
- Steps: minimum 3 for basic quality
Solution for style change issue
If you can't change the hair style, it usually indicates that the system is in dynamics mode or there are conflicts with keyframes.
Go to the Hair Dynamics tab and temporarily disable the physics simulation. This will allow you to edit the style freely.
- Disable Dynamics: temporarily for editing
- Use Comb brush: in Particle Edit mode
- Clear keyframes: remove conflicting animation
- Reset Timeline: go back to frame 1 to edit
Cycles vs Eevee setup
Depending on the render engine you use, hair may need different settings. Cycles and Eevee handle hair differently.
Cycles generally produces more realistic but slower results, while Eevee is faster but may require additional adjustments for hair.
- Cycles: enable Hair Shadows in Light Paths
- Eevee: enable Soft Shadows and increase samples
- Both: use Hair BSDF for better compatibility
- Transmissibility: adjust in materials for realism
Layer and collection verification
Sometimes the problem isn't with the hair itself, but with how it's organized in the scene. Render collections and layers may be hiding the hair.
Check the Outliner and ensure that the collection containing the hair is visible for render. The eye icon controls render visibility.
- Outliner visibility
- Collections: check that it's not excluded from render
- View Layers: confirm visibility in active layers
- Scene management: hair in the correct scene
Step-by-step diagnostic process
If you still can't find the problem, follow this systematic method. Start from the most basic and progress in complexity.
Create a simple test object with basic hair. If this renders, the problem is specific to your original object.
- Step 1: Create new UV Sphere
- Step 2: Add simple hair system
- Step 3: Assign Hair BSDF material
- Step 4: Render and compare
Optimization for rendering with hair
Once the visibility issue is solved, these tips will help you improve render quality without excessively increasing time.
Hair can be very computationally expensive. Find the perfect balance between quality and render time for your project.
- Hair Shape steps: 3-5 for quality/speed balance
- Children simplification: reduce in distant views
- Adaptive Sampling: enable to reduce noise
- Light Paths: adjust for better hair lighting
After applying these solutions, your hair should appear gloriously in the render, showing all that style you worked so hard to create... though you'll probably now have to deal with it looking too perfect, but that's a much more pleasant problem 💇