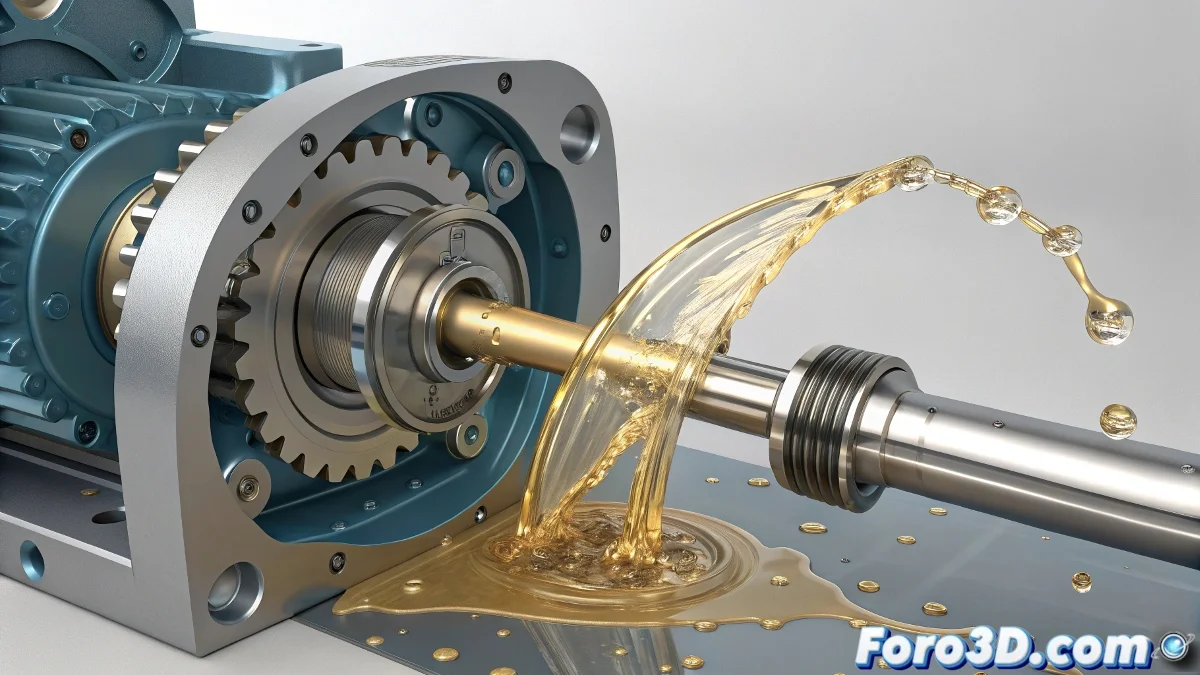
Simulate Realistic Fluids in 3ds Max for Inventor Designs
Does your Inventor mechanical design need a touch of life with moving fluids? 💦 With 3ds Max and Glu3D you can create everything from a simple drip to liquid torrents, although... get ready for your first simulation to look more like a cafeteria disaster than a controlled flow. 😅
From Inventor to 3ds Max Without Losing Your Sanity
Success starts with a good export:
- Use .FBX to maintain hierarchies and scales
- Check that all surfaces are closed and clean
- Simplify the geometry before exporting if it's too dense
This way you'll avoid your fluid leaking through invisible faces or behaving as if it's in zero gravity. 🚀
Glu3D: Your New Best Friend (When It Works)
This veteran plugin allows you to create convincing fluids with:
- An emitter that generates the particles
- Container geometry (your Inventor model)
- Viscosity, speed, and turbulence settings
In fluid simulations, patience is like water: it always runs out faster than expected.
Tricks to Not Drown in the Attempt
Avoid classic mistakes:
- Test with low resolution first
- Use PWrapper to add visual volume
- Render with Arnold or V-Ray for better quality
And remember: if at first the fluid shoots out like a shaken soda fountain, don't give up. Adjust the speed, check collisions, and test, test, test. In the end, when everything flows (pun intended), you'll have a presentation that will leave everyone speechless... and maybe a little wet. 🌊
Bonus technical-ironic: The funniest part is when you spend hours perfecting an elegant flow... and in the final render it looks like someone sneezed on your design. That's the glamorous world of digital fluids! 🤧