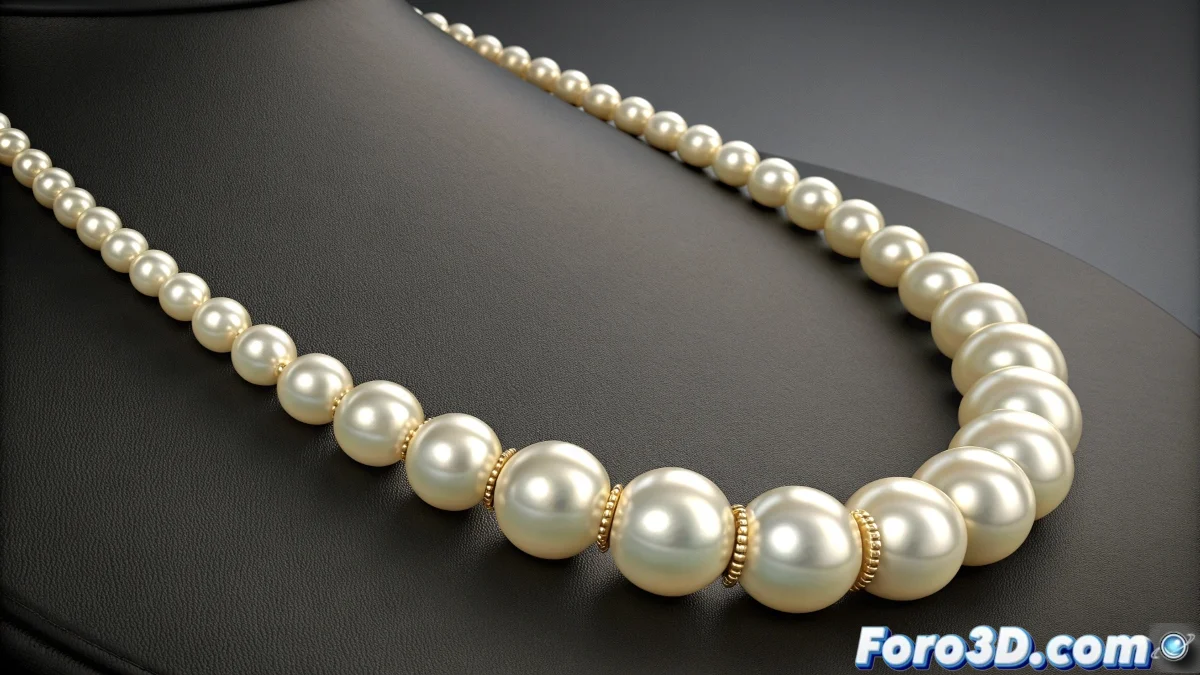
The Challenge of a Perfectly Physical Necklace
Simulating a pearl necklace that moves realistically in 3ds Max using the classic Reactor is an exercise in patience and precision 📿. The goal is for each pearl to maintain its spherical shape while reacting to gravity and collisions, hanging naturally from a neck or moving with the character. The problem arises when, instead of an elegant necklace, you get an elastic sausage or pearls that stretch like gum. This usually occurs due to poor communication between the rigid body simulation of the pearls and the rope constraint that should keep them together.
Base Preparation of the Spline and Pearls
Everything starts with meticulous preparation. The spline that acts as the invisible "rope" must have a number of vertices exactly equal to the number of pearls. Each spline vertex will act as the anchor point for a pearl. Use a Line type spline and ensure its total length is slightly less than the sum of the diameters of all the pearls; this will create initial tension that prevents the pearls from sinking into each other. The pearls themselves must be separate objects, each with a Rigid Body modifier applied, and configured with the same mass and physical properties for uniform behavior.
A poorly prepared spline is like a loose thread in a necklace; everything falls apart at the first movement.
Reactor Rope and Constraints Configuration
The magic—or chaos—happens in the Reactor panel. Select the spline and convert it into a reactor object of type Rope. In its properties, activate crucial options like Constraint and Avoid Self Intersection. The first ensures the spline maintains its structural integrity during the simulation, and the second prevents the pearls from passing through each other unnaturally. Then, create a Rope Collection and add the spline to it. This step tells Reactor that this spline should be simulated as a flexible rope. Finally, create a Rigid Body Collection and add all the pearls.
Linking and Fine Adjustments
The most critical step is linking each pearl to its corresponding vertex on the spline. This is typically done using a Point-to-Path Constraint or a custom script that associates the position of each pearl to the position of a spline vertex over time. Without this linking, the spline and pearls will simulate independently, leading to stretching and disconnection. Additionally, in the Rigid Body properties of each pearl, adjust Friction and Bounce to low values to prevent the pearls from bouncing exaggeratedly and coming out of place.
Workflow for a Stable Simulation
Follow these steps to maximize your chances of success:
- Modeling and Measurement: model the pearls as perfect spheres and measure their exact diameter. Create a spline with the correct length and number of vertices.
- Rigid Body Assignment: apply the Reactor Rigid Body modifier to each pearl. Set identical masses and disable Unyielding unless a pearl needs to be fixed.
- Rope Configuration: convert the spline into a Rope. Adjust Thickness to match the necklace thread thickness and activate the constraints.
- Linking: use a constraint or script to parent each pearl to a spline vertex. This is key to avoiding stretching.
- Test Simulation: run a test simulation (Preview Animation) in the Reactor window before committing to a full simulation in the scene.
- Iterative Adjustment: based on the preview, adjust masses, friction, and rope substeps until the simulation looks natural.
With patience and this guide, you can tame Reactor's eccentricities and create a pearl necklace that moves with the elegance and realism your render deserves. And when it finally works, it will be like watching magic… but with a lot of technical tweaks behind it 😉.