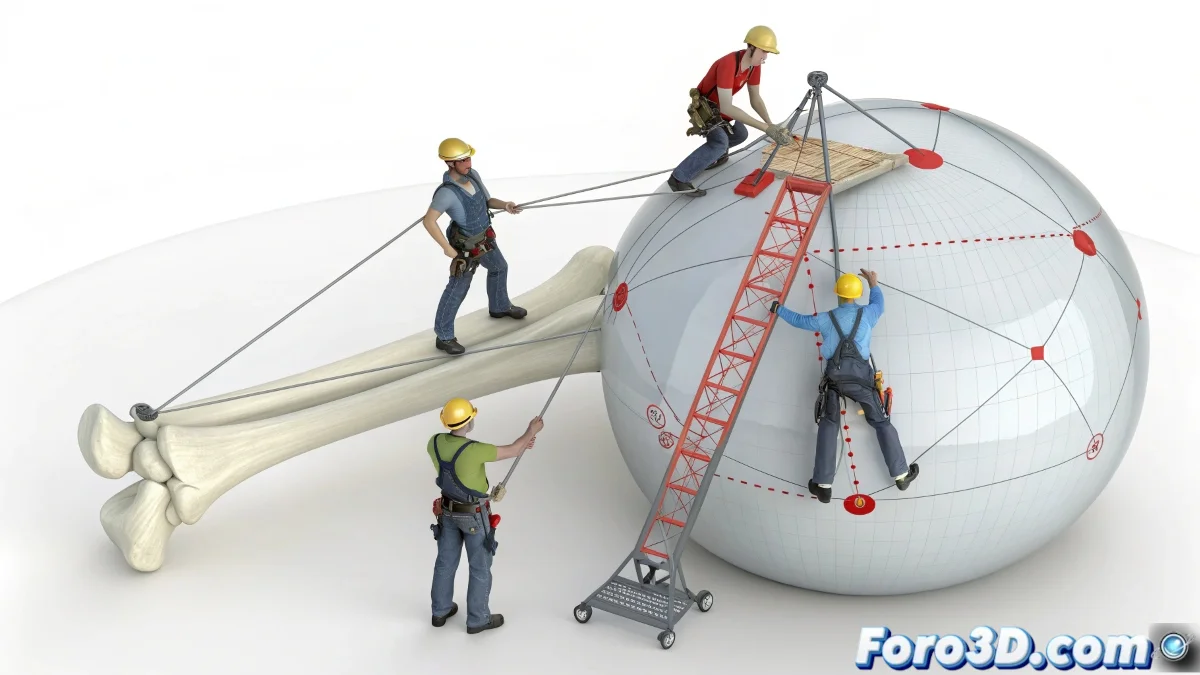
Taming Rebellious Bones with Spherical Constraints
In the art of rigging within 3ds Max, sometimes you need a bone to behave like a train on tracks, but with 3D curves 🚄. A powerful technique, popularized by experts like Jaime Maestro from Keytoon, involves restricting a bone's movement to the surface of a sphere. This is invaluable for joints like the shoulder or hip, where natural movement is not linear but follows a spherical dome, avoiding impossible poses and grotesque deformations in the mesh.
The Magic of Surface Constraints
The most direct way to achieve this effect is by using Constraints. A Surface Constraint allows linking a bone's position to the surface of a spherical object. By doing so, the bone will obediently slide over the sphere's curvature, no matter how you move its controller. For even more precise control, a Position Constraint can be used targeting a dummy that, in turn, is restricted to the sphere. It's like having a joystick that can only move a magnet over a metal ball 🧲.
A bone without constraints is like a teenager with a credit card; it ends up in places it shouldn't be.
Workflow with Helpers and Dummies
The key to a clean and animatable system is the separation of responsibilities. Create a dummy or helper that acts as the main controller for the animator. This dummy will be restricted to the sphere using an Attachment Constraint, limiting its movement to the surface. Then, the bone simply follows the position of this dummy via a standard constraint. This approach keeps things simple for the animator, who only needs to manipulate the dummy, while the technical system enforces the movement rules.
Practical Applications and Best Practices
This technique finds its greatest utility in rigging organic characters. Some key applications include:
- Shoulder joint: allows natural rotation and abduction movement within its anatomical range.
- Hip and pelvis: controls leg rotation while maintaining deformation integrity.
- Eyes: restricts eyeball movement within its socket, preventing it from literally popping out of orbit.
- IK controls: creates IK systems that move in spherical arcs instead of straight lines.
For best results, always ensure the constraint sphere has the correct size and position relative to the joint. Use animation layers to override constraints if necessary for very specific poses. Ultimately, mastering this technique will give you cinematic control over your characters' movements. And if the bone escapes, you can always say it's a hyperflexibility feature 😉.