Requirements for Integrating a Biped into a Pinocchio-Type Model
To add a Biped to a Pinocchio-type model in 3ds Max, it is crucial that the model meets certain conditions to ensure that the rigging and animation work correctly. First, each body part must be separated and logically oriented, with pivots properly placed at the joints, such as shoulders, elbows, knees, and ankles. This makes it easier for the Biped to control those segments and move them naturally. And no, you don't need to be an anatomy expert to do it! 🧌
Model Conditions
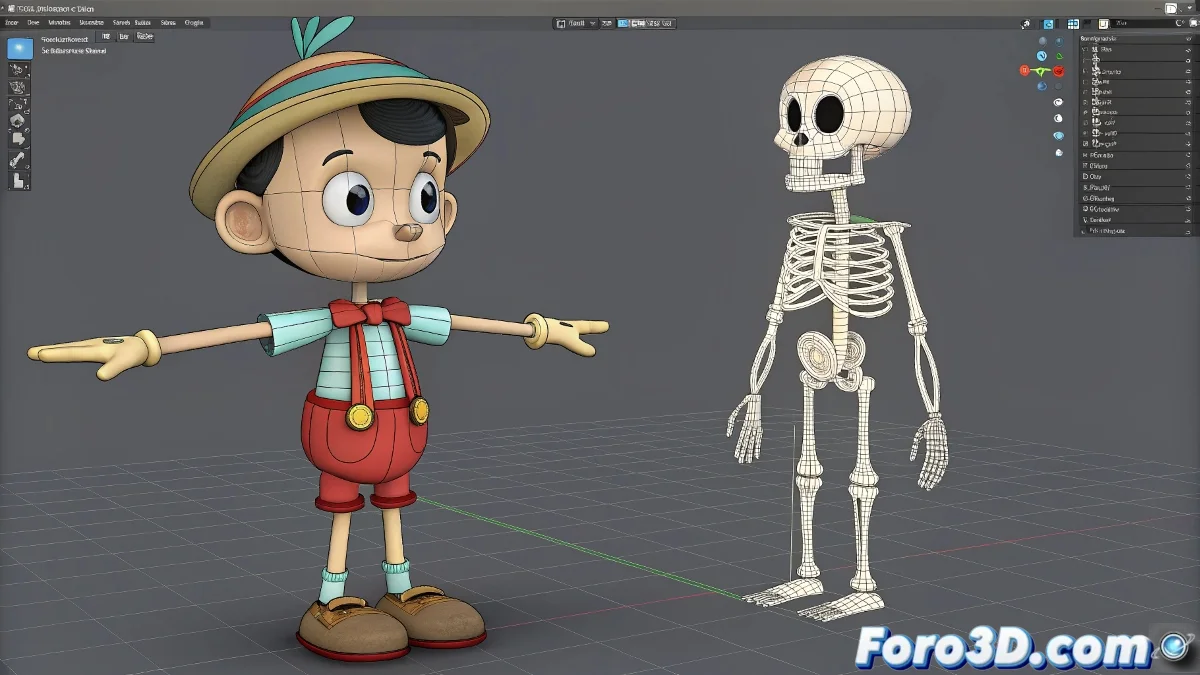
Additionally, the model must be in a neutral pose, preferably standing with arms extended in a cross or downward, so that the Biped can match the proportions and joints without issues. It is essential that the model parts have clear hierarchies or that you can easily link them to the Biped skeleton.
Linking the Biped to the Model
Once everything is ready, in 3ds Max you can use the Skin or Physique tool to link the independent parts to the Biped skeleton. This will allow you to animate the model with greater freedom and precision. If you do not meet these requirements, the Biped will not control the model well and the animation may look strange or broken.
In summary, make sure your Pinocchio has well-pivoted independent parts, a suitable base pose, and a skin-compatible structure, and then you can animate it with a Biped without problems. And don't worry, unlike the story, your digital Pinocchio won't grow with every movement, unless you add a naughty scale modifier! 🌱
With these tips, you will be able to integrate a Biped into a Pinocchio-type model in 3ds Max effectively. And remember, if something doesn't go as expected, you can always blame the pivots! 😉