When Nature and 3D Flow Together
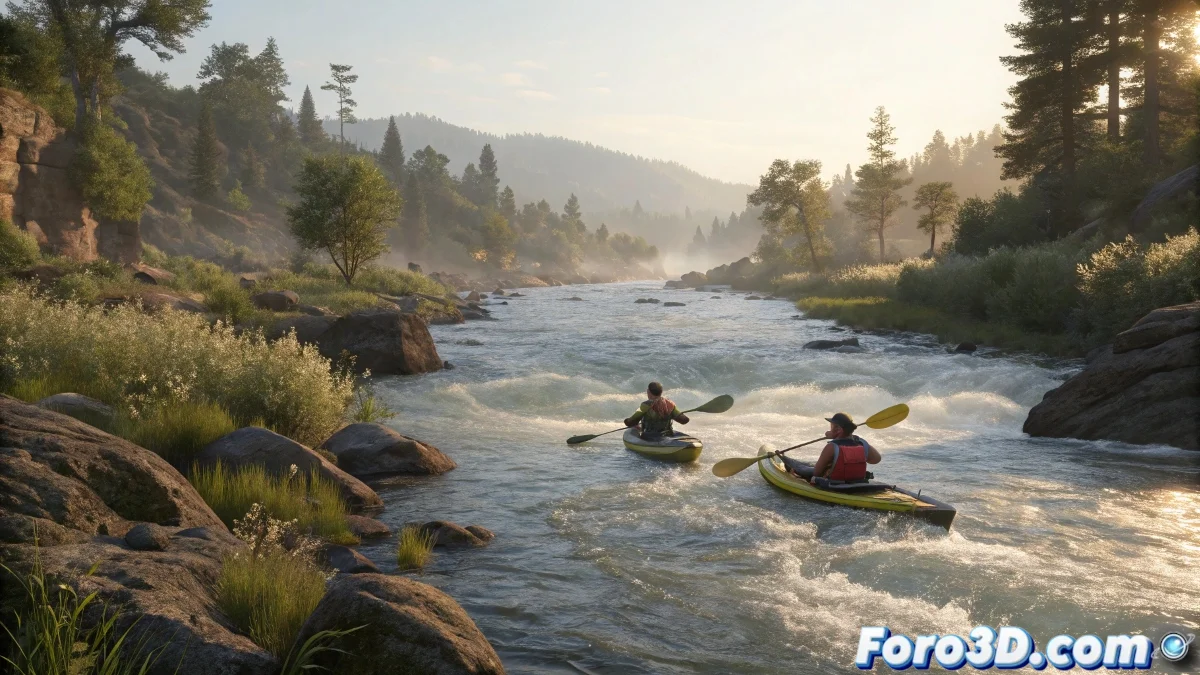
The historic descent of the Klamath River by young indigenous people 🛶 is the perfect inspiration for mastering water simulations in Blender. This tutorial will guide you step by step to recreate this scene loaded with cultural significance and technical challenges.
Step 1: Sculpting the Landscape
We start by modeling the environment:
- Use Sculpt Mode to create mountains and riverbanks
- Add vegetation with particle systems
- Create the river with a plane and realistic water shader
A good terrain model is like a good kayaker: it knows how to adapt to the river's flow (or in this case, to the fluid simulation).
Step 2: The Magic of Water
For the fluid simulation:
- Set up the domain and inflow in Fluid Physics
- Add obstacles like rocks and logs
- Test different viscosity and turbulence values
This step may require several attempts... like the real river descent 🌊.
Step 3: Animating the Navigators
For the characters:
- Use Rigify or pre-made rigs
- Animate movements that follow the current
- Add simple facial expressions
Step 4: The Touch of Realism
Final effects:
- Particle systems for splashes
- Wind simulation on vegetation
- Volumetric fog for depth
Step 5: Lighting and Rendering
For the final finish:
- Use a natural environment HDRi
- Add directional lights for the sun
- Test between Cycles (realism) and Eevee (speed)
Now all that's left is to render and enjoy your own 3D version of this historic moment. And remember: if the simulation fails, you can always say it's a class V rapid... in the digital world 😉.