When your character needs to transform... but without teenage drama 🐺✨
Creating a human-to-creature transformation in LightWave is like digital magic: it requires preparation, but the result can leave the audience speechless. The secret lies in morph targets, the magic wand of 3D modeling.
"A good morph target is like good special effects makeup: if the abrupt change is noticeable, it's back to the drawing board" — Visual effects artist.
Preparation: the foundation of everything
For the magic to work:
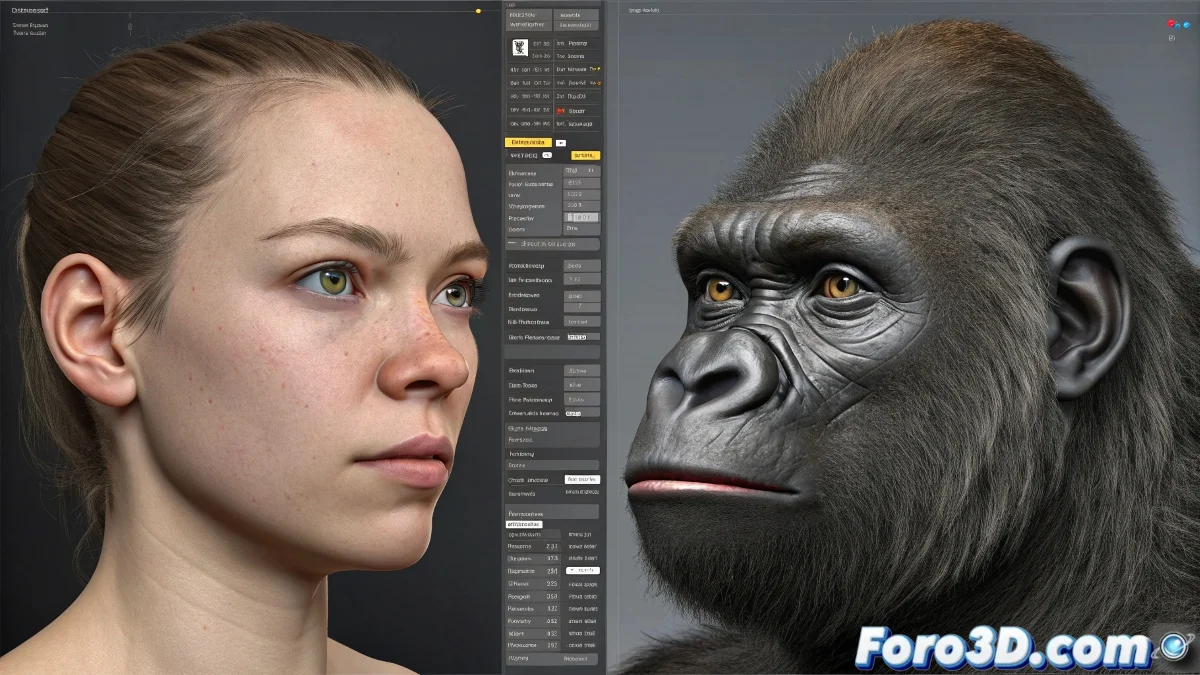
- Base model (e.g., human face)
- Target model (e.g., gorilla face) with:
- Exactly the same topology
- Same vertex order
- Same mesh density
Professional Workflow
- In Modeler:
- Load your base model
- Go to Deform > Morph Target
- Import the target model
- In Layout:
- Select your object
- Access the morphs panel
- Animate the blend from 0% to 100%
Production Tricks
For better results:
- Use ZBrush to retopologize if necessary
- Create intermediate stages (30%, 60%) for greater control
- Add secondary details (fur, wrinkles) in separate phases
- Test with multiple morph targets for different areas
What to do if the topologies don't match?
Alternatives when morphing is not possible:
- Transition between objects (visible/invisible)
- Animated shaders for transformation effects
- Progressive hair simulation
Remember: a good transformation is not measured by how spectacular the change is, but by how convincing the transition is. Although if you manage to make your grandma scream when she sees the result, bonus points for you. 🏆
P.S.: If your werewolf ends up looking like a deformed plush toy, check the topology. It's always the topology.