The Art of Creating a Biped That Doesn't Torture Animators
Creating a Biped rig in Maya used to be like assembling Swedish furniture without instructions... but with the 2025 version, it's now more like using Legos: intuitive, modular, and even fun. 🧱 That said, there are still tricks that separate a functional basic rig from a truly professional one.
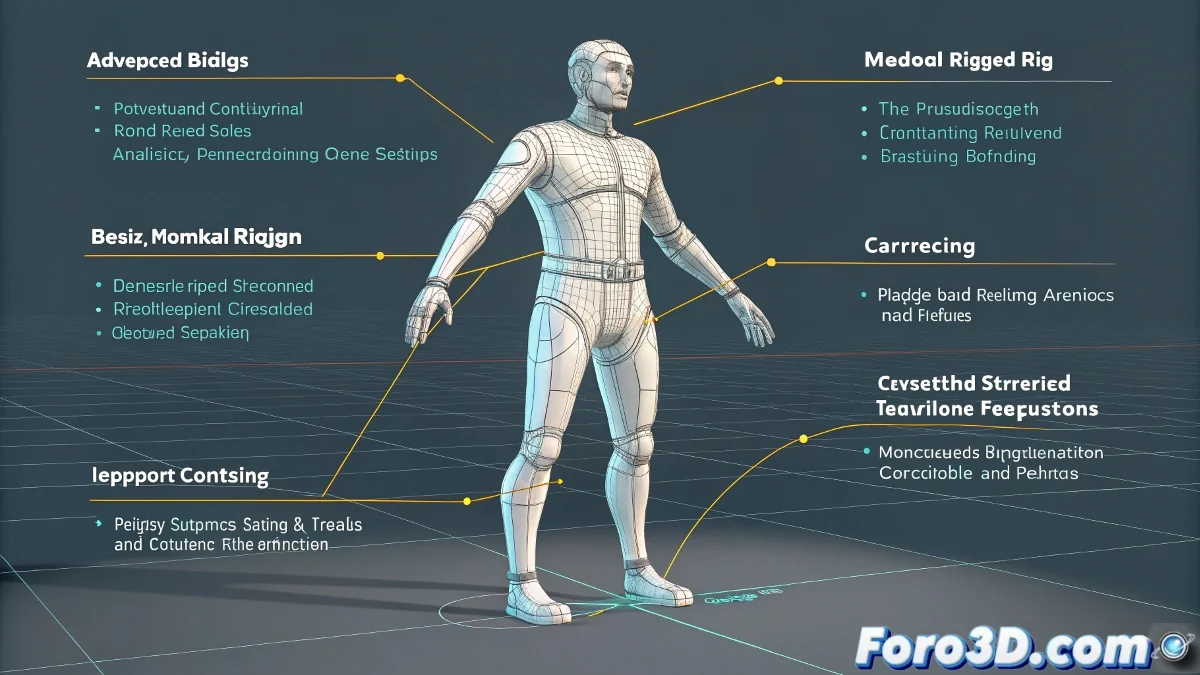
Key Advantages of Maya 2025 for Rigging
- Modular Control System: Add/remove attributes like swapping pieces
- Enhanced HumanIK: Solid foundation for retargeting and mocap
- Smart Deformers: Fewer problems in elbows and knees
- Visual Controls: Colorful and intuitive for quick selection
A good Biped rig is like a good assistant: it does its job so well you almost forget it... until it's missing.
Checklist for a Professional Biped
- Clean Hierarchy: Clear names and organized groups
- IK/FK Controls with easy switching (that doesn't break the animation)
- Squash and stretch integrated into the deformations
- Well-defined selection spaces (no hunting for controls)
- Saved versions: Just in case... and there's always a "just in case"
Mistakes That Will Turn Your Biped Into a Nightmare
| Mistake | 2025 Solution |
|---|---|
| Rigid deformations | Use the new curvature deformers |
| Confusing controls | Take advantage of the visual control system |
| Scale problems | Configure HumanIK correctly |
Pro Tip: 90% of animation problems with Bipeds are solved by checking: 1) Transformation order, 2) IK/FK setup, and 3) That no one accidentally moved the control groups! 🔍
Now that you know these secrets, your basic Biped will be ready not just for academic exercises, but for real productions. And when that rig works so well that the animators don't even notice it... that will be your moment of silent glory. 😎
Bonus tip: Create a "Reset All" control that returns all attributes to zero with a single click. Your animators will thank you... and will probably pay you with coffee.