When Curves Do the Hard Work 🌀
Editing vertices one by one is so 2010. Curve deformation is the best-kept secret of lazy 3D artists (or efficient ones, depending on how you look at it). With this technique, you can create everything from sinuous tentacles to extravagant hairstyles, all while your original geometry remains intact like a silent witness.
Magical Tools by Software
Each program has its magic wand for this effect:
- 3ds Max: Spline IK and Path Deform - the classics that never fail (almost never) 🛠️
- Blender: The Curve modifier - simple but powerful like an espresso
- Maya: Wire Deformer - for when you need ninja-level control
Setup to Avoid Scares
Before your tube turns into a digital pretzel:
Align first, deform later. It's like putting on pants before shoes - basic but crucial.
- Ensure your base object matches the initial curve
- Test with small scales before committing
- Save intermediate versions (just in case)
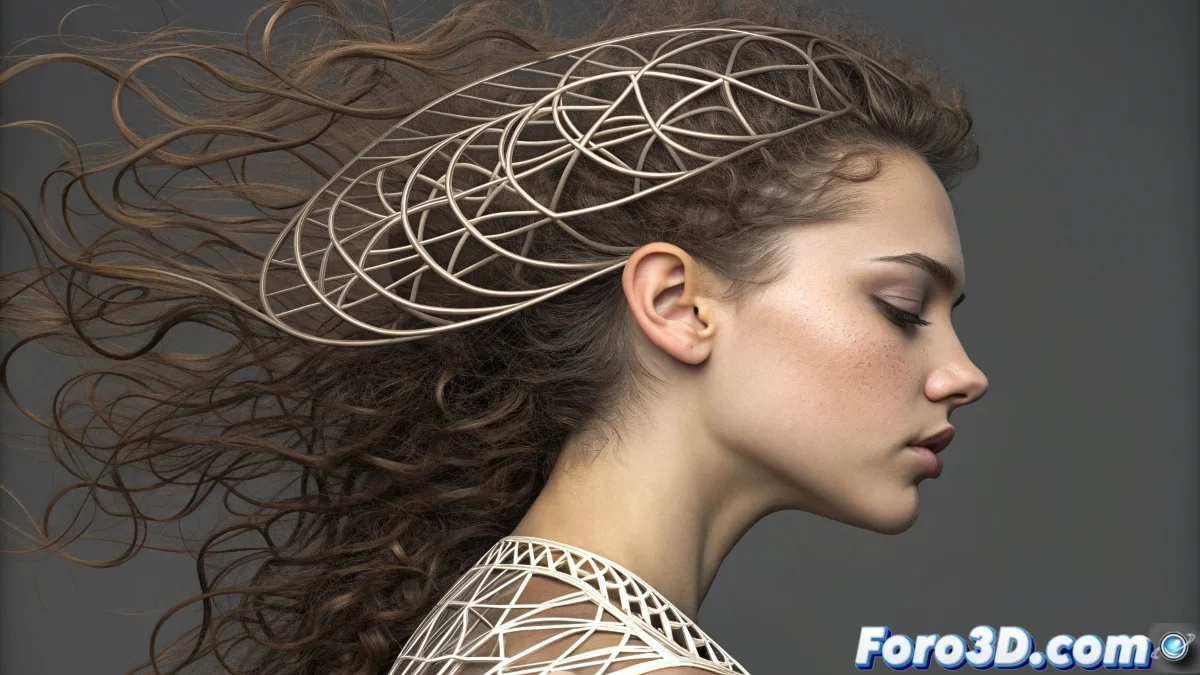
Tricks for Hair That Doesn't Look Plastic
Because not everyone wants their characters to look like 80s dolls:
- Use curves for the main strands and simulation for secondary motion
- Combine multiple deformers for natural variation
- Try plugins like Ornatrix for advanced control ✨
Mistakes That Will Turn Your Model into Abstract Art
Learned with tears and failed renders:
- Not checking the initial geometry orientation
- Animating the curve before stabilizing the deformation
- Forgetting that less is sometimes more (especially in subdivisions)
And remember: if your deformation goes wrong, you can always say it's an avant-garde artistic style. It worked for Picasso, didn't it? 🎨